Origami Crane
There is a legend concerning the origami crane. This states that if someone makes one thousand cranes, their wish will be granted. This is the most classic of all origami and everyone should learn how to fold it. If you prefer, we also have video instructions for folding the origami crane.
Made this origami? Comment and Submit your photo using the comment box at the end of this page!
Even though this is one of the most famous and popular origami, it is not the easiest for beginners.
Beginners who are not familar with the inside reverse fold may find it challenging.
Others who are familiar with the reverse fold will say that this origami is super easy!
The inside reverse fold is a technique commonly used in origami. This fold is used a few times in the origami crane. Initially, you may find it difficult or even frustrating but with practice, it should become easier.
If you're looking for an origami bird that flaps its wings, that is the origami flapping bird.
You can also check out our video instructions below:
Origami Crane Step 1: Start with a 6 inch (15cm) square origami paper and fold the origami bird base. This is a commonly used base in origami and we've created a separate page for it or you could watched the video below.
You should have the following to start with.
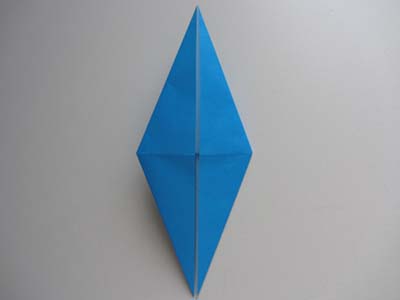
Origami Crane Step 2: Fold the both sides to the middle, as shown.
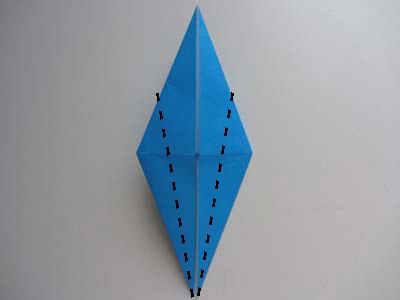
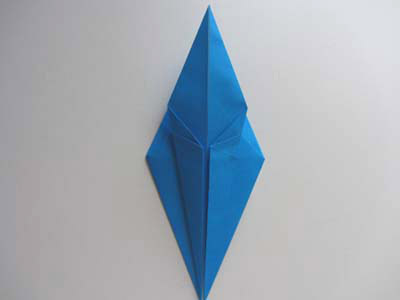
Origami Crane Step 3: Flip paper over.
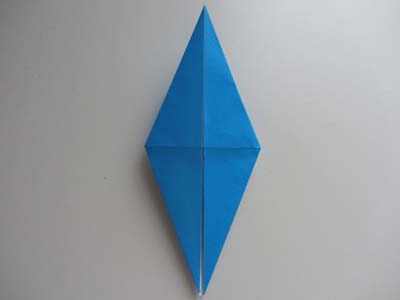
Origami Crane Step 4: Now fold both sides to the middle.
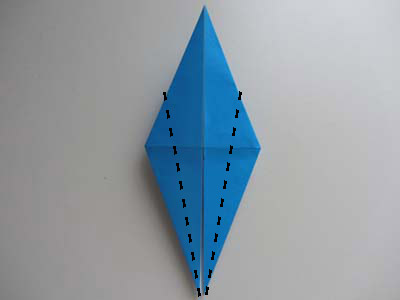
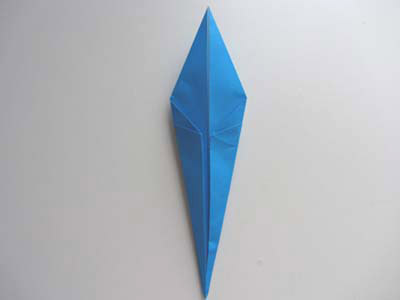
Origami Crane Step 5: We're now going to make inside reverse folds. This is a commonly used technique in origami. To do so, we need to first make a diagonal crease. We'll start with the right side.
If you've never done an inside reverse fold, check out our page that has more detailed photos first.
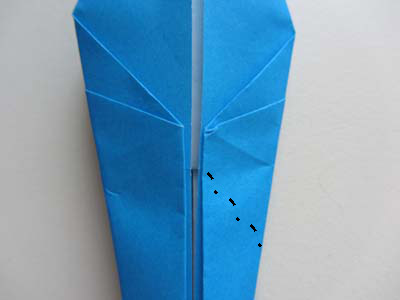
Make sure the paper is well-creased on both sides.
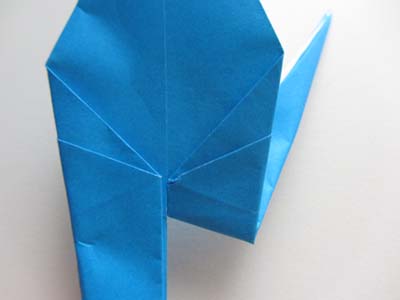
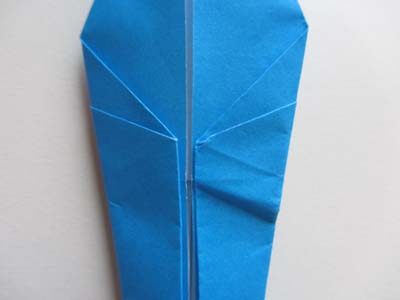
Origami Crane Step 6: The crease allow us to actually make the inside reverse fold. Lift up the bottom tip and tuck it in between the 2 sides of paper. Press paper flat. This is the inside reverse fold.
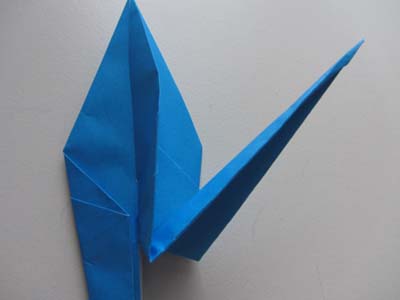
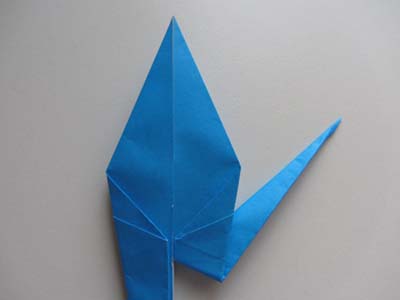
Origami Crane Step 7: Now repeat Steps 5 and 6 for the right side to form the "neck" of the crane. Crease the paper and make the inside reverse fold.
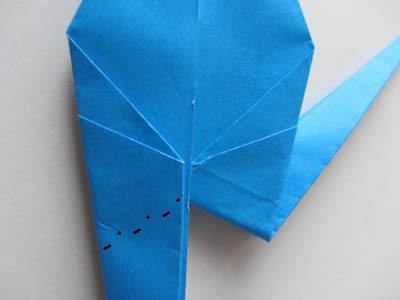
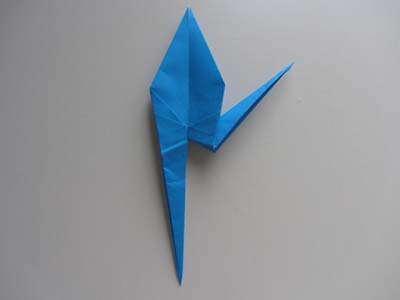
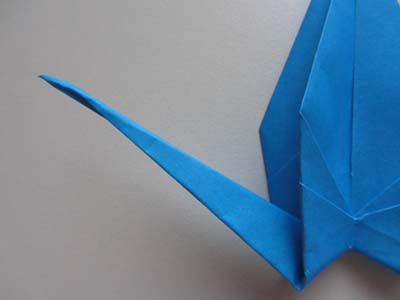
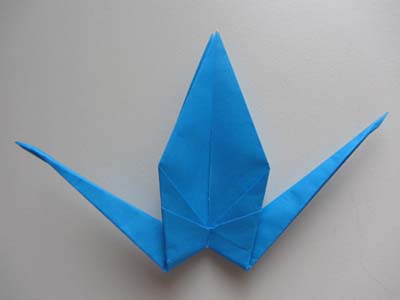
Origami Crane Step 8: Make one more inside reverse fold to form the head of the crane.
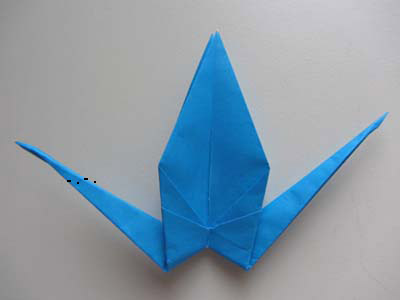
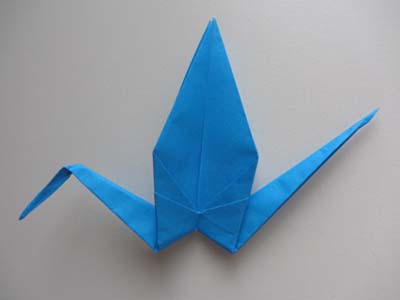
Origami Crane Step 9: Almost there. Fold down the wings.
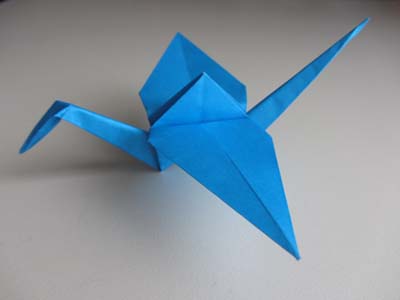
Pull the wings gently apart to open up and flatten the middle "hump" of the origami crane.
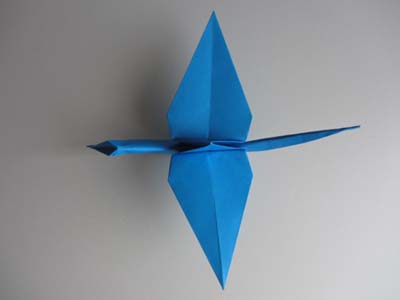
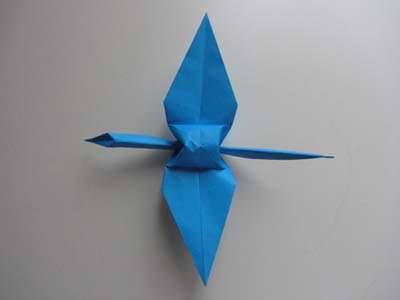
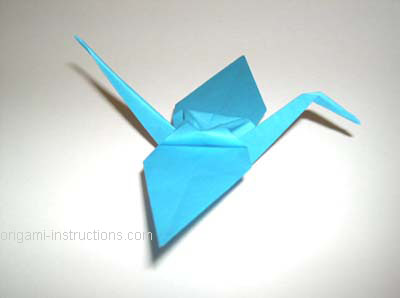
And your origami crane is complete! We've completed the first one. Now readers, how about you send in the next nine-hundred and ninety-nine origami cranes?
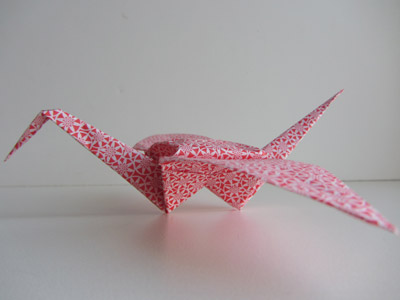
Here's the origami crane in prettier paper:
Check out our origami crane photos page for photos that have been submitted by visitors to this website!


