Origami Circular Glider
The Circular Glider is an unusual design that looks like it won't fly, but it glides quite nicely.
Made this origami? Comment and Submit your photo using the comment box at the end of this page!
You can watch our Origami Circular Glider instructions video, or check out the step-by-step folding instructions below.
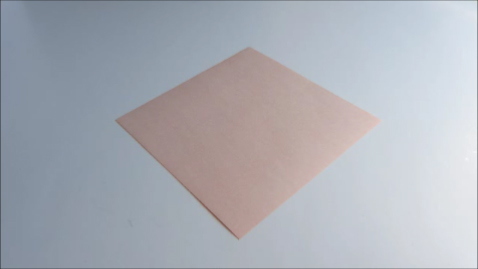
Step 1: Start with a piece of square paper. Origami paper will work for this glider, although in general, larger paper airplanes generally fly better. Valley fold along the diagonal as shown. Crease well.
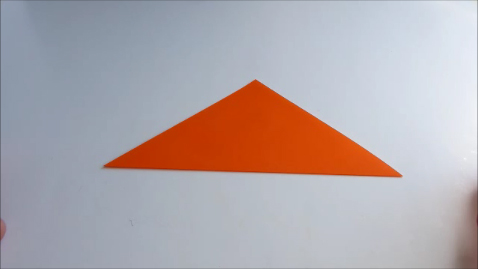
Step 2: Fold the bottom edge upwards as shown. For regular 6 inch square origami paper, folding up about 1 cm should be about right.
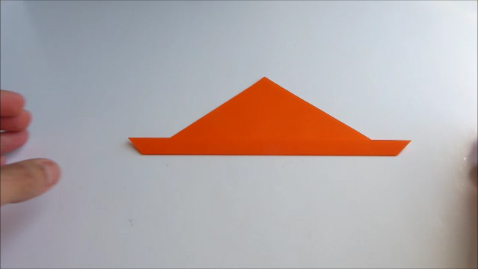
Step 3: Fold that same edge into a circle, and join the ends as shown. Stick one end into the opening of the other end and slide it in as far as it will go.
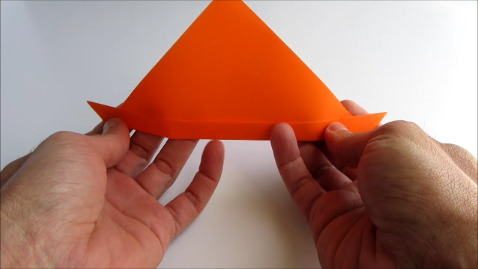
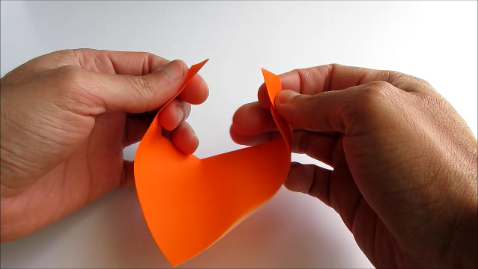
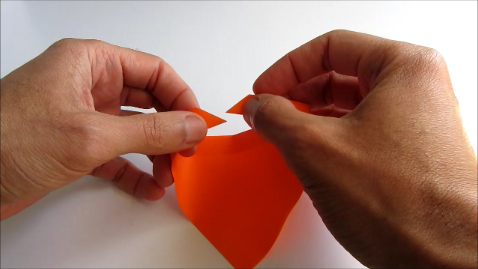
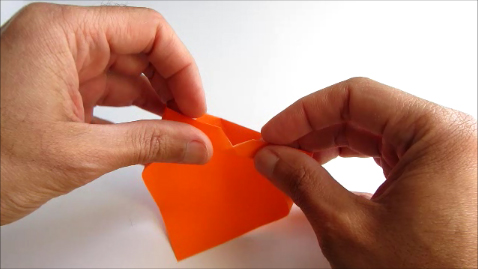
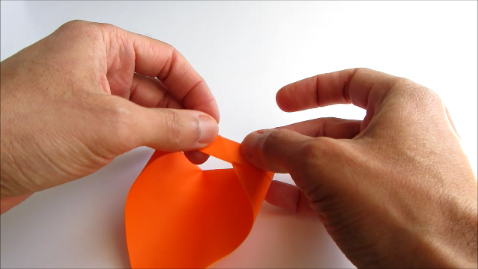
Step 4: Use your fingers to smooth out the circle. Work your way around the circle a little bit at a time.
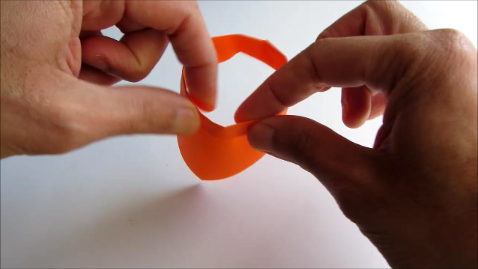
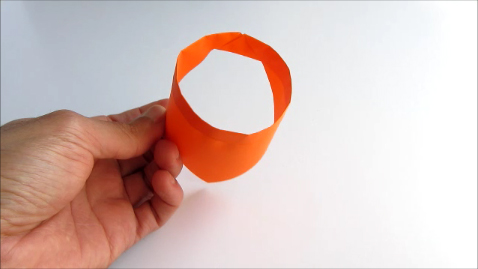
Step 5: Fly your circular glider! Hold the pointed end of the glider between your thumb and forefinger as shown. Then extend your arm over your head, let the glider go, and allow it to fall towards the floor. It will level out and glide nice and smoothly. Have fun with it!


