Origami Rabbit Face Folding Instructions
This origami rabbit face is great for kids. It could be a great project to during Easter. It's traditional and very simple. There's no cutting involved, just plain paper folding.
Made this origami? Comment and Submit your photo using the comment box at the end of this page!
Origami Rabbit Face Step 1: To make this origami rabbbit face, start off with the color or pattern side down. This origami paper that I'm using has blue on one side and pink on the other.
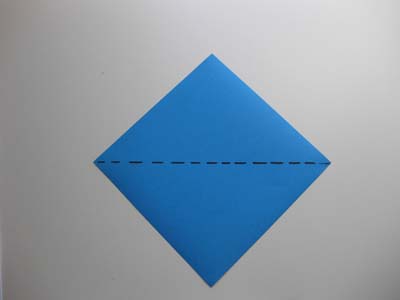
Origami Rabbit Face Step 2: Fold the paper in half to make a triangle:
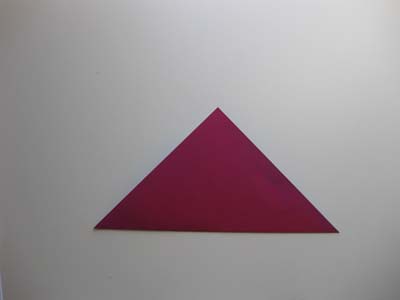
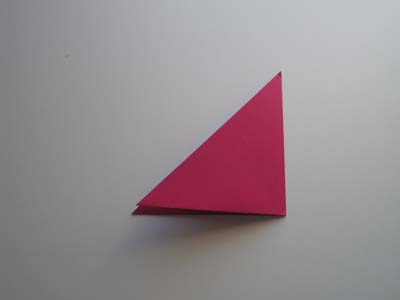
Origami Rabbit Face Step 4: Open the paper up and you should see a crease in the center.
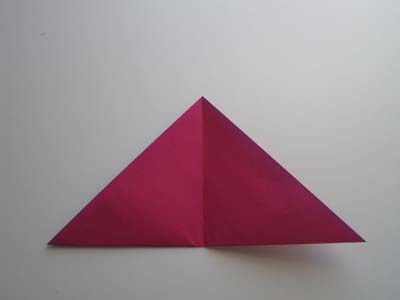
Origami Rabbit Face Step 5: Fold the bottom part of the paper up slightly as shown in the picture below:
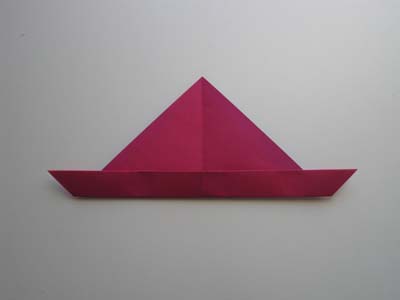
Origami Rabbit Face Step 6 & 7: Now fold both the right and left sides to meet the crease in the center.
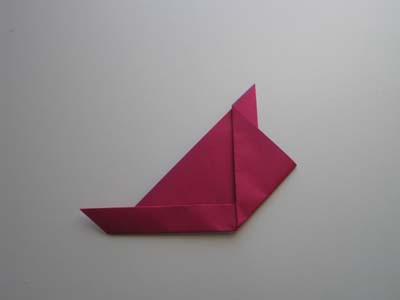
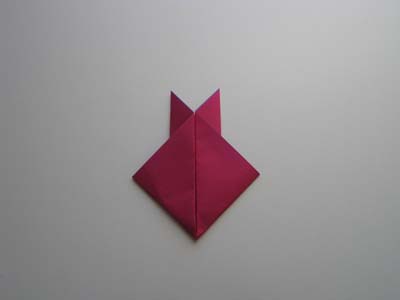
Origami Rabbit Face Step 8: Fold the bottom tip up slightly as shown in the picture below:
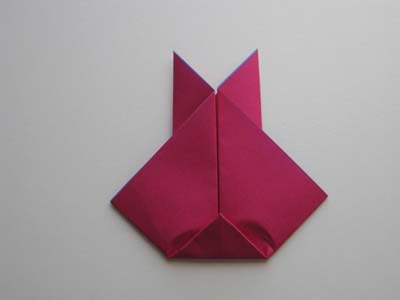
Origami Rabbit Face Step 9: Flip the paper over and you should see this:
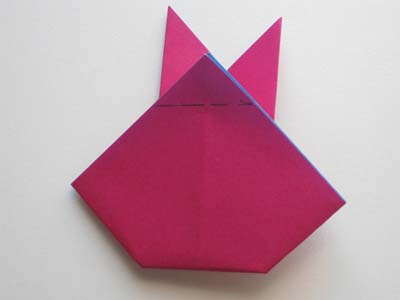
Origami Rabbit Face Step 10: Almost done, just fold the top part down away from you, and tuck it in between.
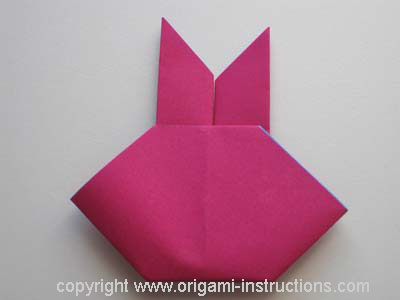
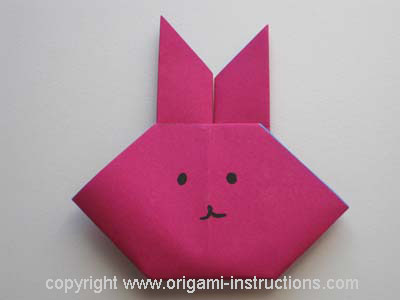
Draw in the eyes, nose and mouth and you've got yourself an origami rabbit face!
Check out the many origami rabbit face photos that have been submitted by our readers!


