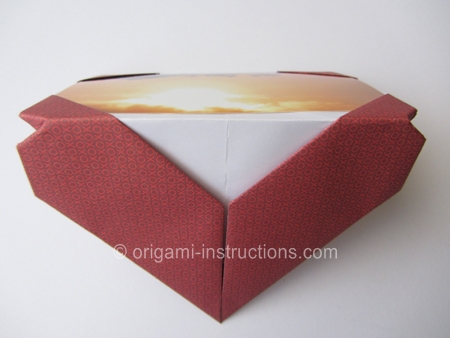
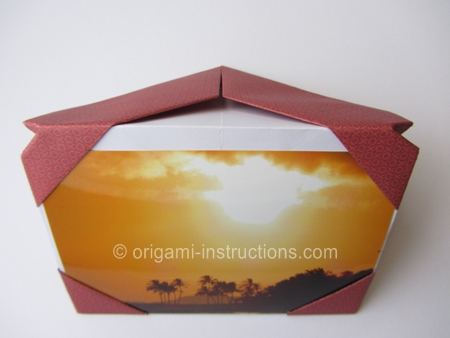
Origami Heart Photo Frame
This is a cute origami heart photo frame. If you use a 12 inch square paper, it can almost fit a standard 4x6 inch (4R) photo. You do have to trim a few millimeters off the photo. Even though there seems to be a lot of steps, this is actually a rather easy origami with straightforward folds. The hardest part is the 2 inside reverse folds at the end.
Made this origami? Comment and Submit your photo using the comment box at the end of this page!
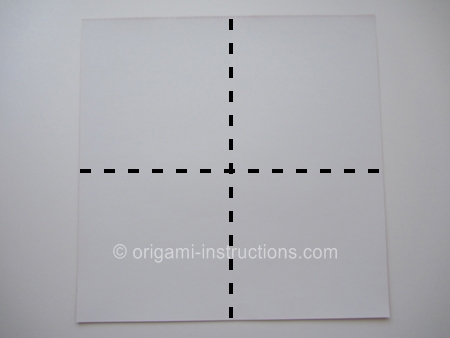
Origami Heart Photo Frame Step 1: Start with a 12 inch x 12 inch (30cm x 30cm) square paper, color side down.
Fold paper in half on both the horizontal and vertical axis. Crease well and unfold.
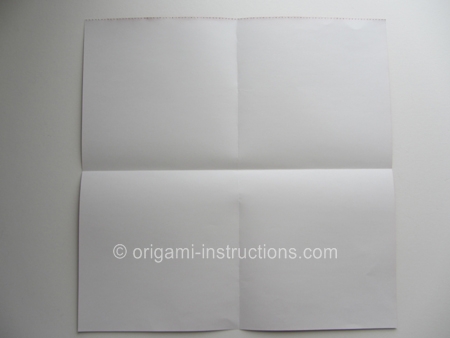
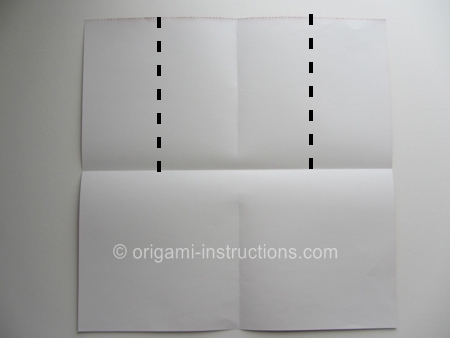
Origami Heart Photo Frame Step 2: Fold both the right and left sides to meet in the center. Crease only the upper half of the paper.
This is because the heart will be formed on the lower half of the paper and we do not want to add unnecessary creases to it.
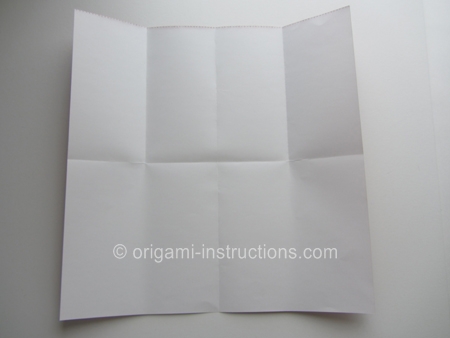
Origami Heart Photo Frame Step 3: Fold the lower half to meet the center crease. We're just going to mark the spot so make only a small crease.
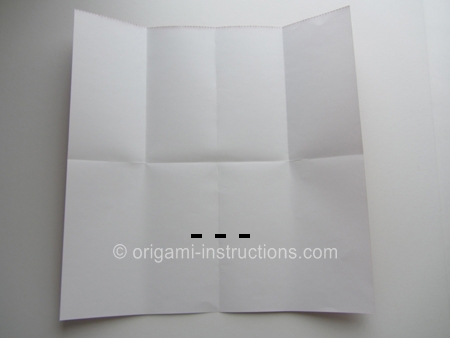
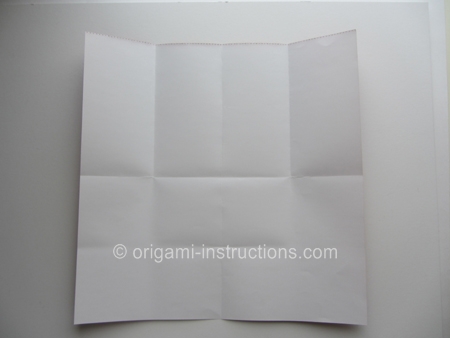
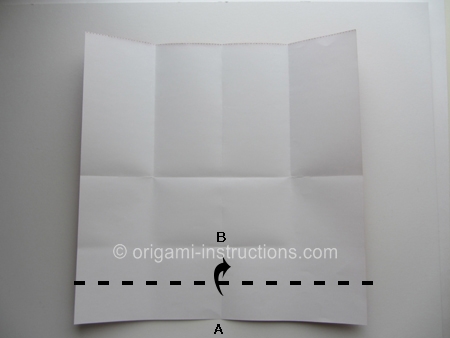
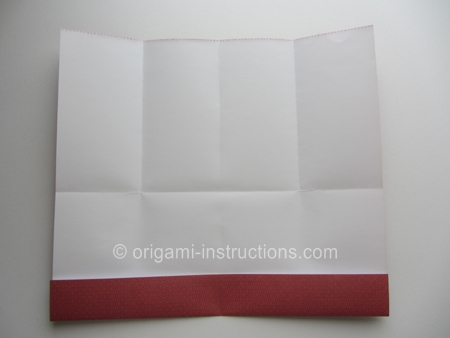
Origami Heart Photo Frame Step 4: Fold point A to B.
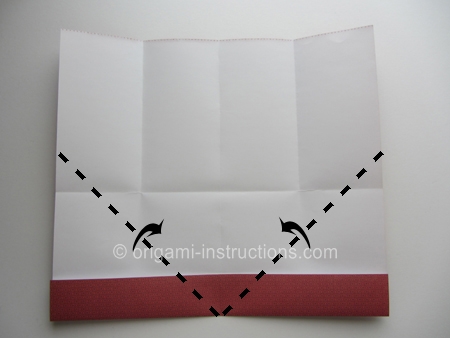
Origami Heart Photo Frame Step 5: Fold both the bottom right and left corners to meet in the center. Crease well and unfold.
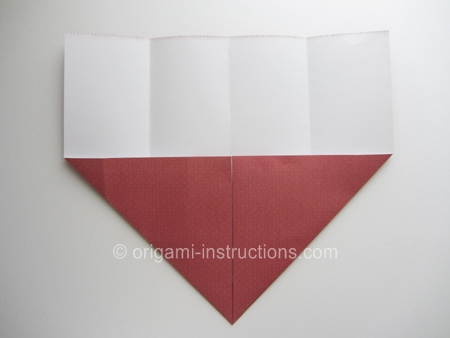
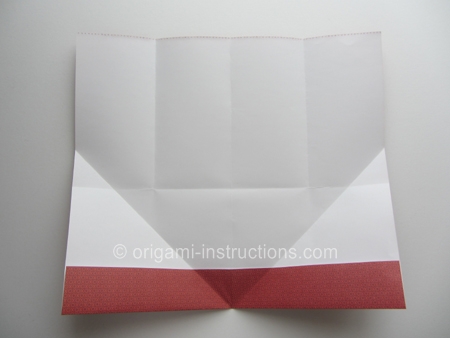
Origami Heart Photo Frame Step 6: Now fold both the bottom right and left corners to meet the diagonal creases.
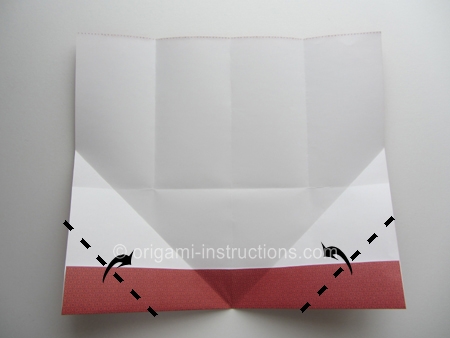
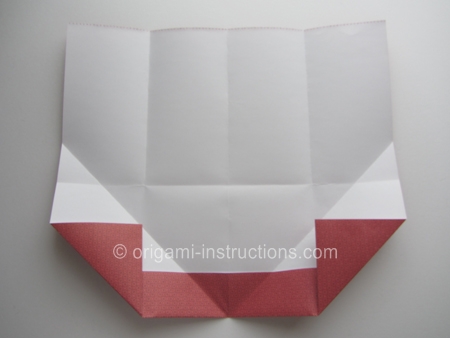
Origami Heart Photo Frame Step 7: Make the diagonal folds again.
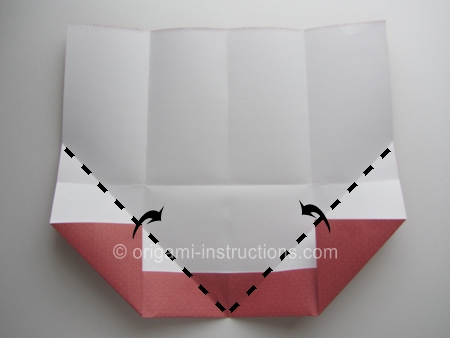
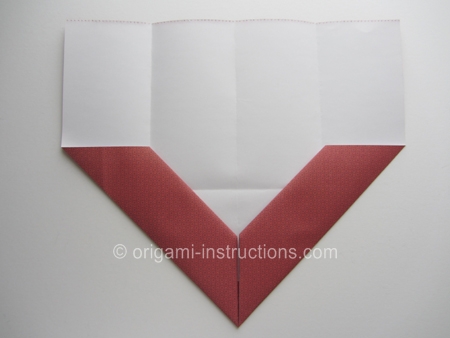
Origami Heart Photo Frame Step 8: Now we turn our attention to the top half of the paper. Make 2 diagonal folds at the top right and left corners. Crease well and unfold.
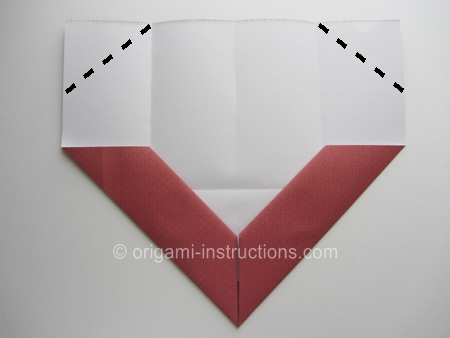
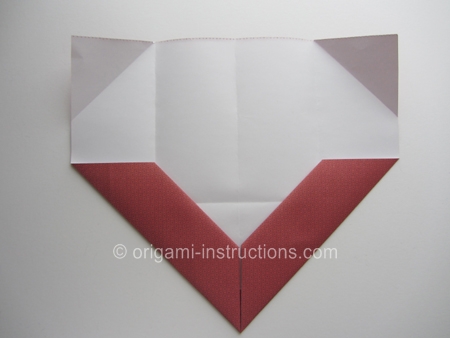
Origami Heart Photo Frame Step 9: Fold the top right and left corners to meet the diagonal creases.
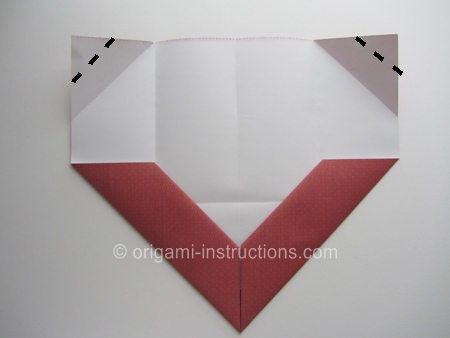
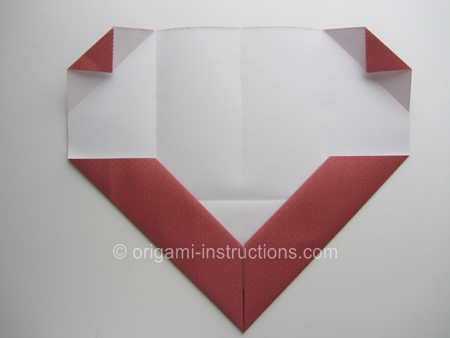
Origami Heart Photo Frame Step 10: Fold the paper over the diagonal creases again.
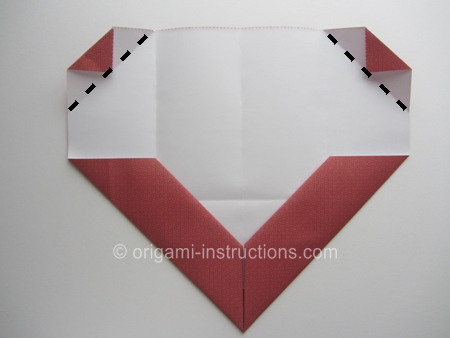
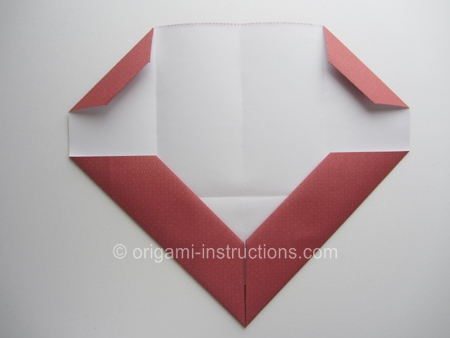
Origami Heart Photo Frame Step 11: Make 2 more diagonal folds.
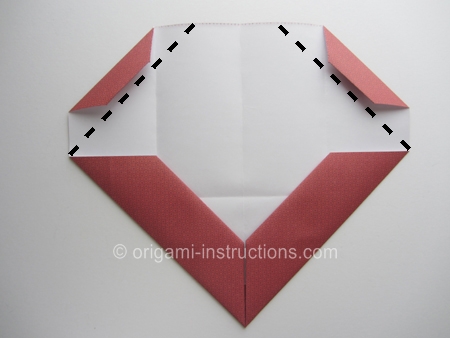
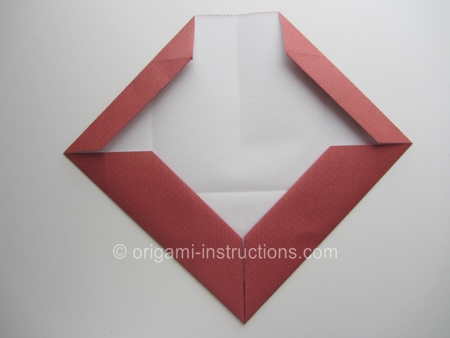
Origami Heart Photo Frame Step 12: Flip paper over.
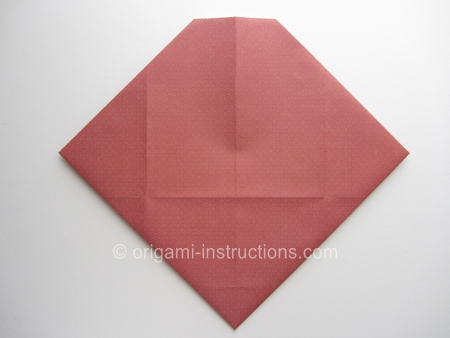
Origami Heart Photo Frame Step 13: Fold both the left and right tips to the center.
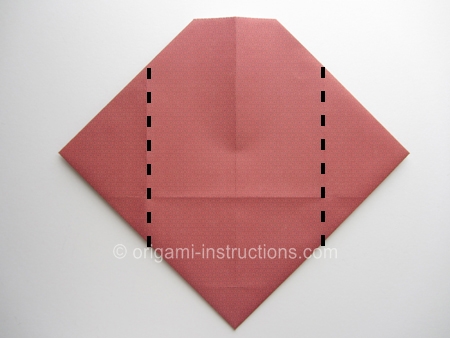
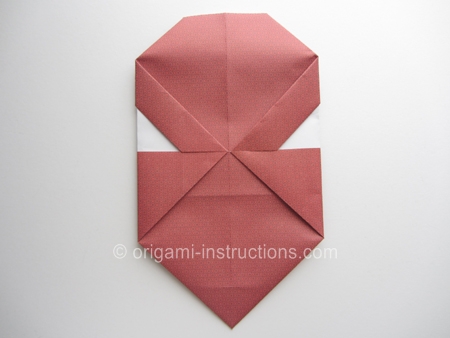
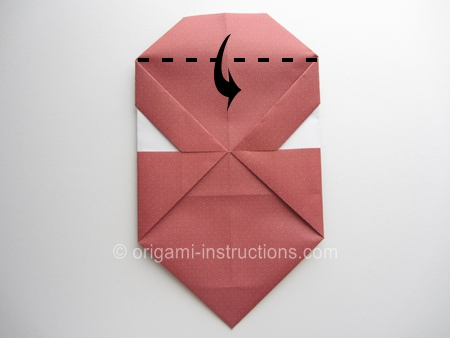
Origami Heart Photo Frame Step 14: Fold down the top part.
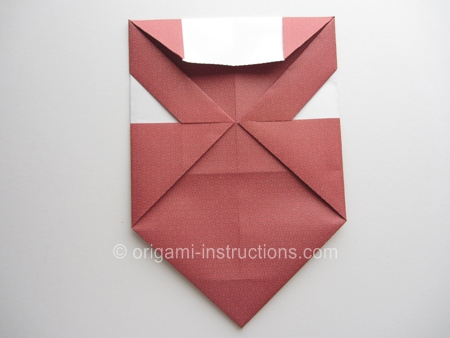
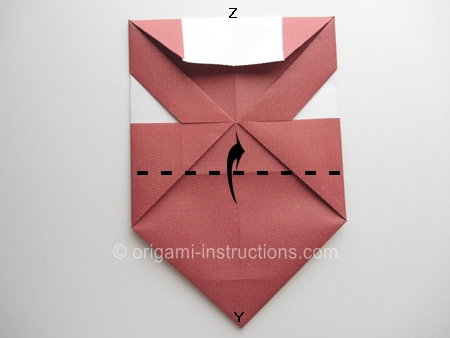
Origami Heart Photo Frame Step 15: Fold the bottom tip, point Y, to point Z.
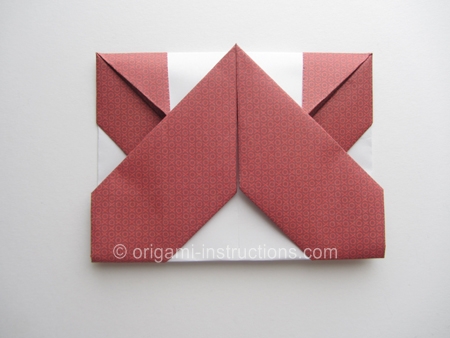
Rotating the paper....
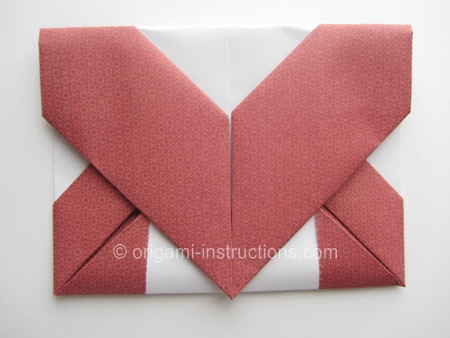
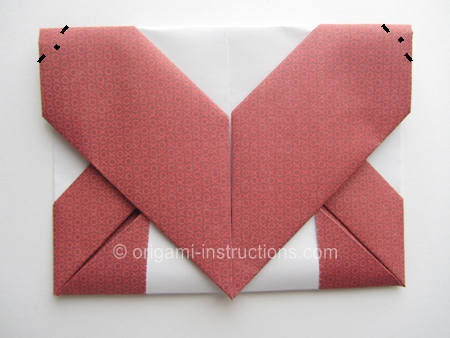
Origami Heart Photo Frame Step 16: Make 2 small inside reverse folds at the left and right corners to finish the heart.
This is a common fold technique used in origami. If you're not familiar with it, you can check out the link with more instructions or the video below.
Origami Inside and Outside Reverse Fold Video
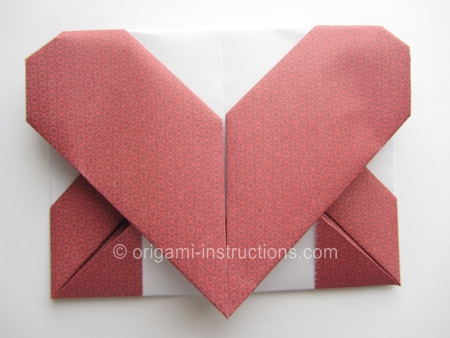
And your origami heart photo frame is complete! Here's the top view...
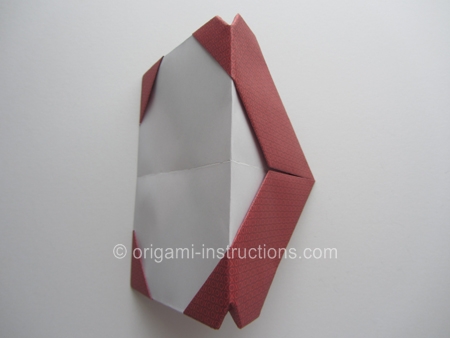
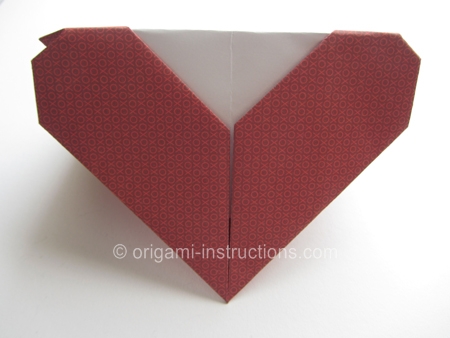
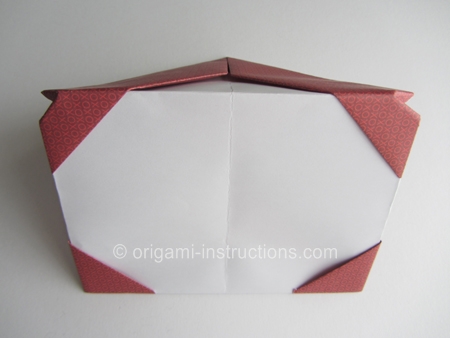
A 4x6 inch (4R) photo fits nicely when you trim a few millimeters off one end of the photo.
