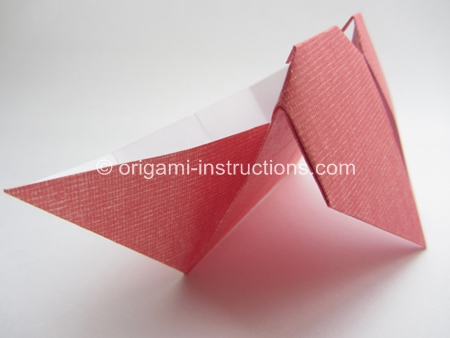
Origami Love Boat
We called this the origami love boat because it is a boat on one side and a heart on the other. It's a simple and cute origami!
Made this origami? Comment and Submit your photo using the comment box at the end of this page!
Origami Love Boat Step 1: Start with a 6 inch x 6 inch (15cm x 15cm) square paper, color side down.
Fold paper in half on both the horizontal and vertical axis. Crease well and unfold.
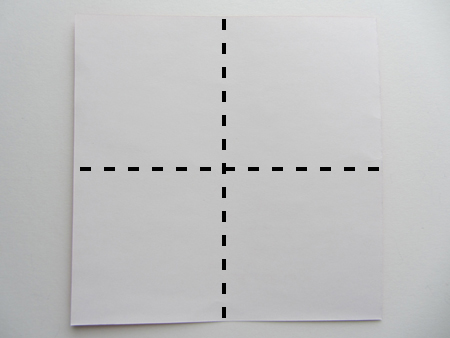
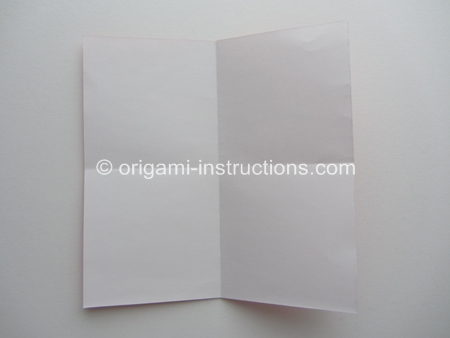
Origami Love Boat Step 2: Fold both bottom right and left corners to meet in the center. Crease well and unfold.
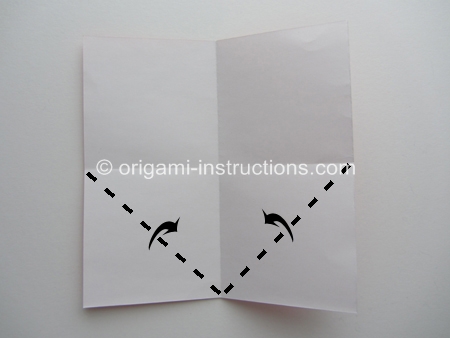
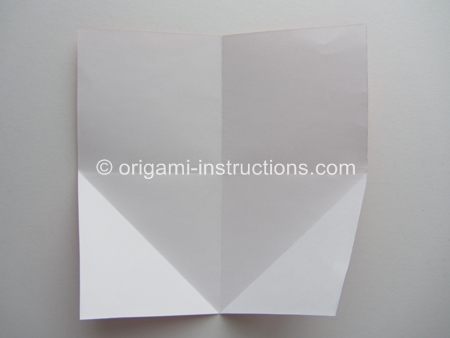
Origami Love Boat Step 3: Now fold both right and left sides to meet in the center. But do not crease the entire length of the paper.
Fold only to the point where it meets the diagonal crease.
This is because the heart will be formed on the lower half of the paper. And we do not want to add unnecessary creases to the heart portion.
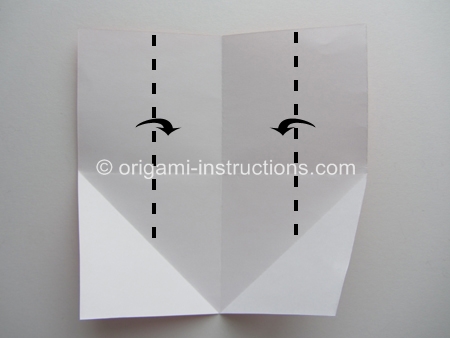
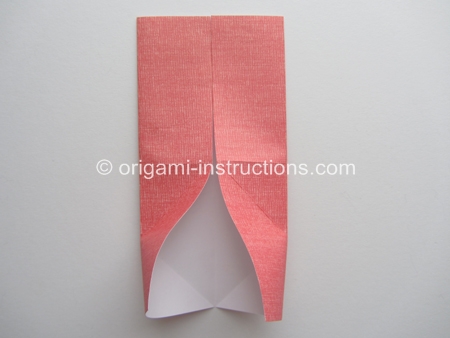
Origami Love Boat Step 4: Make the 2 diagonal folds as shown. Then bring the 2 sides towards the center, squash and press paper flat on the edges.
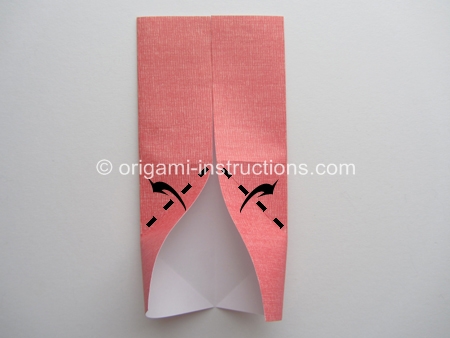
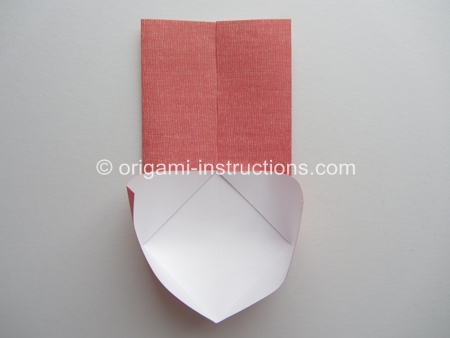
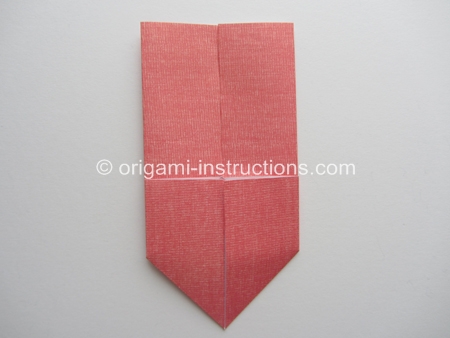
Origami Love Boat Step 5: Make the 2 diagonal creases on the upper half as shown. Then fold the top down and press paper flat to form a "roof".
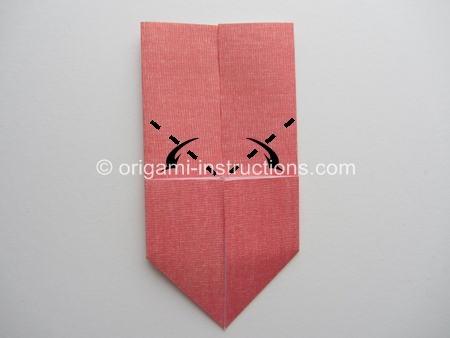
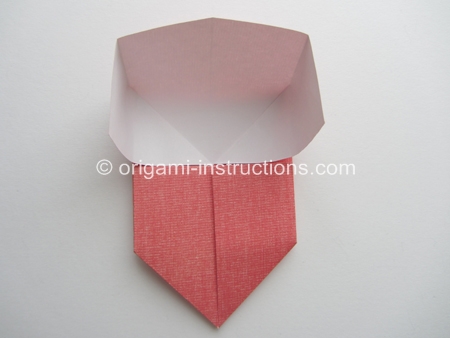
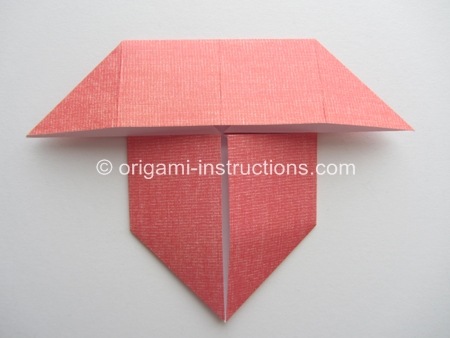
Origami Love Boat Step 6: Flip paper over.
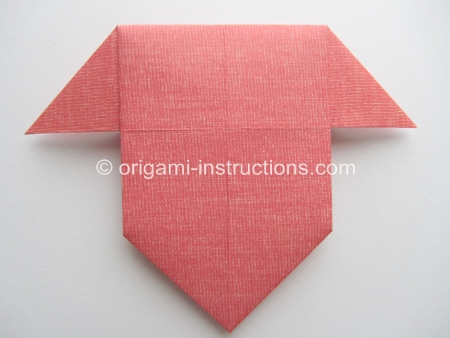
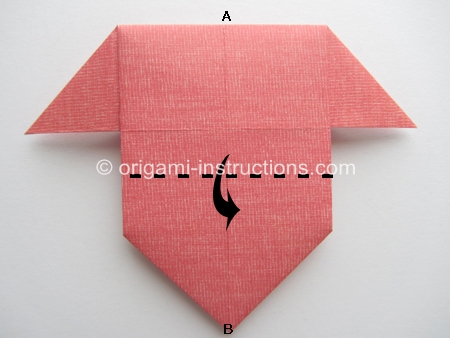
Origami Love Boat Step 7: Fold point A to point B. As you do so, you'll notice the top portion bulges or is not flat. To flatten the paper, we need to make 2 squash folds on the ends.
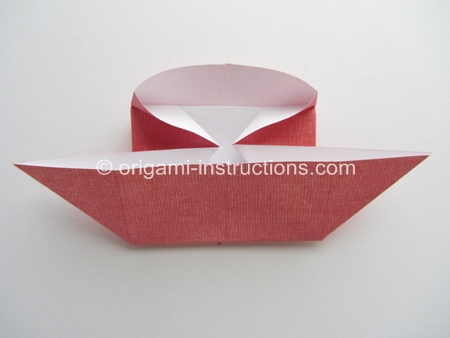
Closer look of the top portion.
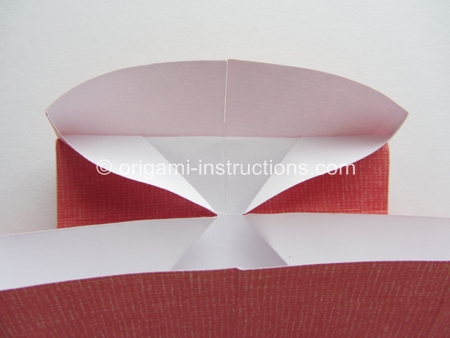
Make 2 squash folds, one on each side.
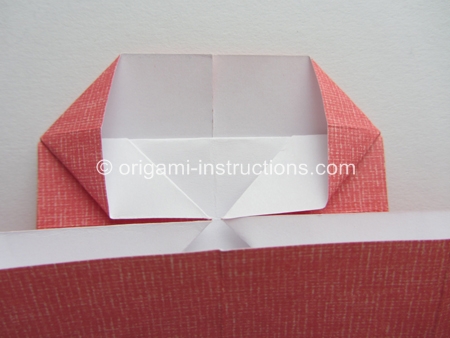
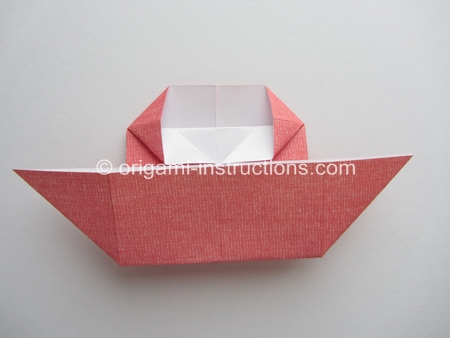
Origami Love Boat Step 8: A few finishing touches.....Make 2 diagonal folds.
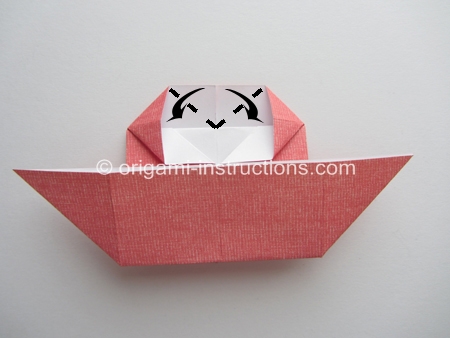
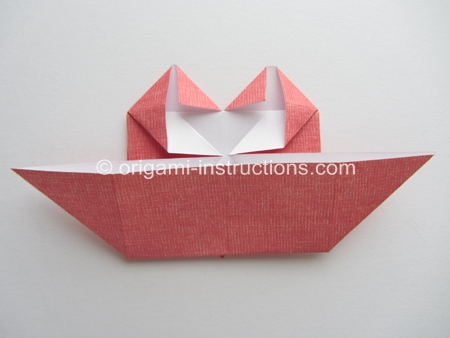
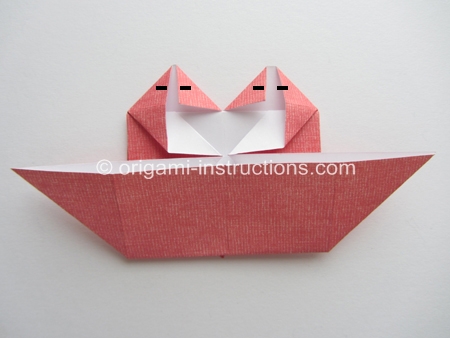
Origami Love Boat Step 9: Fold down the tips.
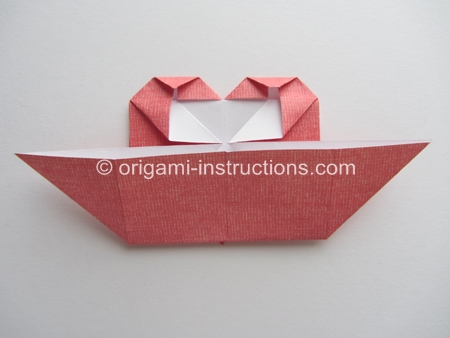
Origami Love Boat Step 10: Flip paper over and your origami love boat is complete!
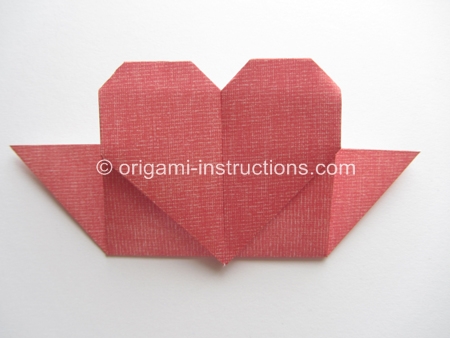
The origami love boat stands nicely....
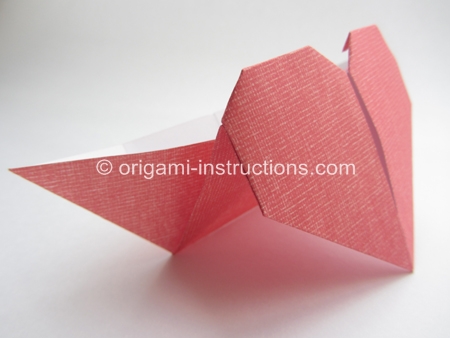
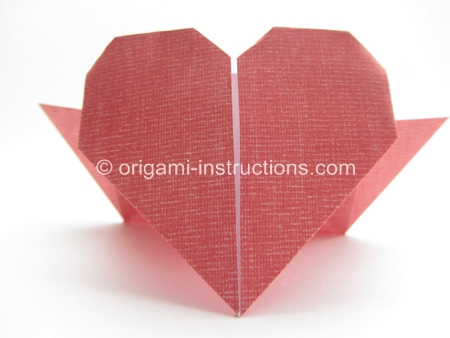
The heart leans on the boat....or is it the other way round?
