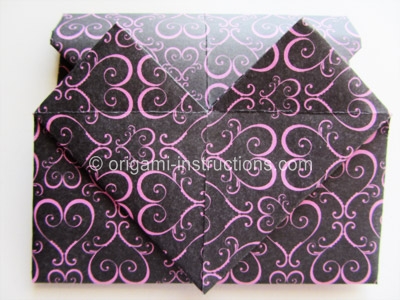
Origami Heart Envelope
Write a note, place it in this origami heart envelope and give it to some on Valentine's Day! This is a model by Elsje van der Ploeg.
Made this origami? Comment and Submit your photo using the comment box at the end of this page!
This is a fairly easy origami but there is one tricky step. Hopefully, you'll be able to follow our instructions and complete the step.
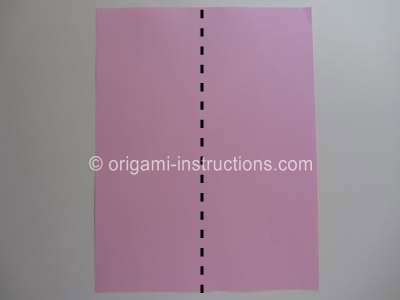
Origami Heart Envelope Step 1: Start with an A4 printer paper. The dimensions are 8.5 inch x 11 inch (210 mm x 297mm). Fold in half on the vertical axis. Crease well and unfold.
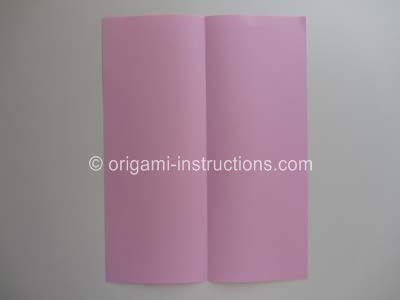
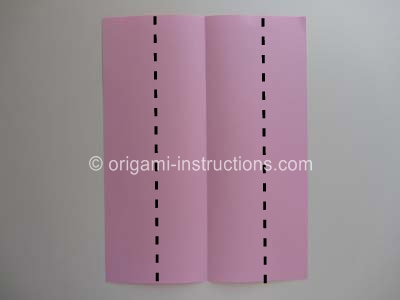
Origami Heart Envelope Step 2: Fold both sides to the center. Crease well and unfold.
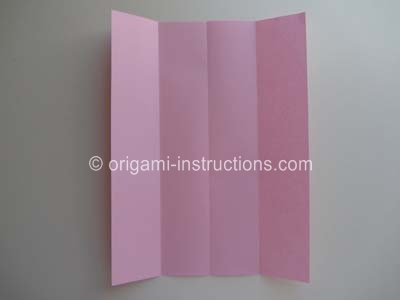
Origami Heart Envelope Step 3: Fold the bottom corners on the diagonal as indicated below.
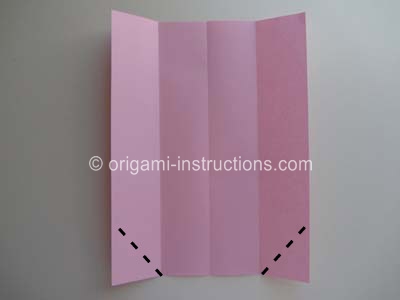
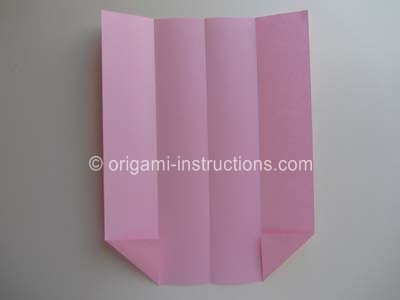
Origami Heart Envelope Step 4: Fold both the right and left sides to the center again.
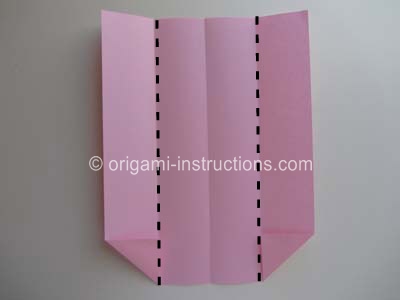
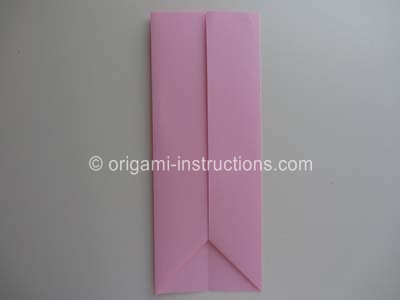
Origami Heart Envelope Step 5: Now we'll focus on the bottom part of the paper.
Crease the paper as shown. The creases form a triangle. Crease well and unfold.
Since this is printer paper, it is thicker and doesn't crease as easily as regular origami paper. So it is even more important to go over the creases a few times. The better your creases, the easier the next step will be.
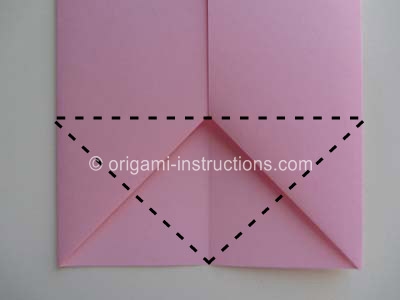
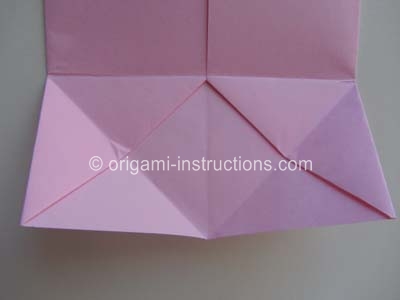
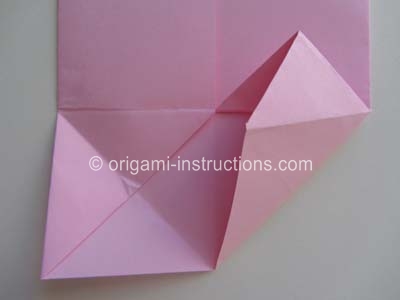
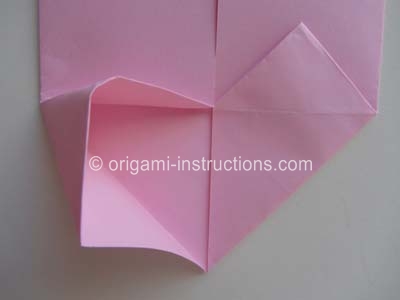
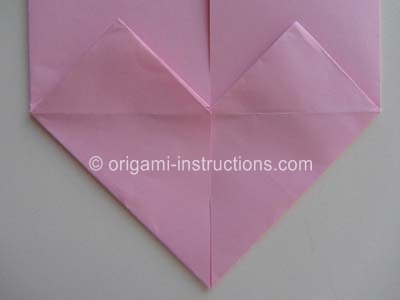
Origami Heart Envelope Step 6: Make 2 squash folds. You do this by prying the paper open and pressing it flat. You will see a heart form when you press the paper flat.
The creases you made in the previous step should help the paper fall into place easily. The better your creases, the easier this step will be.
Here's the squash fold for the right side.
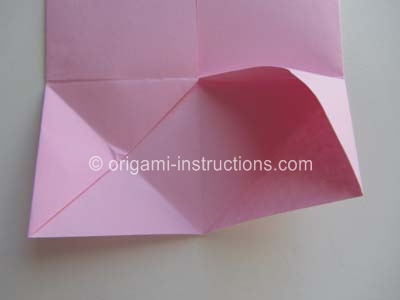
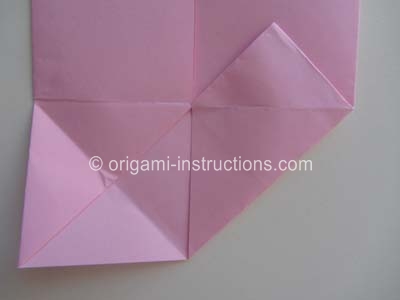
Repeat for the left side:
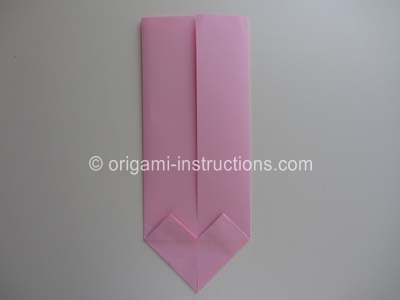
Origami Heart Envelope Step 7: Crease the paper on the dotted lines shown below.
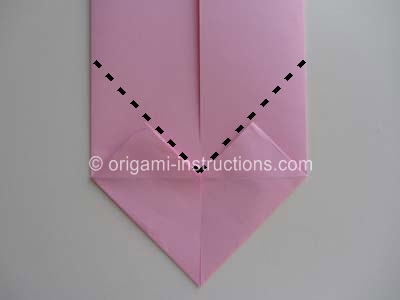
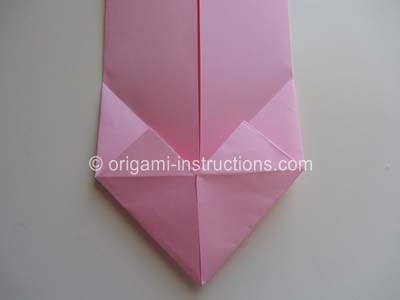
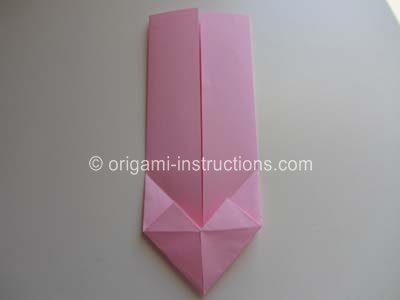
Origami Heart Envelope Step 8: Fold the paper on the dotted line shown below. Crease well and unfold BUT only unfold halfway.
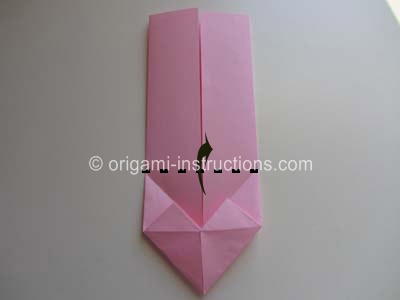
Top view after unfolding halfway:
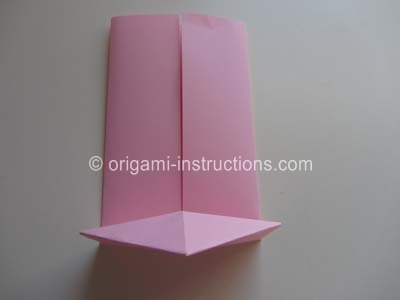
Front view:
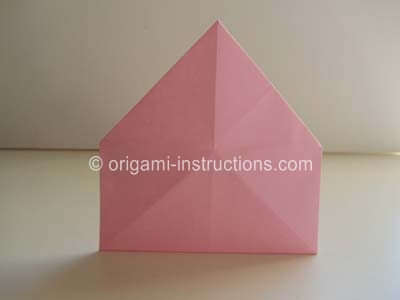
Origami Heart Envelope Step 9: As you are looking at your paper from the front, fold the tip down to reveal your heart.
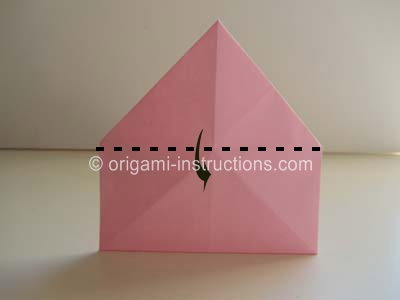
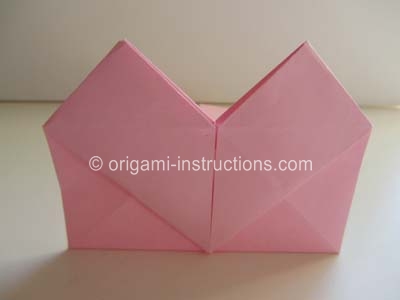
Origami Heart Envelope Step 10: Now rotate your paper 180 degrees so that you're now looking at it from the other end.
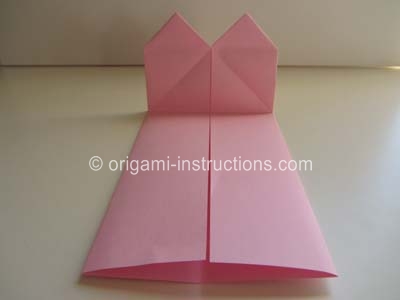
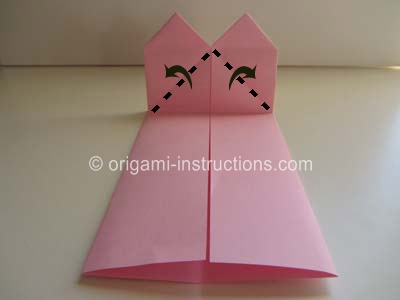
Origami Heart Envelope Step 11: Now make the diagonal folds as indicated below.
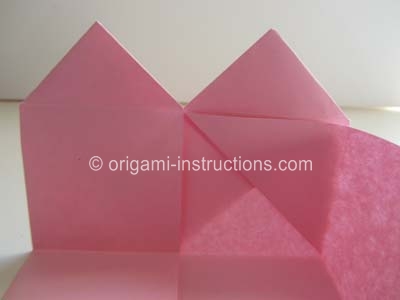
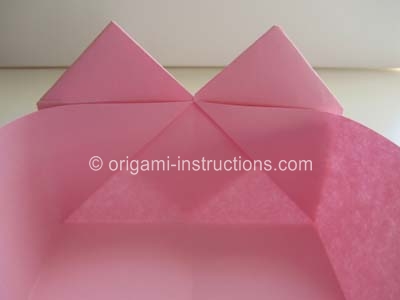
Origami Heart Envelope Step 12: Rotate your paper 180 degrees so that the heart is facing you again.
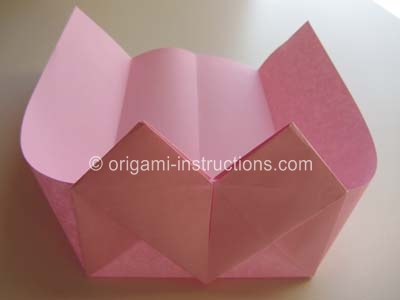
Origami Heart Envelope Step 13: We're now going to push the heart back onto the paper.
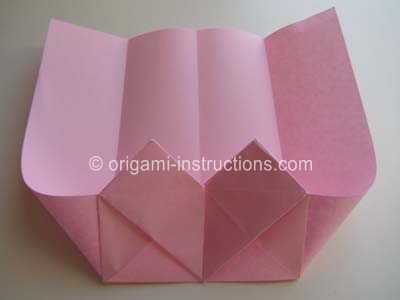
As you do so, you will need to make a diagonal crease on each side so that the heart can be flat against the rest of the paper.
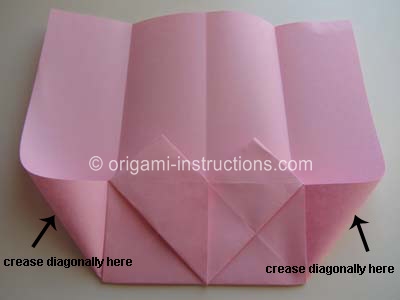
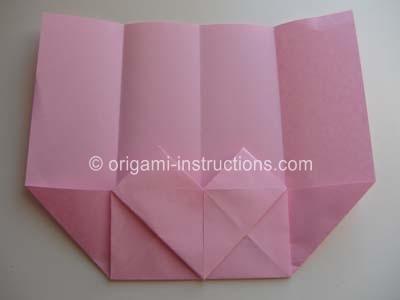
Origami Heart Envelope Step 14: Now that we're done with that, it's easy from here onwards! Make 2 folds at an angle as shown below.
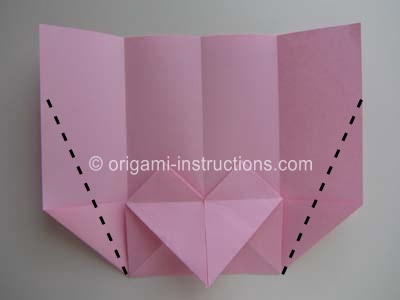
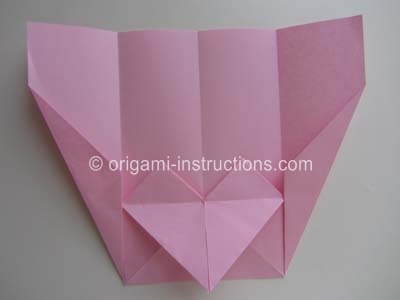
Origami Heart Envelope Step 15: Fold both the right and left sides towards the center. Tuck the paper under the heart.
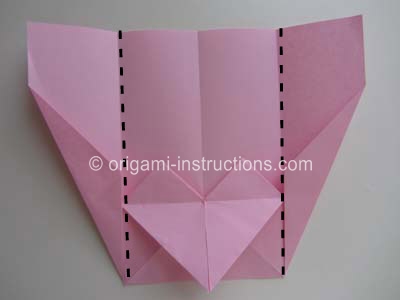
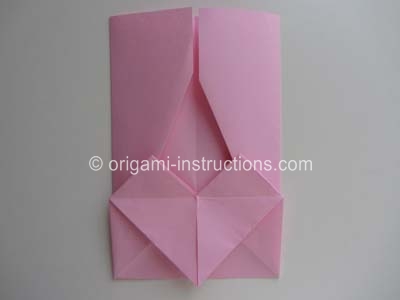
Origami Heart Envelope Step 16: Fold the top right and left corners towards the center.
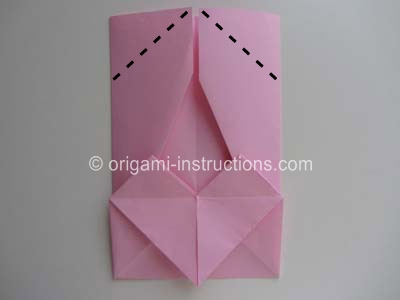
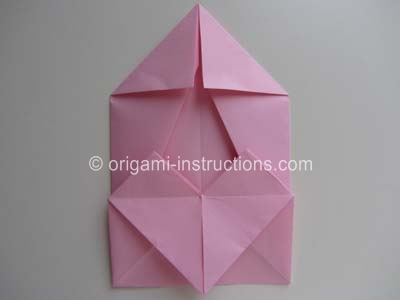
Origami Heart Envelope Step 17: Almost done! One more fold so that we can tuck in the tip.
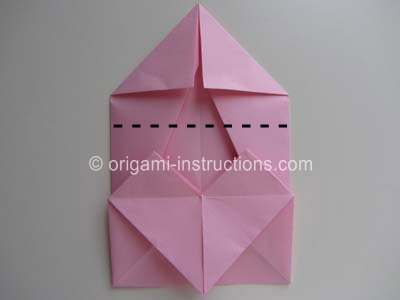
And your origami heart envelope is complete! We started with an A4 printer paper and the finished product is about 4 inch (~10cm) square (One side is slightly longer than 4 inches).
Who wouldn't love to receive a handwritten note in a personally made heart envelope on Valentine's Day or any day?!
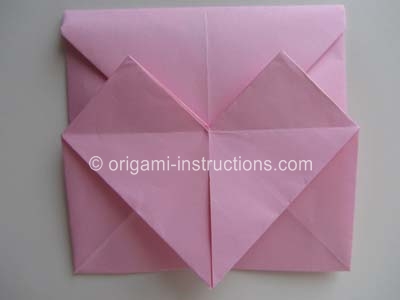
Here's the other side:
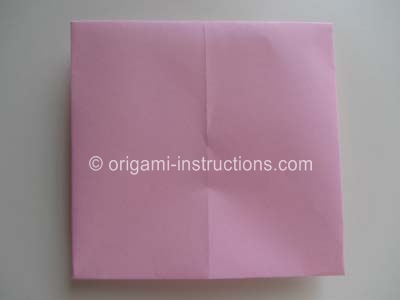
It looks much better if you use fancier paper!
