Origami Baseball Mitt
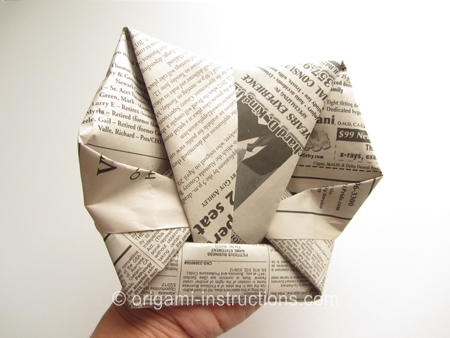
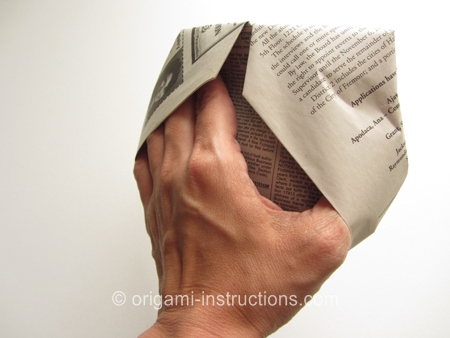
Fold this origami baseball mitt with newspaper and you'll end up with one large enough to fit your hand. This is an easy origami toy so do try making it!
Made this origami? Comment and Submit your photo using the comment box at the end of this page!
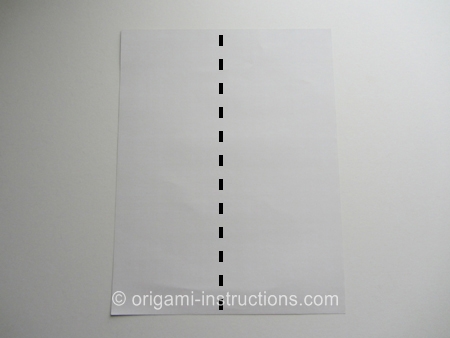
Origami Baseball Mitt Step 1: Start with a rectangle sheet of paper, color side down. You can use a large sheet of paper or newspaper. We used a 8.5 inch x 11 inch paper because it was easier to photograph.
Fold paper in half on the vertical axis. Crease well and unfold.
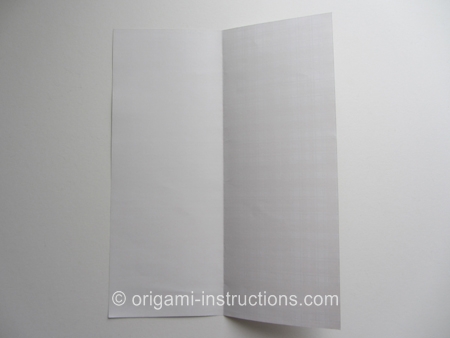
Origami Baseball Mitt Step 2: Fold both top corners to the center. Crease well.
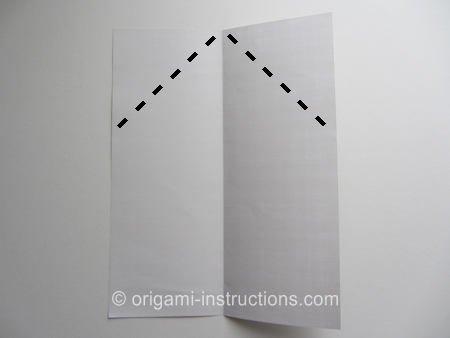
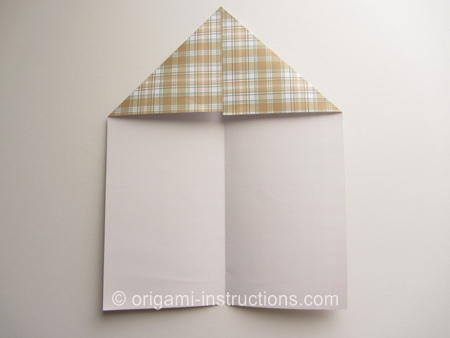
Origami Baseball Mitt Step 3: Make 2 more diagonal folds at the top.
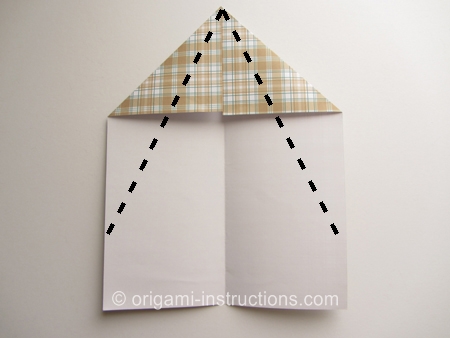
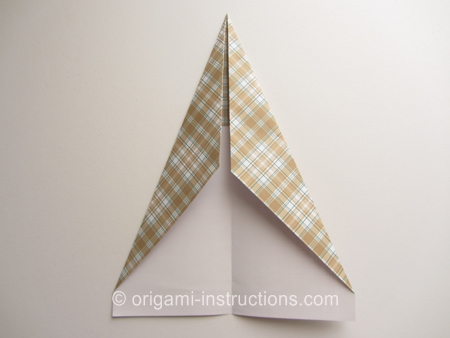
Origami Baseball Mitt Step 4: Flip paper over.
Make a horizontal valley fold at the bottom. It doesn't have to be precise, somewhere between 1/2 inch to 1 inch is probably good. If you're using a large sheet of paper or newspaper, then 1 inch (2.5cm) is a good size.
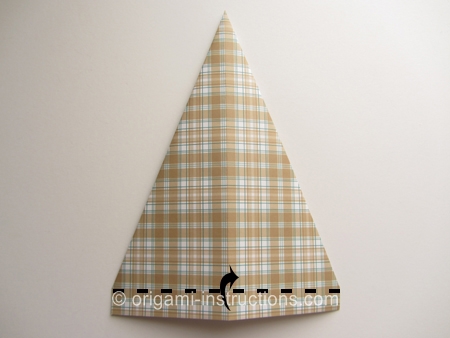
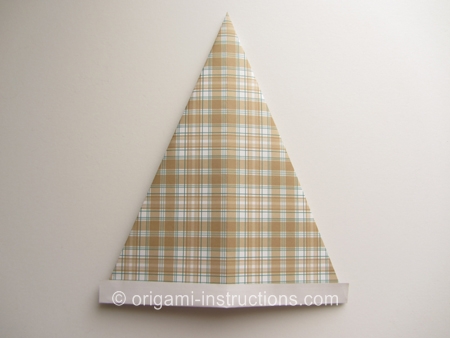
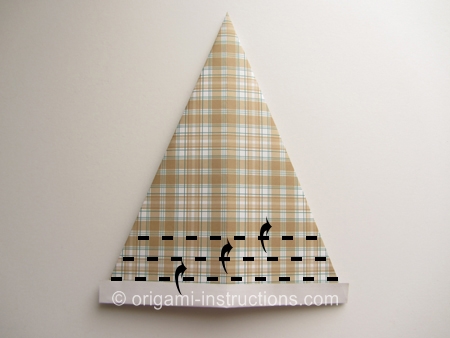
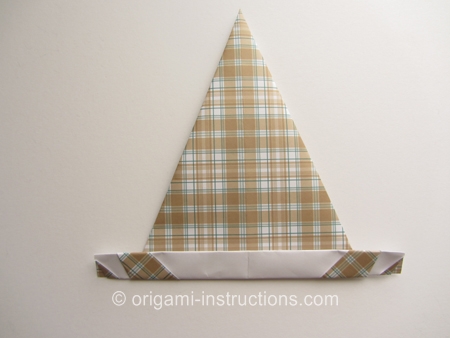
Origami Baseball Mitt Step 5: Now fold the bottom part over itself a few more times. The number of times to fold will depend on the size of your paper. If using newspaper, then you'll have to fold it over several more times.
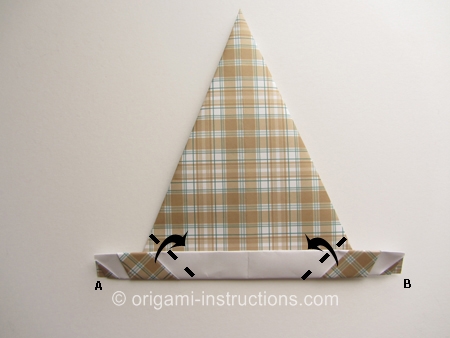
Origami Baseball Mitt Step 6: Make 2 diagonal folds so that points A and B touches the center.
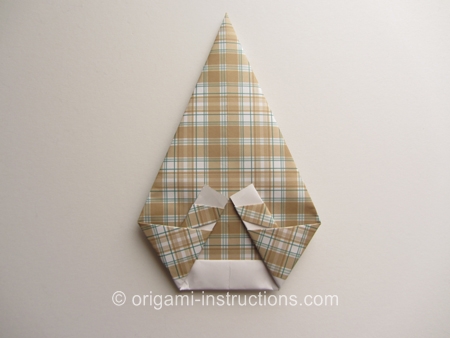
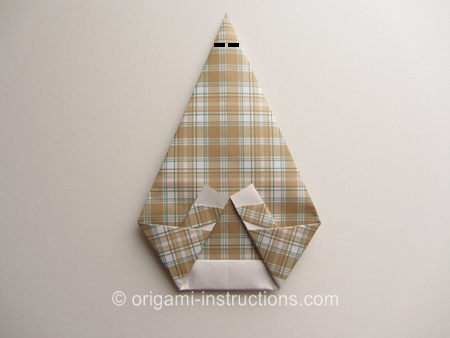
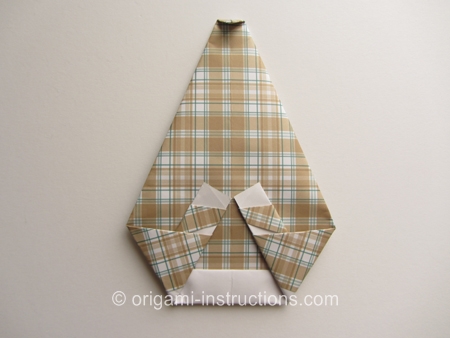
Origami Baseball Mitt Step 7: Fold down the top tip slightly.
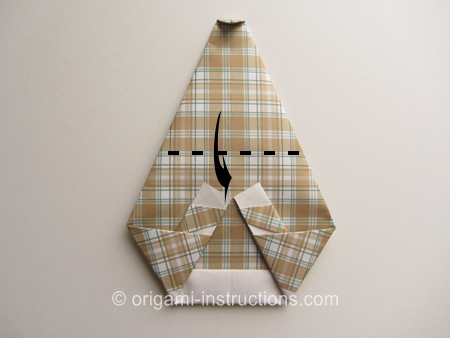
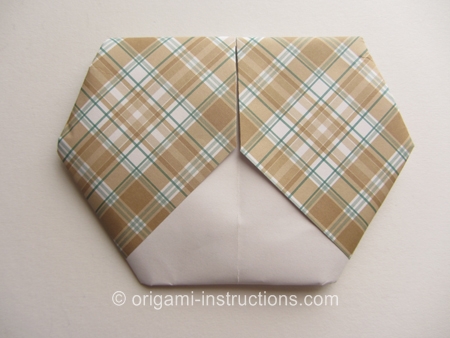
Origami Baseball Mitt Step 8: Now fold the paper in half bringing the top half down to the bottom. We want to tuck the top part into the bottom "pocket".
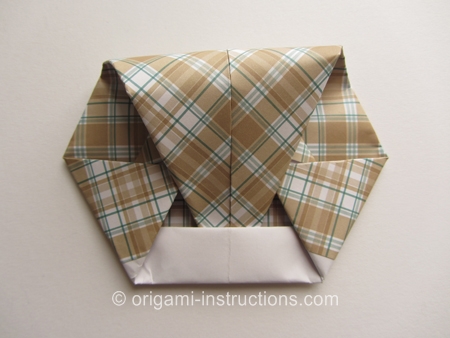
A closer look...
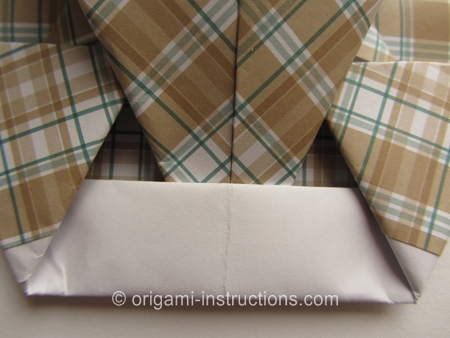
and your origami baseball mitt is complete! Here's the front...
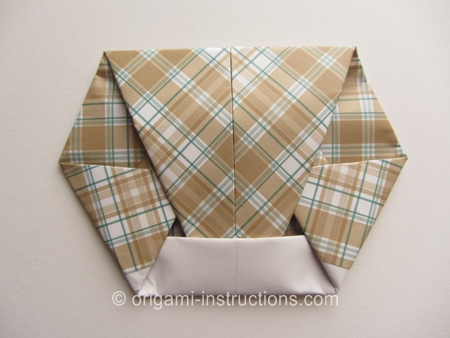
and back....
Like we mentioned at the beginning, you can make this out of newspaper and it'll fit your hand.
