Origami Drinking Bird
Origami drinking bird is a fun action origami toy. Check out the video of the origami drinking bird in action at the end of the page.
Made this origami? Comment and Submit your photo using the comment box at the end of this page!
Origami Drinking Bird Step 1: Fold an origami bird base. This is a commonly used base in origami and we've created a separate page of instructions for it.
You should have the following to start with.
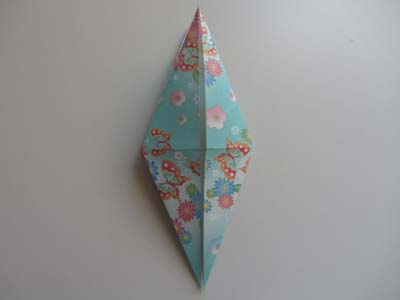
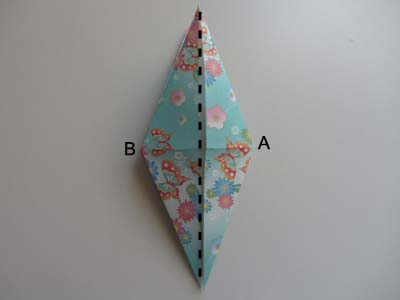
Origami Drinking Bird Step 2: Fold the top flap in half on the vertical axis, bringing point A to point B.
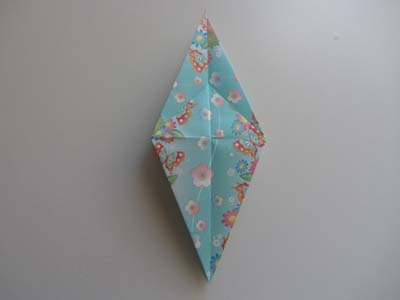
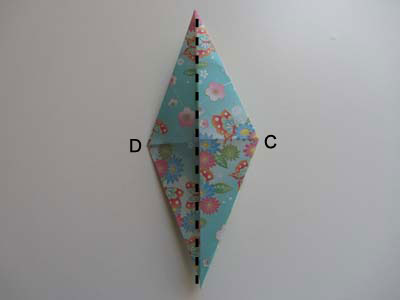
Origami Drinking Bird Step 3: Flip paper over. Now fold the top flap on this side in half, bringing point C to point D.
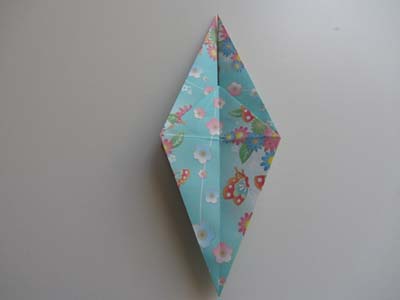
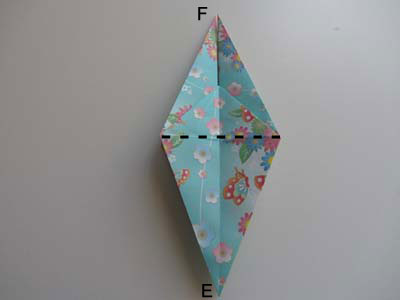
Origami Drinking Bird Step 4: Fold the paper on the dotted line shown below, bringing point E up to point F.
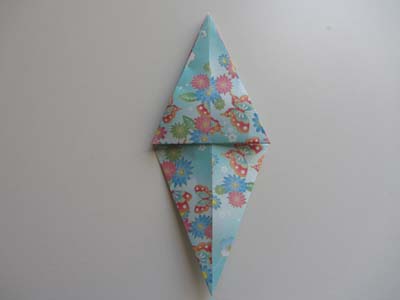
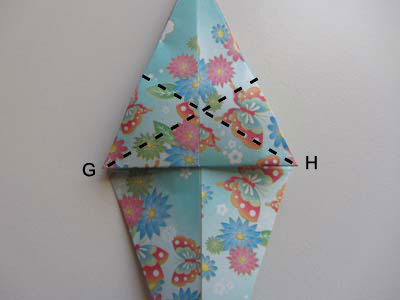
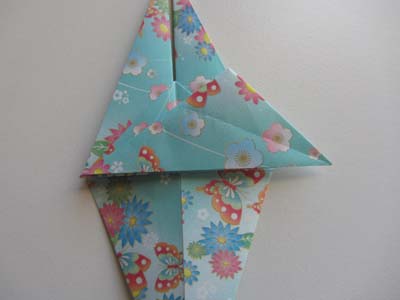
Origami Drinking Bird Step 5: Now we need make 2 folds at an angle. When you fold them at the dotted lines shown below, the paper should line up with G-H.
Crease well and unfold.
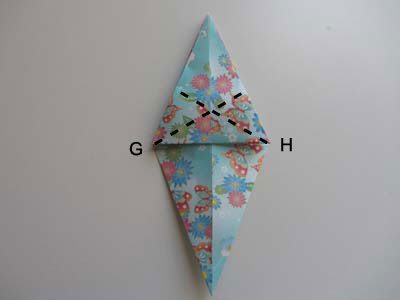
Here is a close-up view.
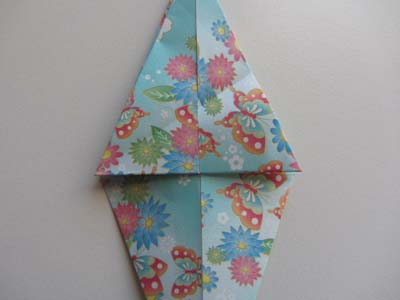
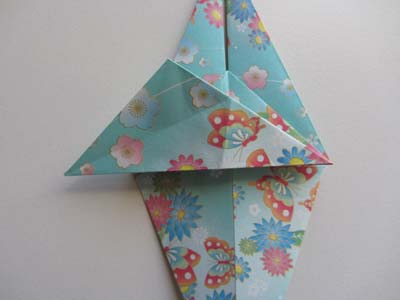
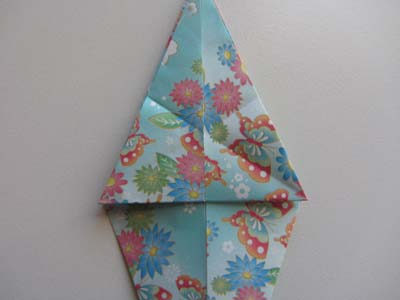
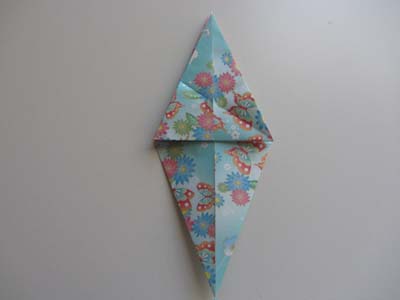
Origami Drinking Bird Step 6: Now we are going to recrease the paper on the dotted lines shown below.
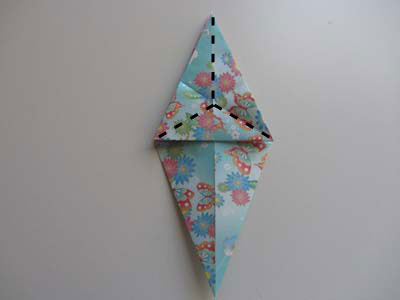
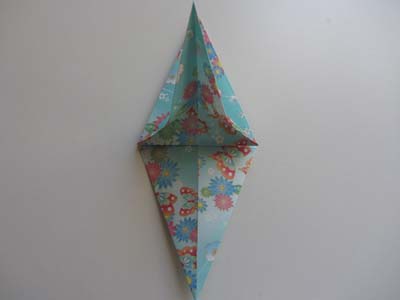
Zooming in for a closer view:
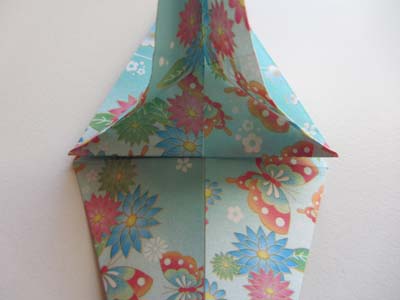
Origami Drinking Bird Step 7: Rotate the paper 90 degrees clockwise and make a mountain fold. We are folding the paper in half.
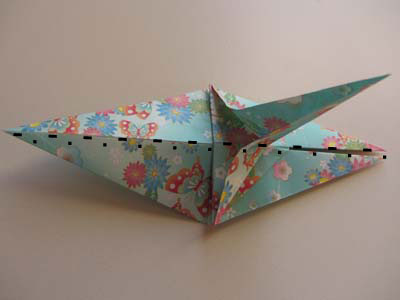
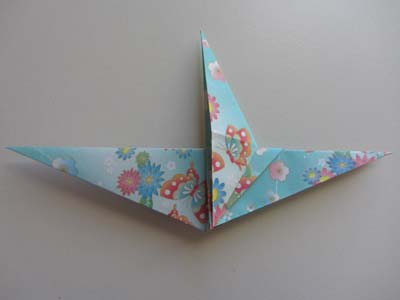
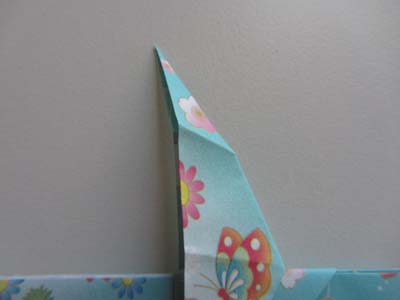
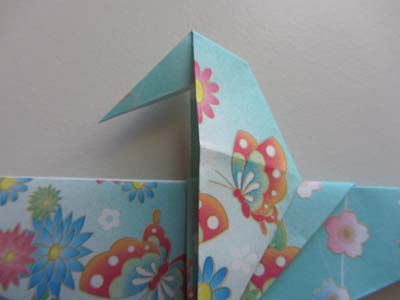
Origami Drinking Bird Step 8: Almost done! Make an inside reverse fold to form the head of the bird.
This is a commonly used fold in origami, generally used to form heads or tails of origami animals.
If you've folded the origami crane, you've made an inside reverse fold before.
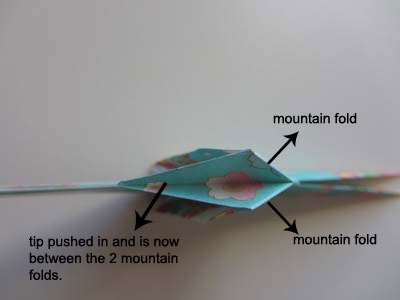
Basically, make a mountain fold at an angle on each side of the paper. Once you've made the 2 mountain folds, you can push down the tip so that the tip now resides between those 2 mountain folds.
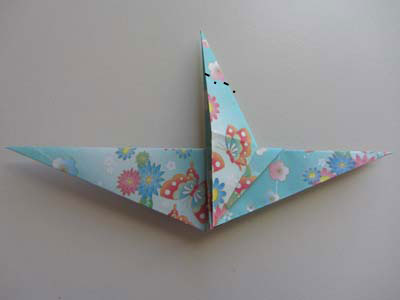
Here's a top view of the inside reverse fold:
Origami Drinking Bird Step 9: Your origami drinking bird is complete!
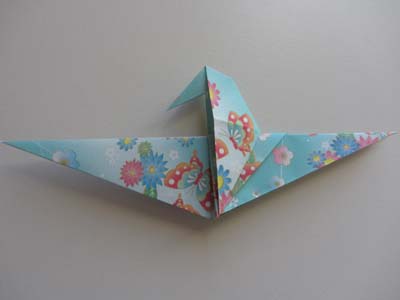
Only thing to do now is to put it in action. Here's a video showing how!


