Origami Snapper
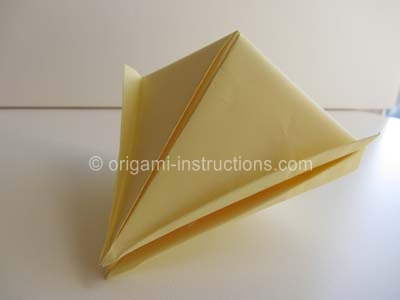
Origami snapper is an action origami toy that makes a nice snapping sound as you open and shut it. You can see a video of it in action at the end of this page.
Made this origami? Comment and Submit your photo using the comment box at the end of this page!
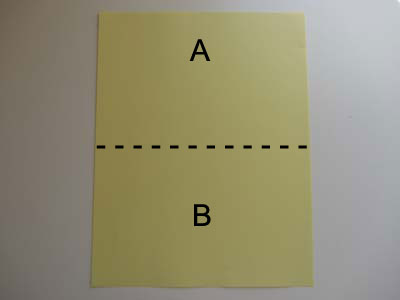
Origami Snapper Step 1: Start with an A4 printer paper. The dimensions are 8.5 inch x 11 inch (210 mm x 297mm). We now use color printer paper so that it's easier to photograph.
Fold paper in half, bring the top half, A, down to the bottom half, B.
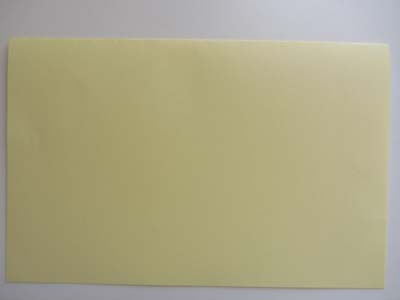
Origami Snapper Step 2: Fold paper in half. Crease well and unfold.
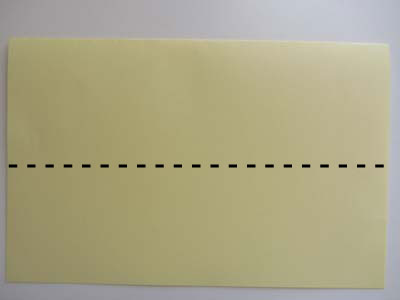
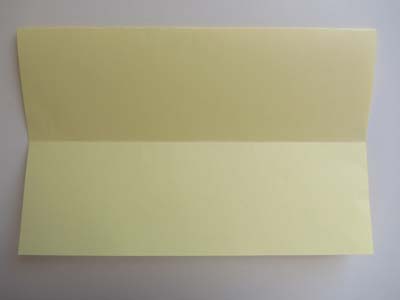
Origami Snapper Step 3: Make 2 diagonal folds as indicated below.
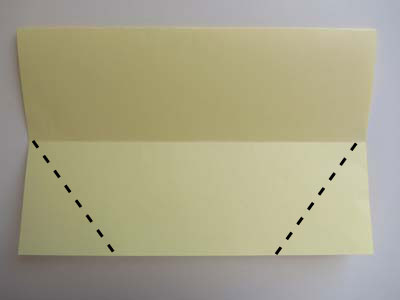
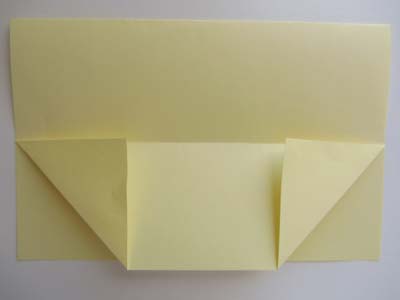
Origami Snapper Step 4: Now fold the top flap of the paper in half.
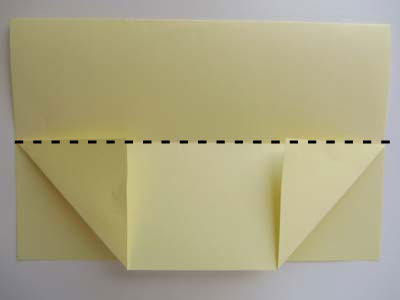

Origami Snapper Step 5: Flip paper over. We're now going to fold all 4 corners to the center.
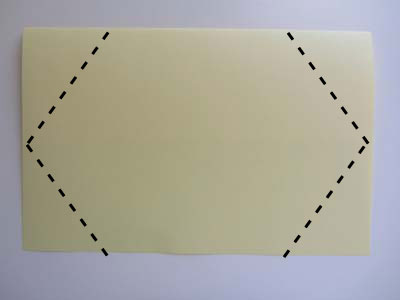
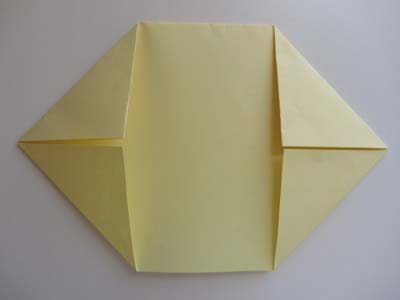
Origami Snapper Step 6: Now fold paper in half, bringing the bottom half to the top.
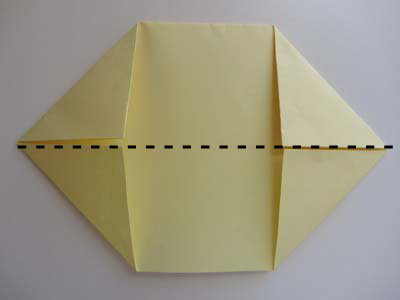
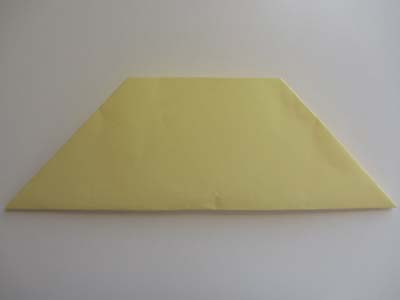
Origami Snapper Step 7: We now want to mark the center point. So fold the paper in half and make a small crease on the bottom edge as indicated below.
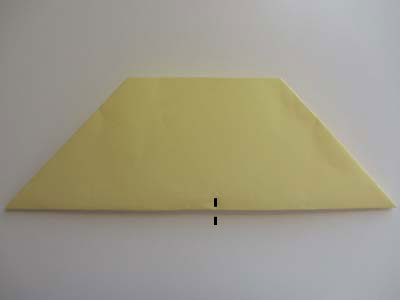
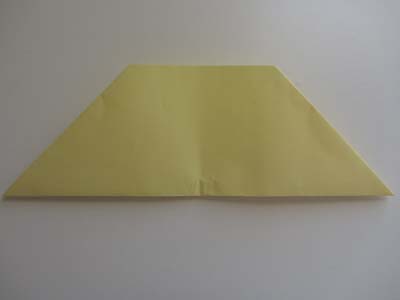
Origami Snapper Step 8: Cut a small slit on that center point on both sides of the paper.
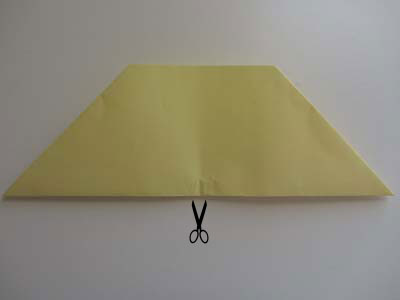
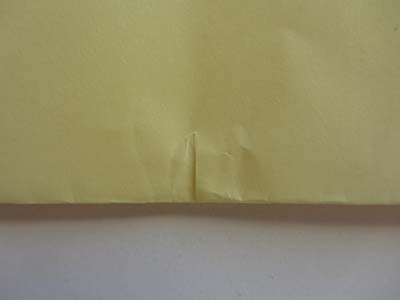
Origami Snapper Step 9: Because of that slit, we can now fold the paper at an angle from the slit to the tips (both right and left sides).
Printer paper is thick so it is a bit difficult to make a nice crisp crease.
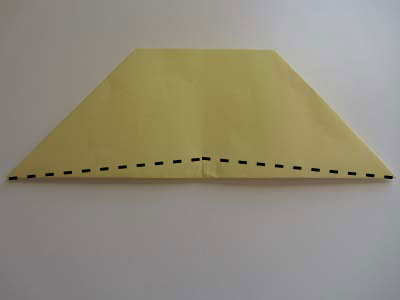
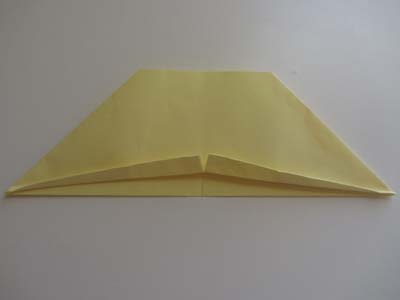
Origami Snapper Step 10: Flip paper over. We're going to repeat Step 8 on this side.
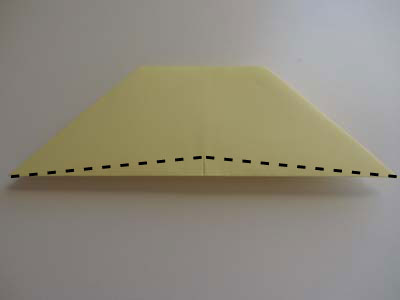
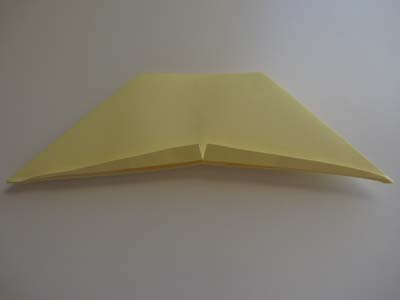
Origami Snapper Step 11: Pry paper open from the bottom. Then bring both tips to the center like closing a book.

and your origami snapper is complete!
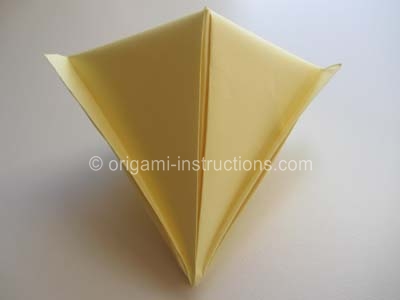
You can see the origami snapper in action here:


