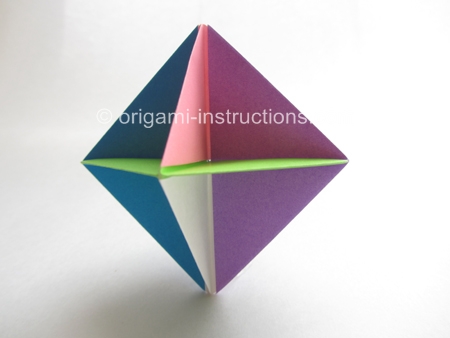
Easy Modular Spinner
The waterbomb base is the unit for this easy modular spinner. While it's easy to fold the individual units, the assembly process can get a bit confusing.
Made this origami? Comment and Submit your photo using the comment box at the end of this page!
Easy Modular Spinner Step 1: Fold an origami waterbomb base. We used a 3 inch (75mm) square paper for this. You can then hold the finished origami between your thumb and index fingers.
The waterbomb base is a commonly used base in origami. The video instructions and link are below.
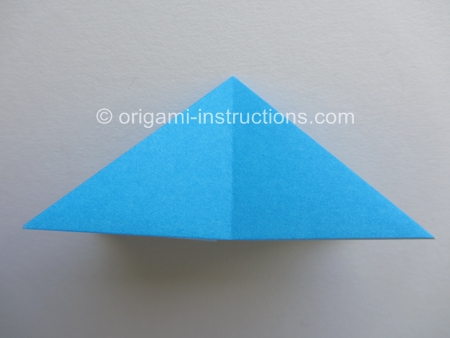
Now look at your waterbomb base from the top. Notice it has 4 arms?
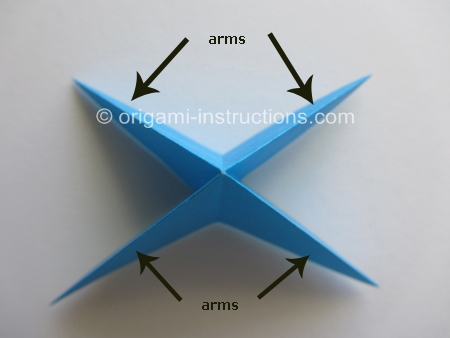
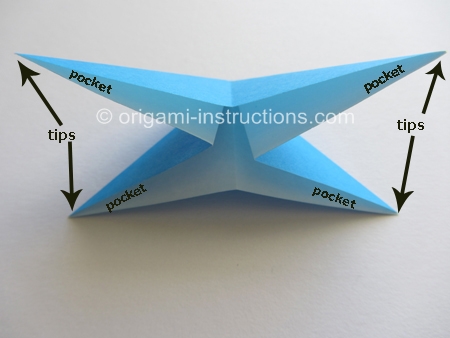
Now look at the waterbomb base from the bottom. Each arm has a tip and pocket.
Why is this important? Because in order to assemble the units without any glue, we need a way to hold the units together.
Generally in modular origami, the units are held together by inserting a tip into a pocket.
Here, each arm can function either as a tip or a pocket.
Easy Modular Spinner Step 2: We need six units for this modular origami so fold another 5 origami waterbomb bases.
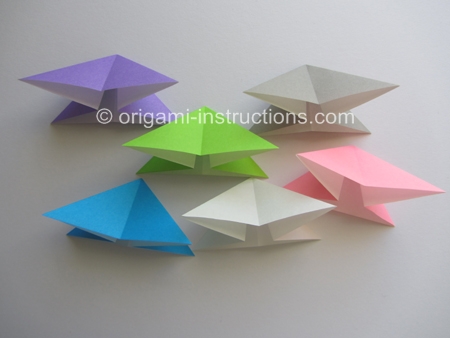
Easy Modular Spinner Step 3: As mentioned previously, to assemble the units, we need to insert a tip into a pocket.
Watch the video if you would like to see the full assembly.
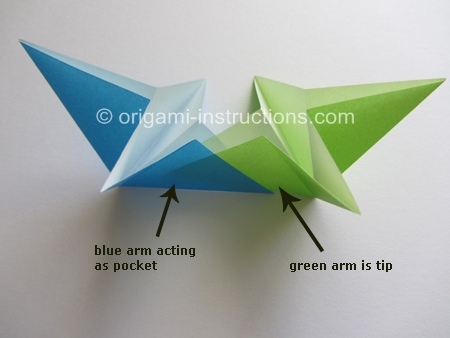
Start off with 2 units. We're starting with the green and blue units.
Here, the green unit arm is functioning as a tip and the blue unit arm is functioning as a pocket. Slide the tip all the way into the pocket.
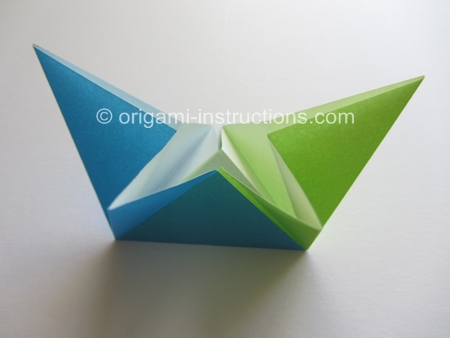
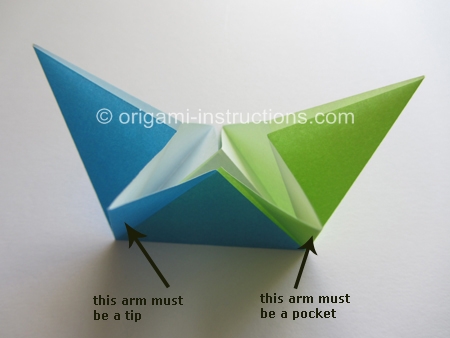
Easy Modular Spinner Step 4: Now we're going to add the 3rd unit. The most important thing to remember for this entire assembly is to alternate the function of each arm.
This means that if one arm is functioning as a tip, then the arm next to it must be a pocket.
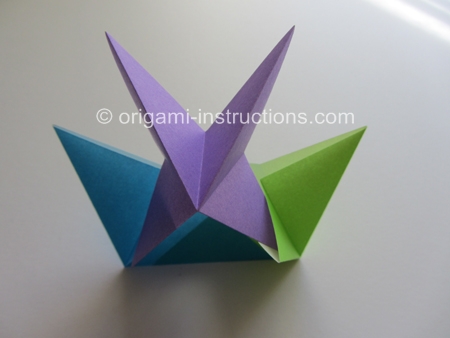
The 3rd unit (purple) being assembled....
You can see that the green arm is functioning as a pocket for the purple tip.
The blue arm is functioning as a tip for the purple pocket.
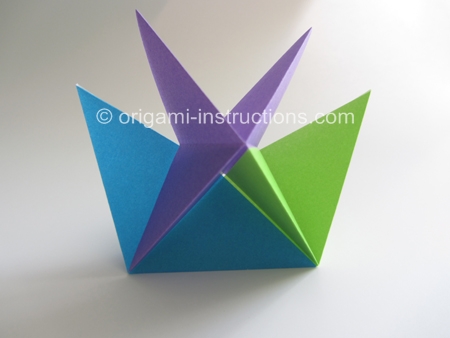
Easy Modular Spinner Step 5: Continue to assemble the rest of the units. Just remember to alternate the function of each arm. When completed, it should look like this.
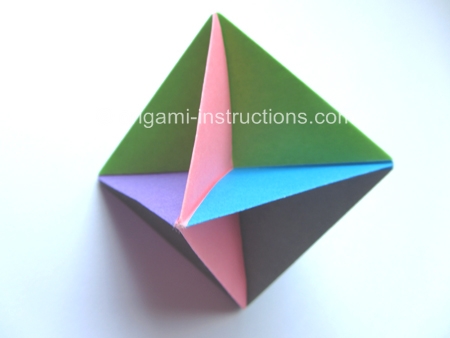
Hold the origami between your thumb and index fingers and blow on it to get it to spin!
