Origami Valley and Mountain Folds
If you've ever folded any origami, then you've folded valley and mountain folds whether you know it or not. They are the simplest of origami folds.
Every origami starts out with a Valley or Mountain Fold.
The way I think of a valley fold is - the crease is at the bottom and the paper is folded forward into itself. The paper should form a "V" when you unfold. You may have other ways of defining a valley fold...
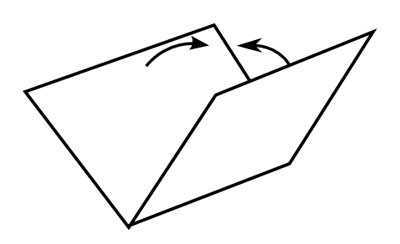
In traditional origami diagrams, dash lines "- - - - -" represent valley folds.
Valley Fold Example 1 - Fold either left to right or right to left and you've a valley fold.
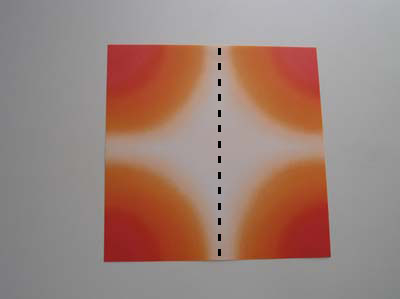
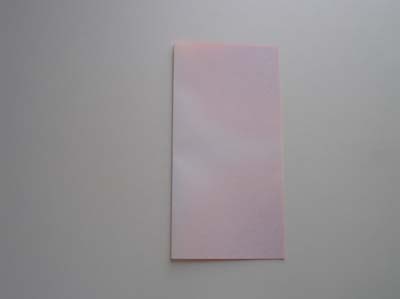
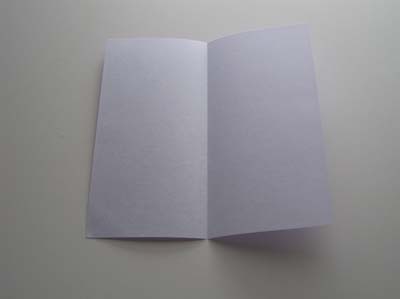
After you fold the Valley fold and unfold, see how the paper forms a "V" when unfolded?
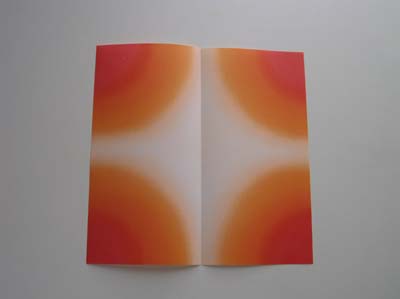
Valley Fold Example 2:
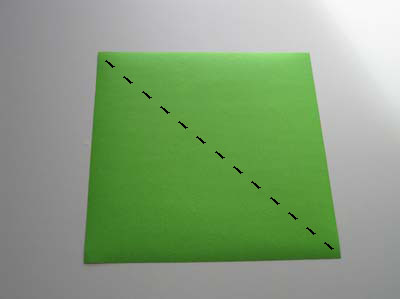
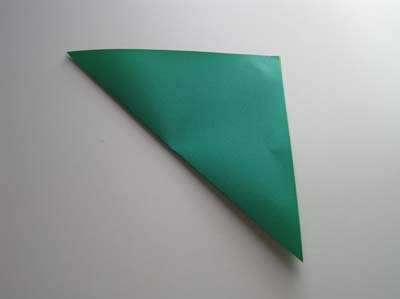
and once again, when the paper is unfolded, it forms sort of a "V"
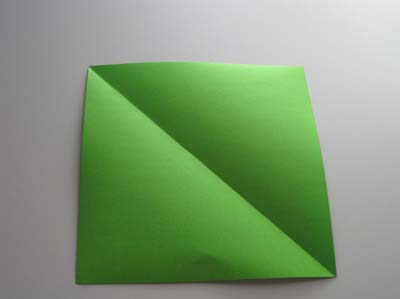
For a mountain fold, the crease is at the top and the paper is folded "behind" itself.
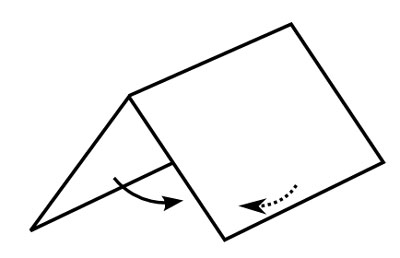
Generally a dash-dot line "- . - . - . " represents mountain fold.
Mountain Fold Example 1: Start with origami paper. Pull the paper up so that the paper is folded behind itself. This is a mountain fold. The crease sits at the top like the peak of a mountain. When you unfold, the paper looks like a mountain.
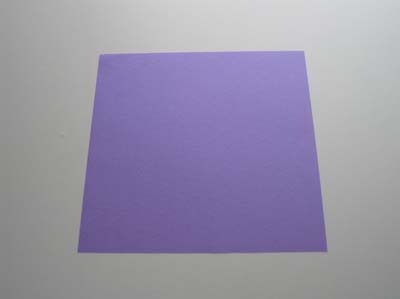
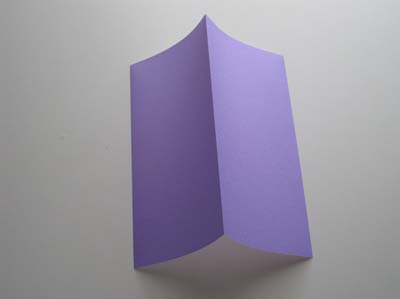
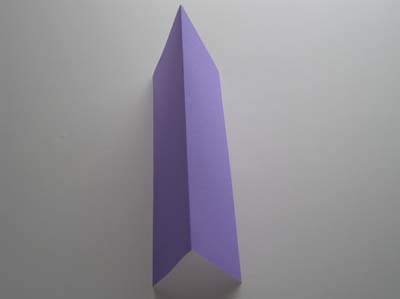
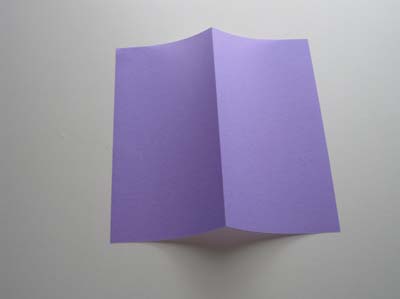
Now, if you flip the paper over, you have a valley fold. So if you need a mountain fold, you can always flip the paper over, do a valley fold and then flip the paper over again so that you have a mountain fold on the desired side!
The difference between valley and moutain fold may not seem significant but it could change how your origami turns out. When you make the correct fold, the paper will "move" naturally into position.
A great origami to practice and understand valley and mountain folds better is the boaz butterfly. It's such a simple design and yet, showcases how important valley and mountain folds are.
Do try folding it!


