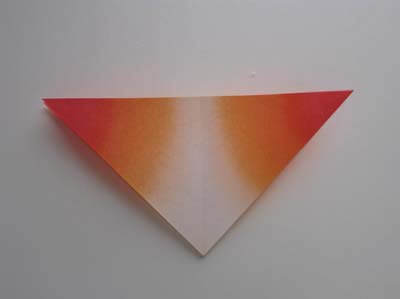
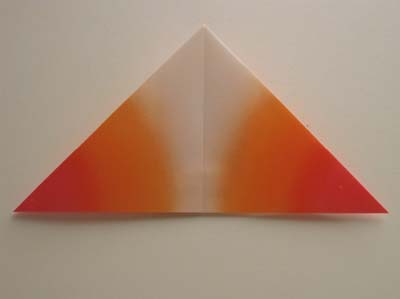
Origami Waterbomb Base Folding Instructions
The Origami Waterbomb Base is also known as the balloon base but probably better known as the waterbomb base, after the origami where this base was used.
If you've made the traditional origami waterbomb, then you've made this base. If you haven't, then after making this base, continue on to the origami waterbomb page to finish the origami.
This base is also used as a starting point in the origami lily, angelfish, easy crab and origami inflatable goldfish.
You can fold the base by either following the video or the photos below.
Origami Waterbomb Base
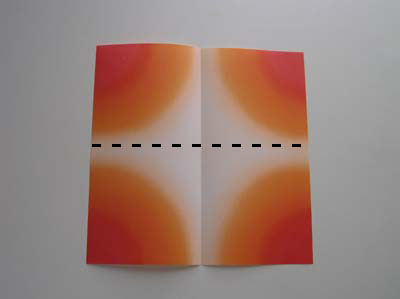
Origami Waterbomb Base Step 1: Start with an origami paper color side up. Make a valley fold from left to right (or right to left). Crease the fold well and unfold the paper.
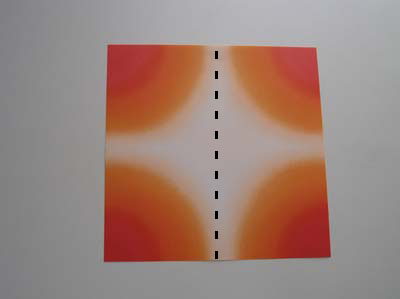
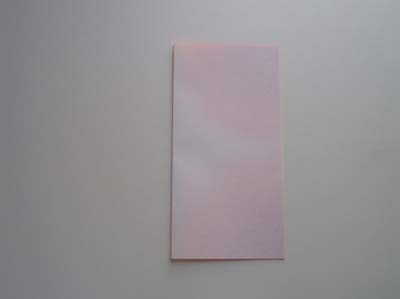

Origami Waterbomb Base Step 2: Now make another valley fold, this time from bottom to top along the dash line as shown. Crease the fold well and unfold the paper.
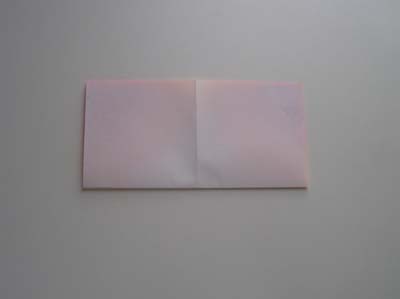
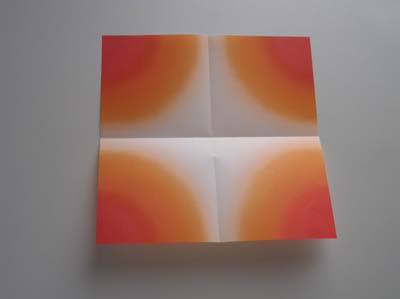
Origami Waterbomb Base Step 3: Flip the paper over.
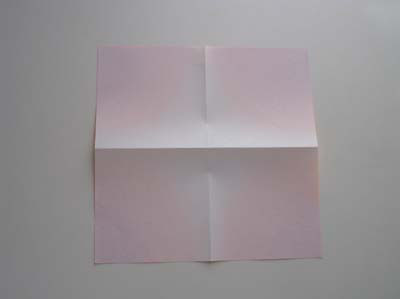
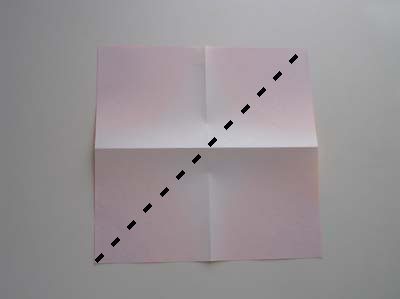
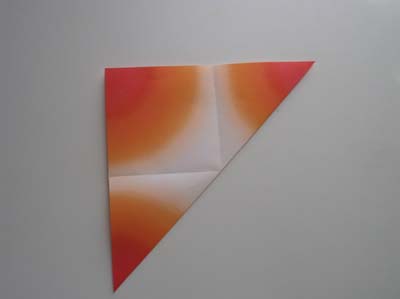
Origami Waterbomb Base Step 4: Now make a valley fold along the diagonal line as shown, crease well and unfold paper.
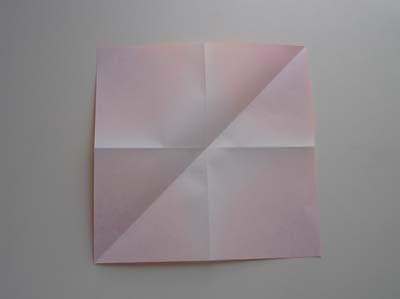
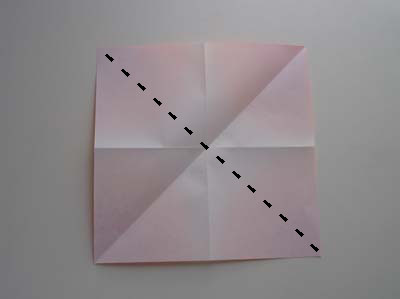
Origami Waterbomb Base Step 5: Now make a valley fold along the other diagonal, crease well and unfold paper.
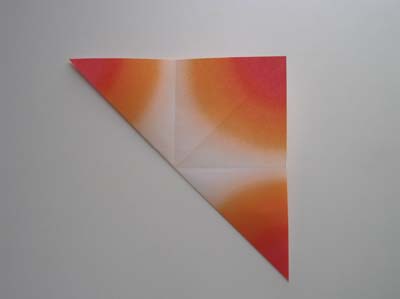
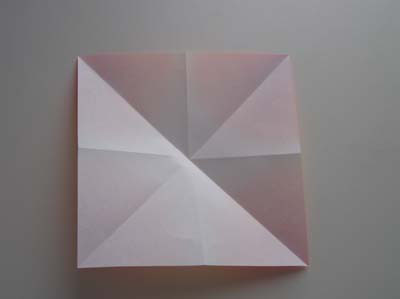
Origami Waterbomb Base Step 6: OK, time to actually put the base together.
If you've creased the paper well, then the paper should come together like magic. If not, you'll understand why creasing well is so important in origami.
Start pushing the paper from both sides as shown by the arrows.
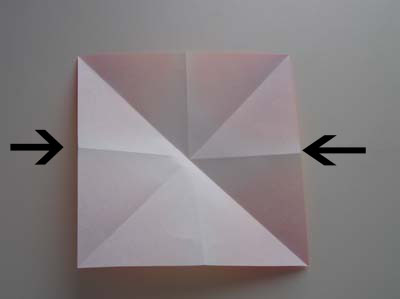
Origami Waterbomb Base Step 7: As you push the sides in, the background triangle should form. Hold it down as you continue to bring both sides together.
Once the sides meet in the center, your base is already half done. Push the paper down to form the triangle and you're done!

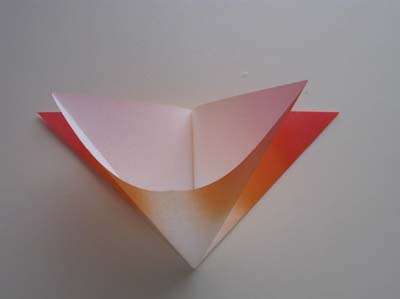
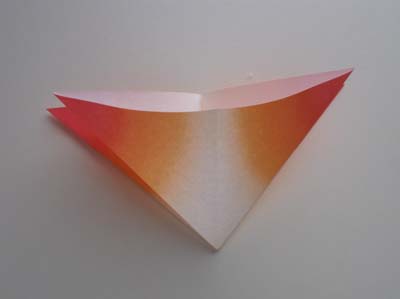
The waterbomb base is complete!
