Origami Baggi Box
Origami Baggi Box is a really smart model by Giuseppi Baggi. You can use the same set of instructions for both square and rectangle (A4) paper. Depending on which paper you start with, you'll end up with a different shape box!
Made this origami? Comment and Submit your photo using the comment box at the end of this page!
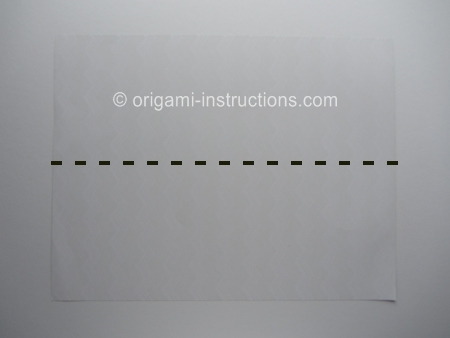
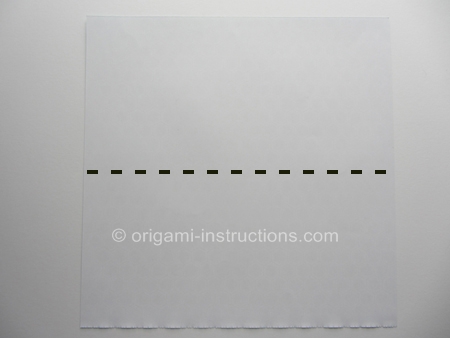
Origami Baggi Box Step 1: Start with either a square paper or A4 paper, color side down. Today we are using a 12 inch x 12 inch (30.4 cm x 30.4 cm) square cardstock paper so that we can make a bigger and sturdier box.
This is a good origami to use thicker cardstock paper instead of regular thinner origami paper because it produces a stronger box. Another plus is the variety of colors and patterns available for cardstock paper. You can personalize your box based on the occassion or usage.
Fold paper in half on the horizontal axis. Crease well and unfold.
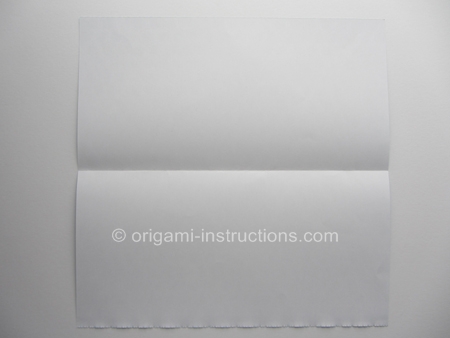
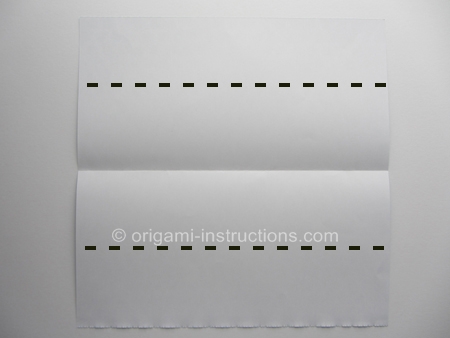
Origami Baggi Box Step 2: Fold both top and bottom halves to the center. Crease well and unfold.
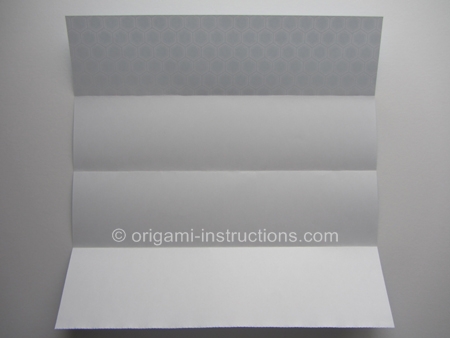
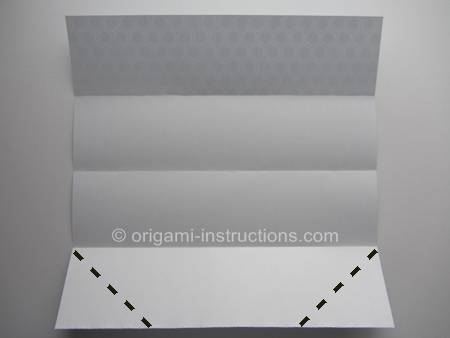
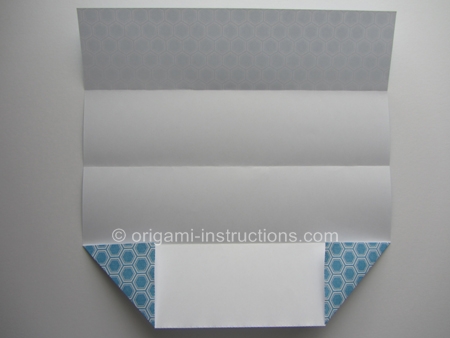
Origami Baggi Box Step 3: Make 2 diagonal folds at the bottom corners.
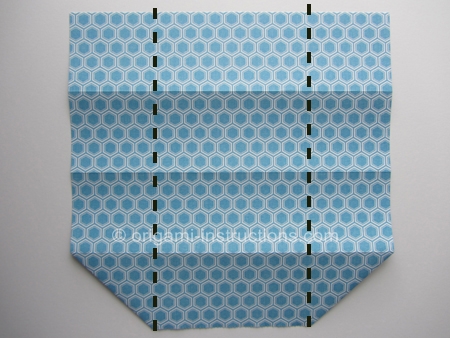
Origami Baggi Box Step 4: Flip paper over. Make the 2 vertical valley folds. Crease well and unfold.
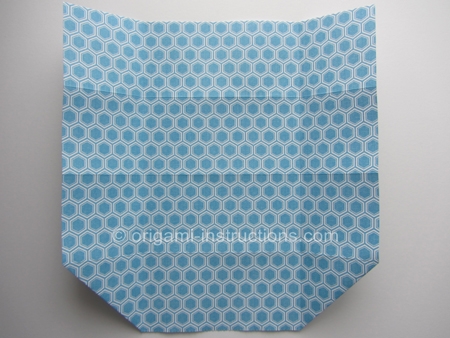
Origami Baggi Box Step 5: Make 2 diagonal folds at the top corners. Crease well and unfold. Notice the angle of the diagonal fold. It should be parallel to the diagonal folds at the bottom.
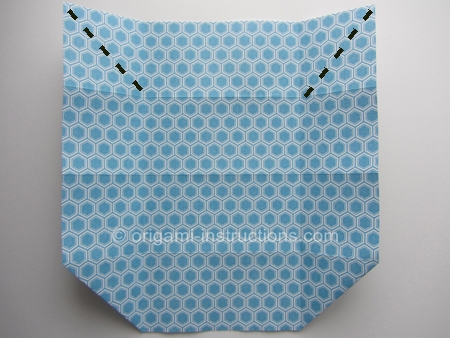
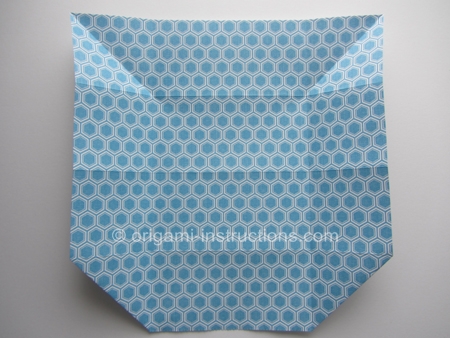
Origami Baggi Box Step 6: Fold paper in half.
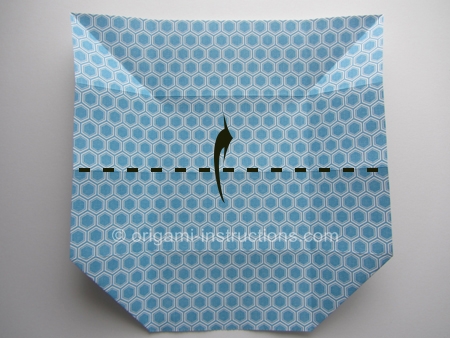
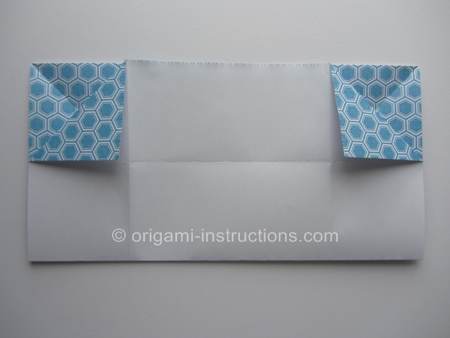
Origami Baggi Box Step 7: Make 2 diagonal valley folds at the bottom corners.
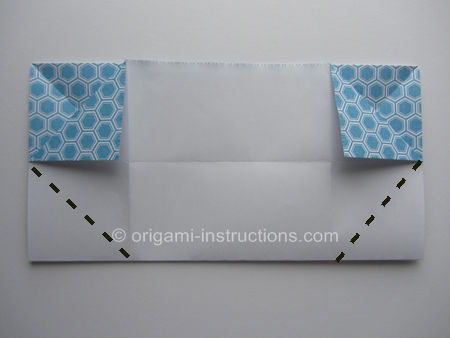
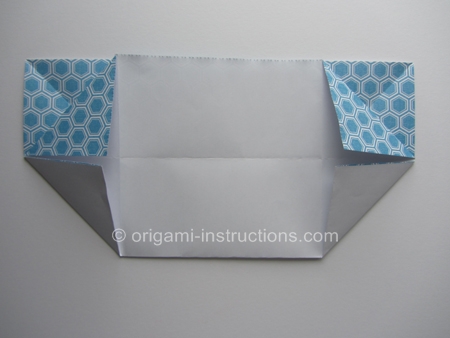
Origami Baggi Box Step 8: Fold down the top half of the upper layer.
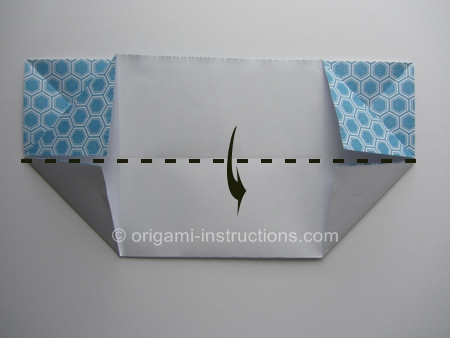
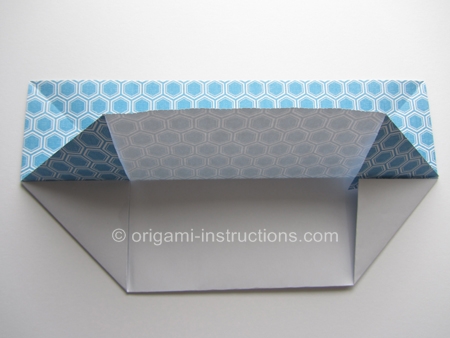
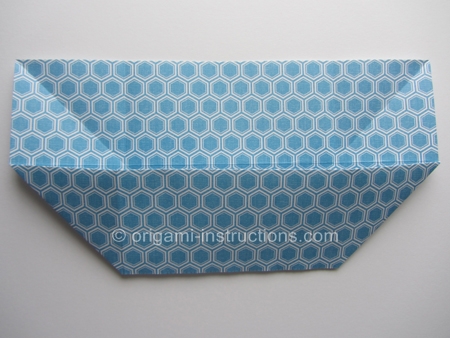
Origami Baggi Box Step 9: Rotate the paper 90 degrees clockwise so that we can see it better.
We're now going to shape one side of the box. Obviously we need vertical sides to form a box.
Fold the side over as shown by the picture below so that this side is now vertical.
Crease the corners to straighten the sides if you have to.
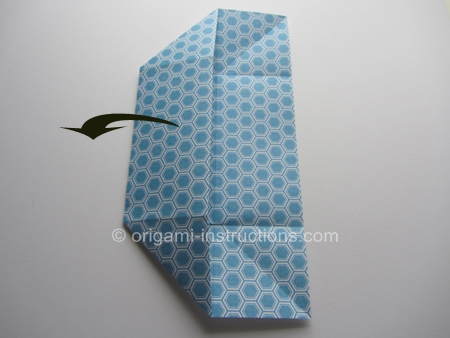
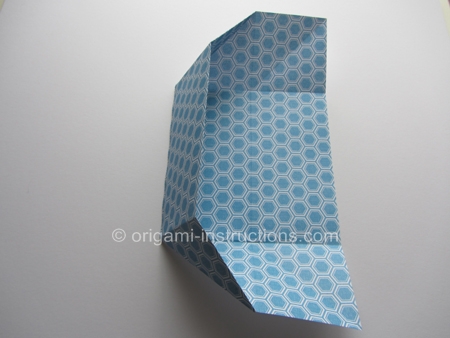
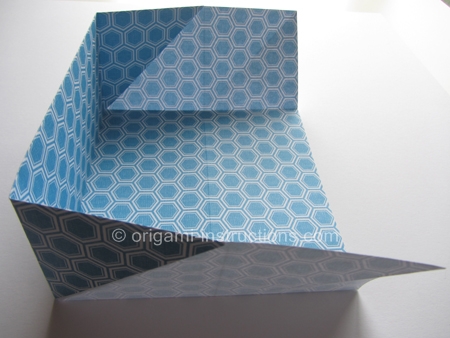
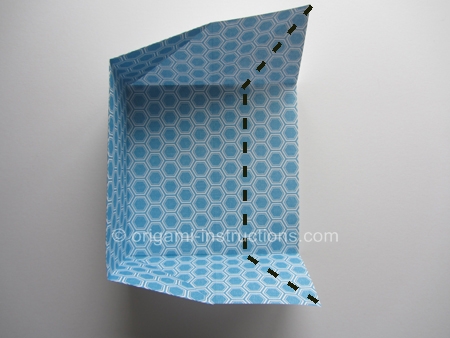
Origami Baggi Box Step 10: Now we've to complete the other side of the box. Let's look at the paper from the top.
Fold the right side over to the left halfway so that this side is now vertical too.
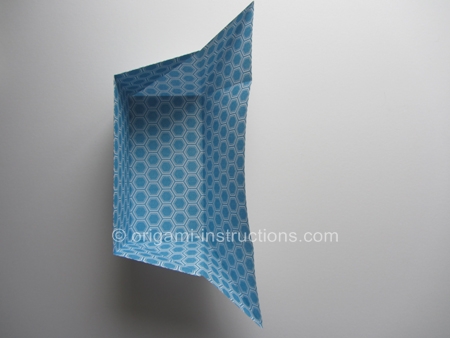
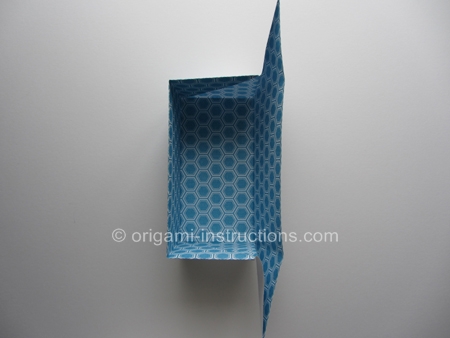
Here's the side view:
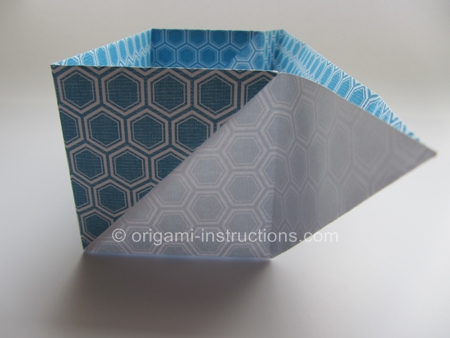
Origami Baggi Box Step 11: We now need to complete the other 2 sides of the box.
Fold the tip over and tuck it into the pocket as shown.
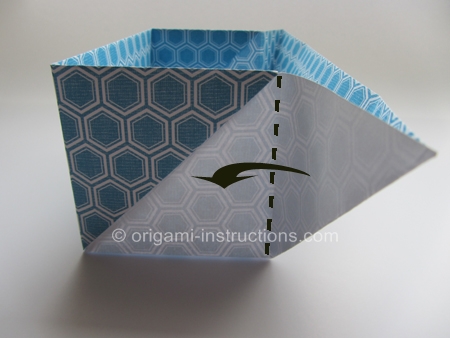
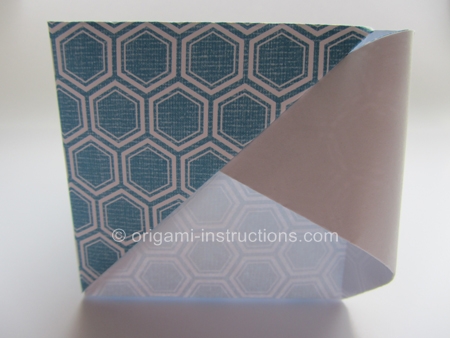
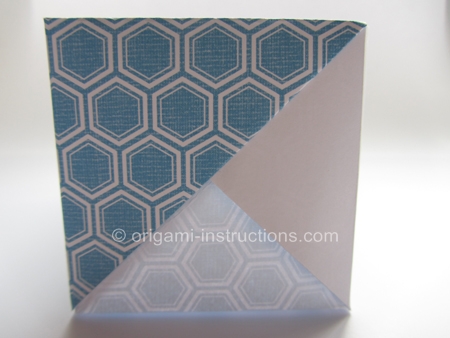
Origami Baggi Box Step 12: Repeat Step 11 for the remaining side and your origami baggi box is complete!
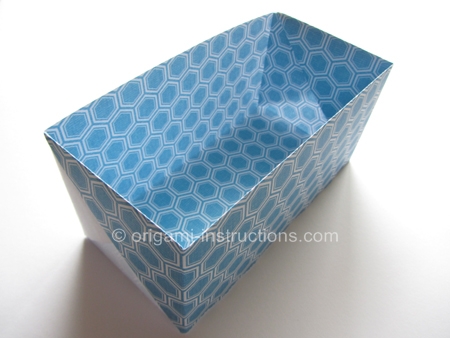
A 12 inch x 12 inch (30.4cm x 30.4cm) paper creates a 3 inch x 3 inch x 6 inch box (7.6 cm x 7.6 cm x 15.2 cm).
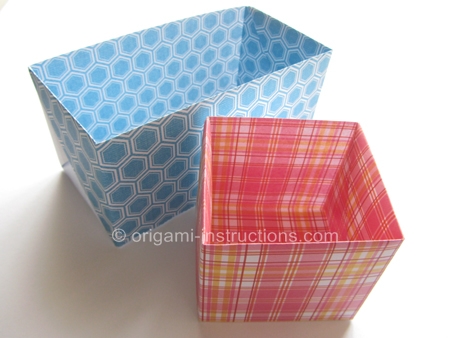
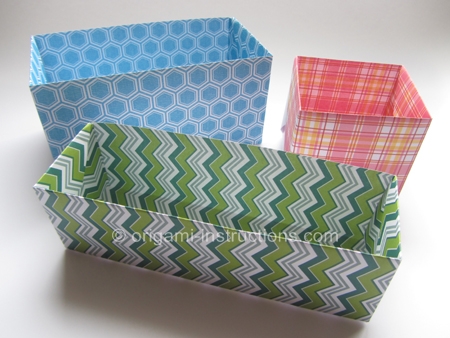
The red and green boxes were made using A4 paper (8.5 inch x 11 inch or 21.5 cm x27.9 cm).
The red box is about 3 inch x 3 inch x 3 inch (7.6 cm x 7.6 cm x 7.6 cm) in size.
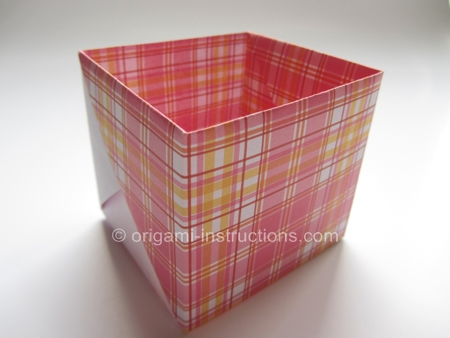
To fold it, start with the A4 orientated the following way in Step 1:
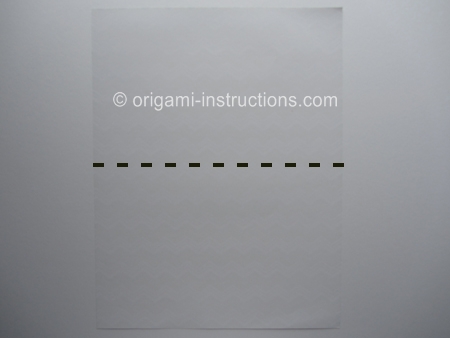
The green box is about 2.25 inch x 2.25 inch x 6.75 inch (5.7 cm x5.7 cm x 17.1 cm).
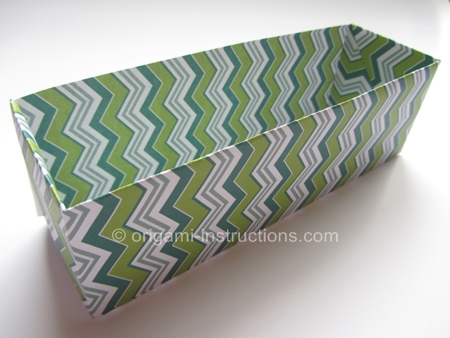
To fold the green box, start with the A4 orientated this way in Step 1:
