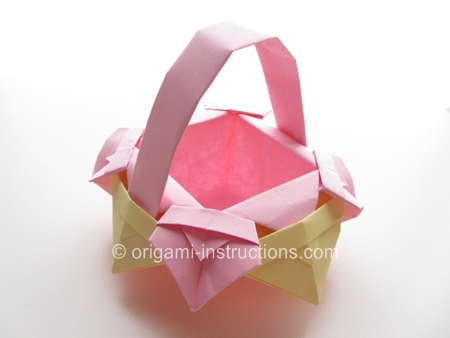
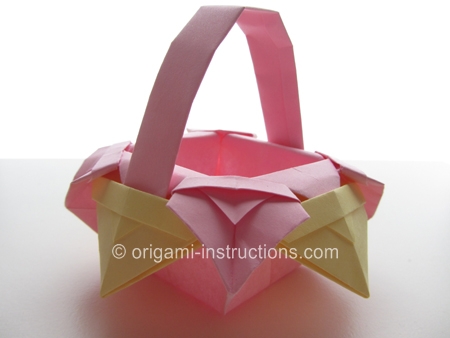
Origami Fancy Basket
This is definitely a fancier origami basket than the other one we have on this site. It is not too difficult but does require 2.5 sheets of paper to complete.
Made this origami? Comment and Submit your photo using the comment box at the end of this page!
Origami Fancy Basket Step 1: Follow instructions for the origami diamond star from Step 1 to Step 3. You should then have the following to start with.
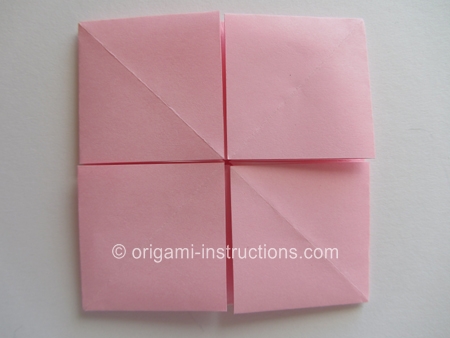
Origami Fancy Basket Step 2: We're now going to fold a series of steps for each of the "square". We'll focus on one square first.
Fold the upper layer of the square in half on the diagonal. Crease well and unfold.
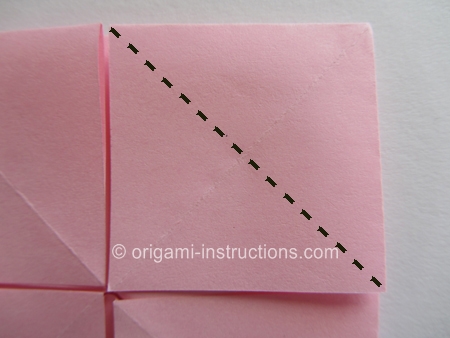
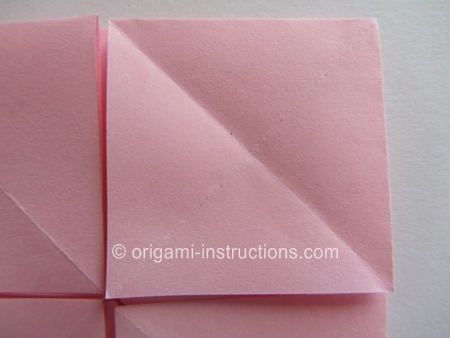
Origami Fancy Basket Step 3: Fold the bottom tip of the square to meet the crease line. Crease well and unfold.
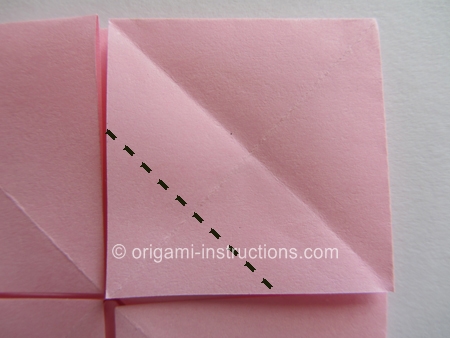
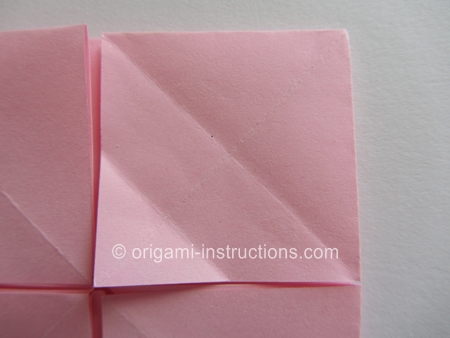
Origami Fancy Basket Step 4: Make a diagonal fold again, this time the crease line should be in between the 2 other creases you've already made.
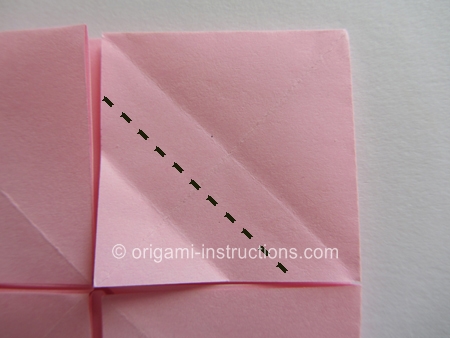
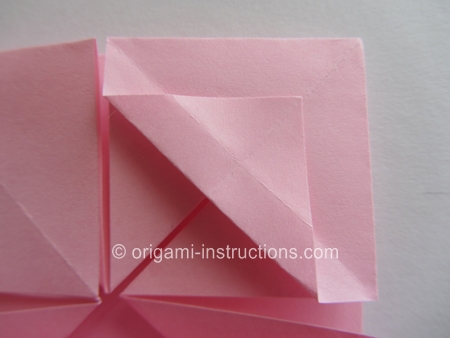
Origami Fancy Basket Step 5: Fold the layer over itself.
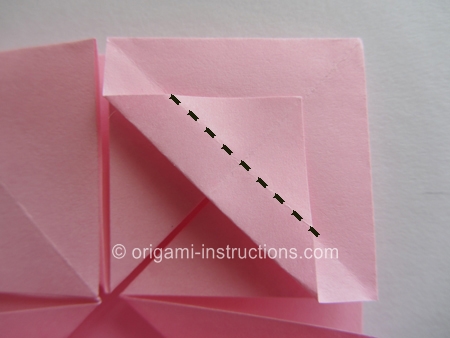
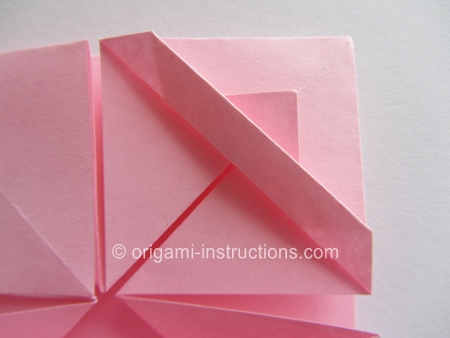
Origami Fancy Basket Step 6: Make 2 diagonal mountain folds.
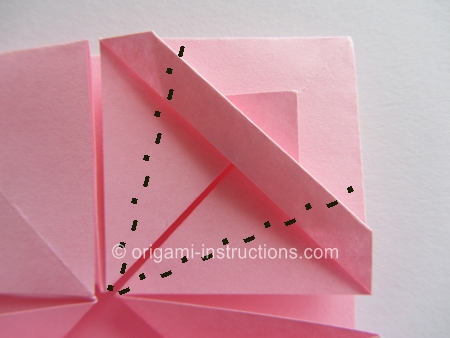
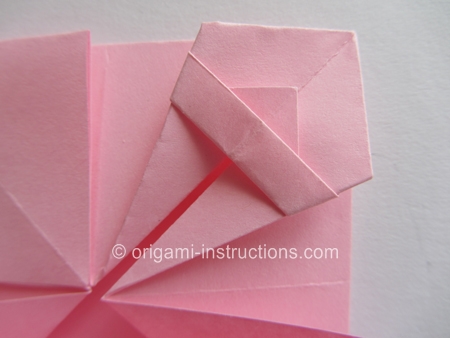
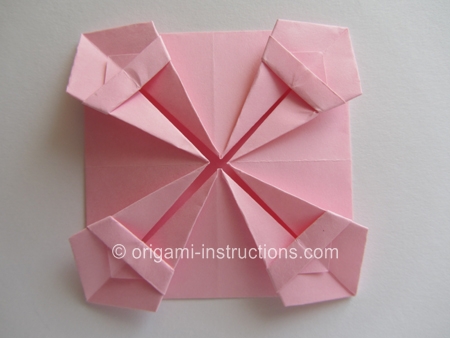
Origami Fancy Basket Step 7: Repeat Steps 2 to 6 on the other 3 squares so that your paper now looks like this....
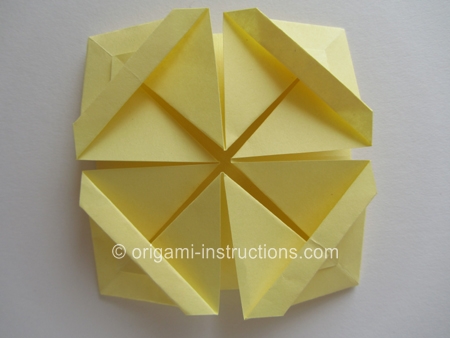
Origami Fancy Basket Step 8: We now need to fold a second sheet of paper. This time, follow steps 1 to 5 only. Your second sheet of paper should look like this...
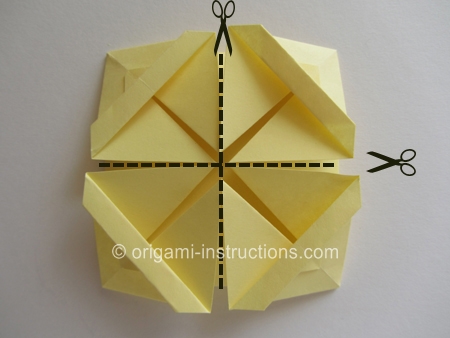
Origami Fancy Basket Step 9: Cut your second sheet of paper as shown below. You'll end up with 4 squares.
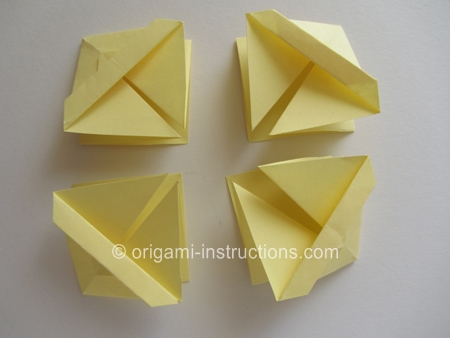
Origami Fancy Basket Step 10: Now use one square from the second sheet of paper and tuck it in between 2 squares on the first sheet of paper.
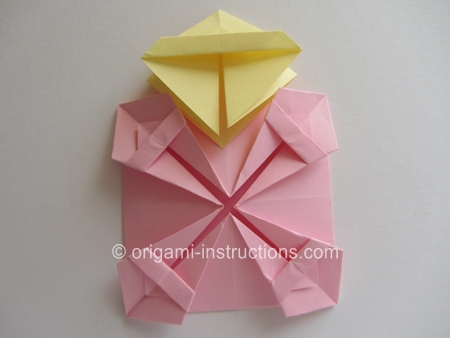
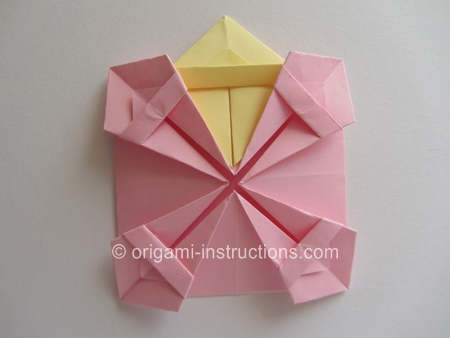
Origami Fancy Basket Step 11: Make the horizontal fold and tuck the tip under the yellow square.
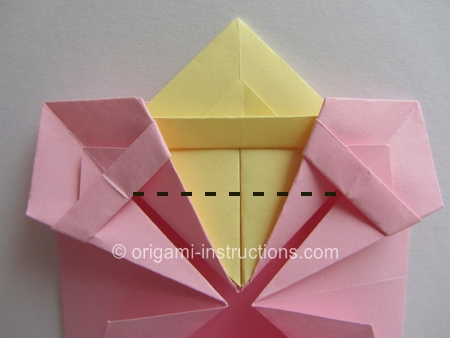
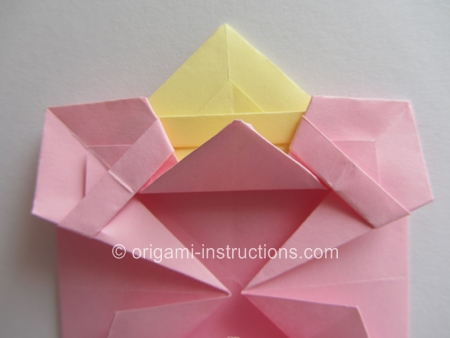
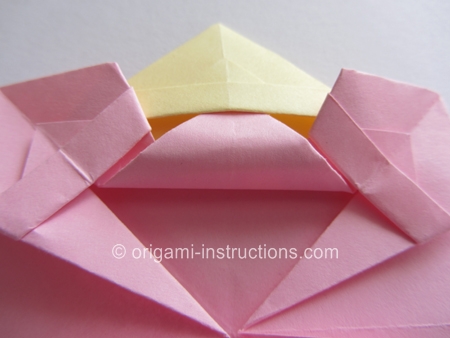
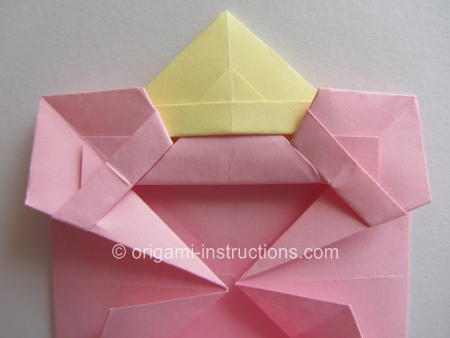
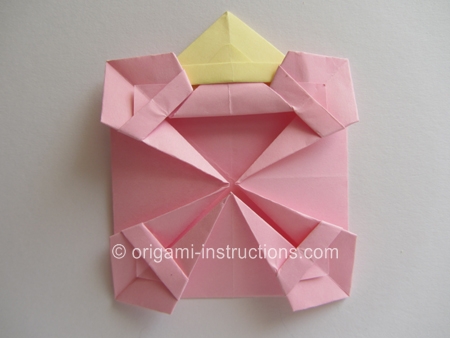
Origami Fancy Basket Step 12: Repeat Steps 10 and 11 for the other 3 yellow squares.
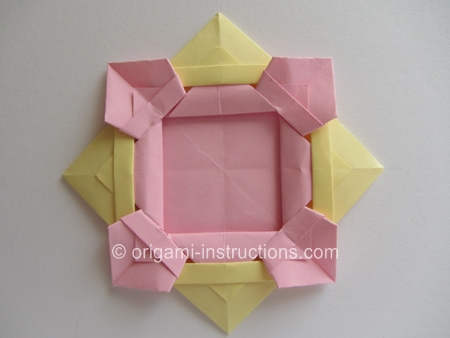
Origami Fancy Basket Step 13: Since some readers appear to be having trouble with Steps 13 and 14, we've created a video for it. So you can either watch the video for Steps 13 and 14 or follow the instructions below.
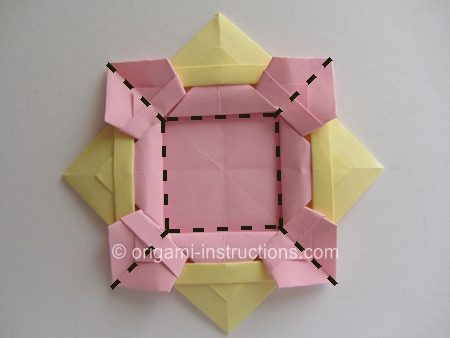
Recrease paper as shown. Crease it well as it will help us to shape the basket.
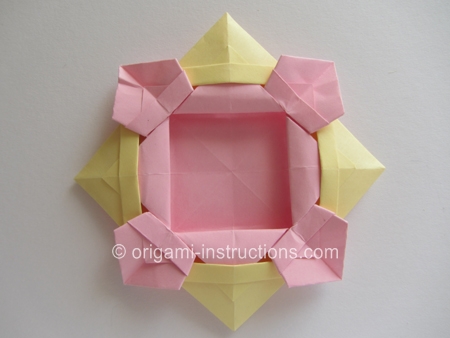
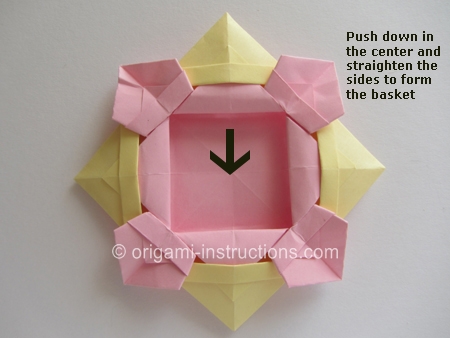
Origami Fancy Basket Step 14: Time to transform our flat paper into a 3D object! Push down in the middle of the paper and straighten the sides to complete the basket! Pinch the corners to help straighten the sides.
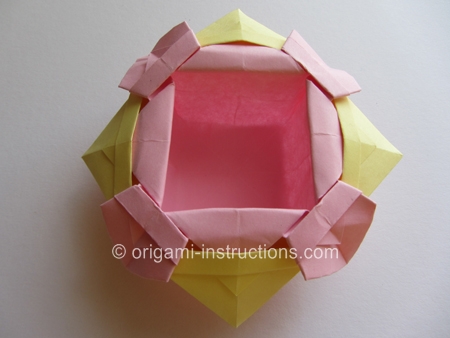
Here is a view of the basket flipped over.
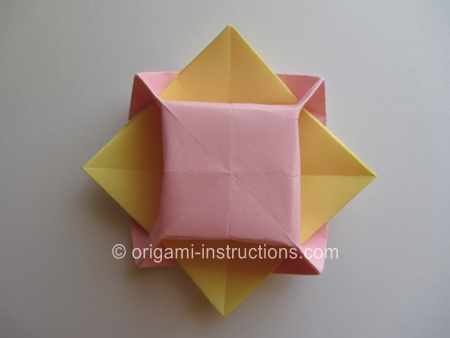
See how the corners are "pinched" and sides straightened?
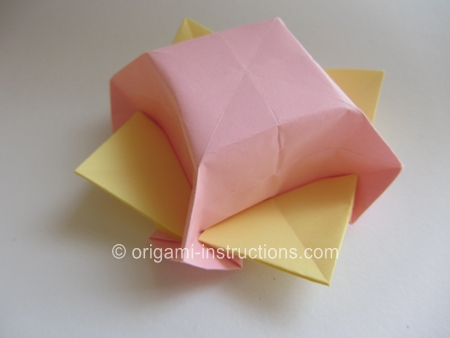
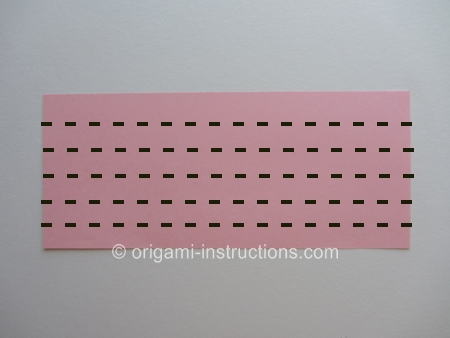
Origami Fancy Basket Step 15: We're not done yet! We need to make a handle for the basket. You can use half a sheet of origami paper (6 inch x 3 inch or 15cm x 7.5cm) for the handle.
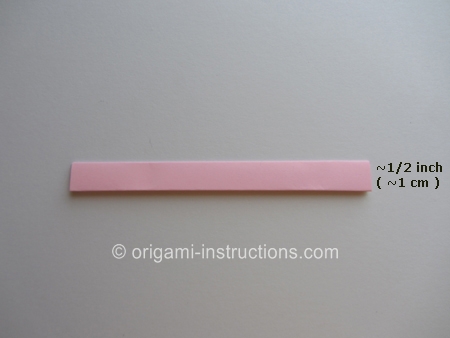
Fold the paper over itself several times to form the handle.
Origami Fancy Basket Step 16: Now tuck the handle into the "pockets" at opposite ends of the basket.
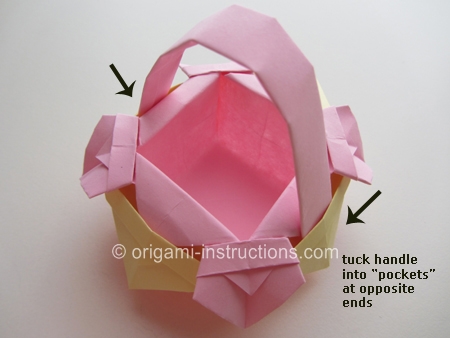
and your origami fancy basket is complete!
