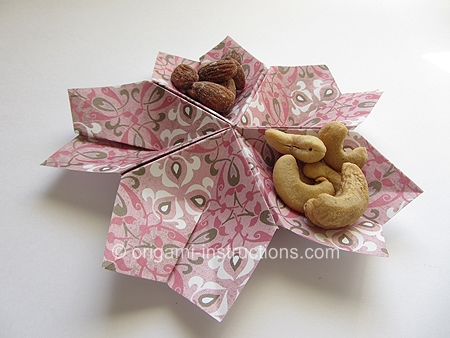
Origami Cherry Blossom Dish
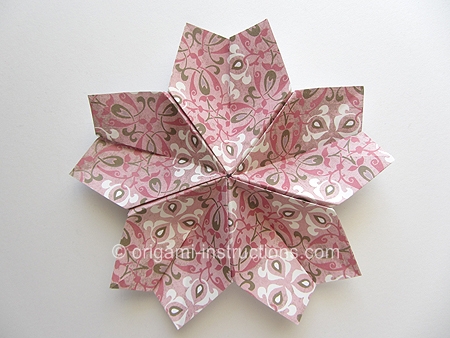
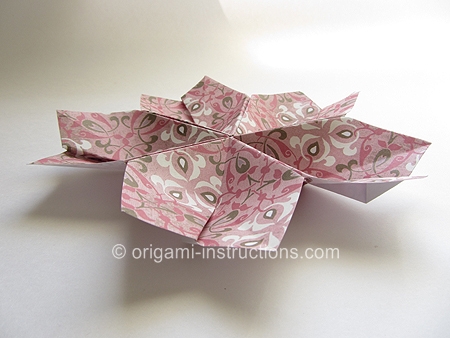
Origami Cherry Blossom Dish is a shallow container that can be used to hold some of your favorite tea-time snacks. This is a modular origami by Makoto Yamaguchi and requires 5 units to complete the assembly.
Made this origami? Comment and Submit your photo using the comment box at the end of this page!
Origami Cherry Blossom Dish Step 1: Start by cutting a regular 6 inch x 6 inch (15cmx15cm) square paper in half. We'll be using a half sheet for each unit.
We tried both origami paper and cardstock paper and think that the thicker cardstock paper is actually better for this particular origami because the assembly holds together better with the thicker, rougher paper.
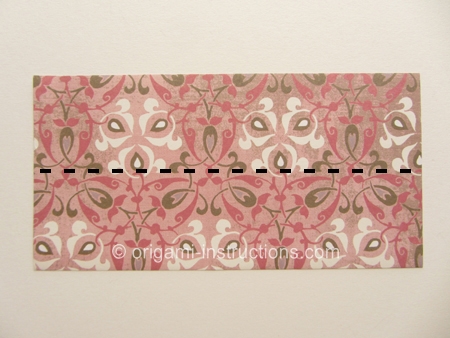
Start with the paper color side up. Fold paper in half on the horizontal axis. Crease well and unfold.
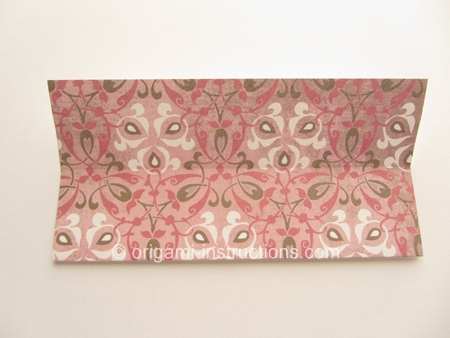
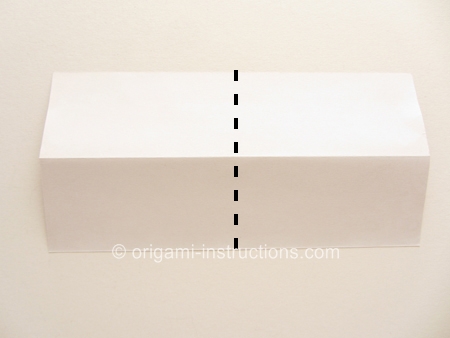
Origami Cherry Blossom Dish Step 2: Flip paper over. Fold paper in half on the vertical axis. Crease well and unfold.
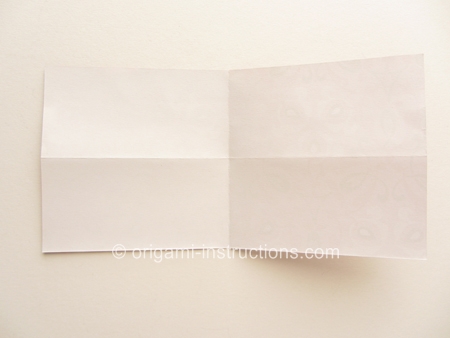
Origami Cherry Blossom Dish Step 3: Fold the left side to meet the center line. Crease well and unfold.
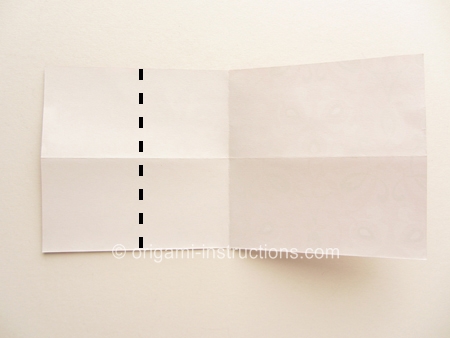
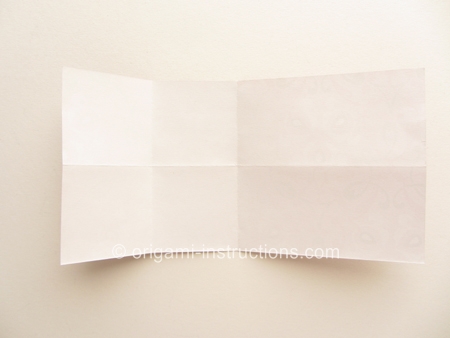
Origami Cherry Blossom Dish Step 4: Make a diagonal fold on the bottom left corner. Crease well.
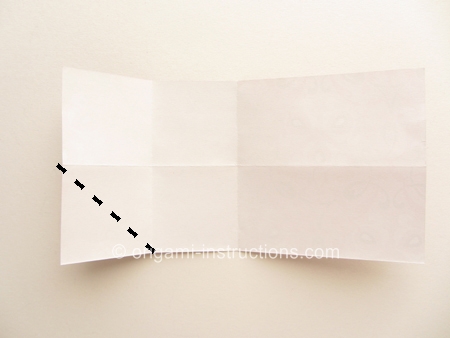
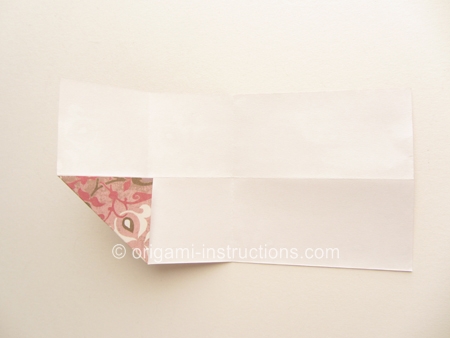
Origami Cherry Blossom Dish Step 5: Fold paper in half on the vertical axis again. Crease well.
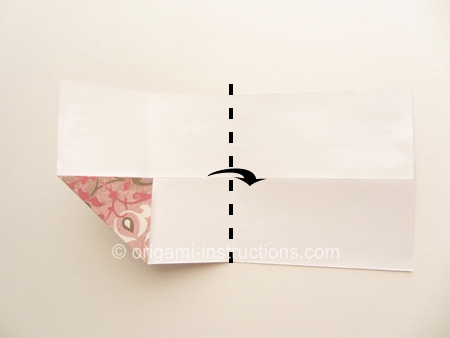
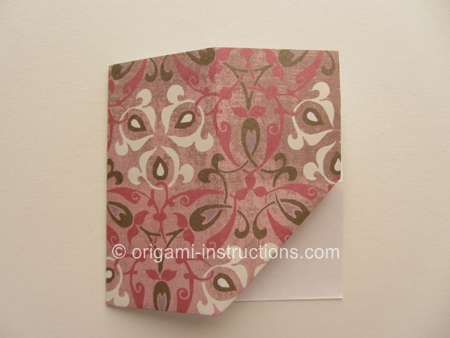
Origami Cherry Blossom Dish Step 6: Make a diagonal fold on the bottom left corner. Crease well and unfold.
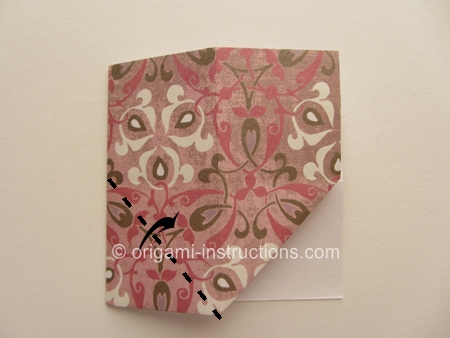
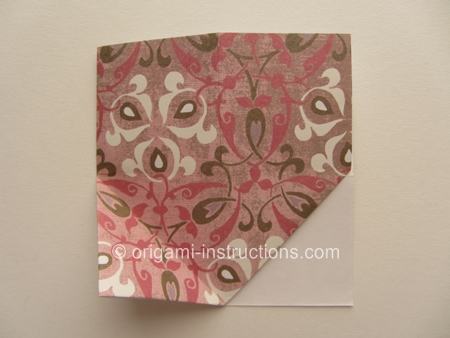
Origami Cherry Blossom Dish Step 7: Now use the diagonal crease we just made in Step 6 to complete an inside reverse fold.
If you're not familiar with origami, an inside reverse fold is a commonly used technique in origami. Please refer to our separate page on inside reverse folds for more info, photos and video. It is beneficial to be familiar with this technique since it is used very often in origami.
To make the inside reverse fold, pry open paper slightly, then push the bottom left corner inwards so that it sits between the 2 sides of the paper. Press paper flat.
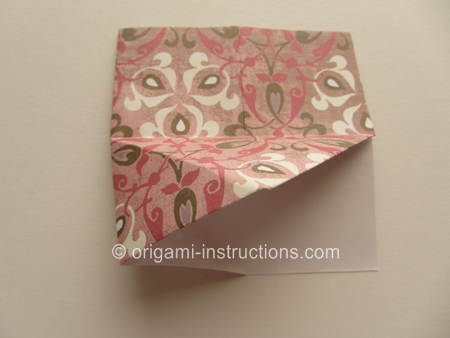
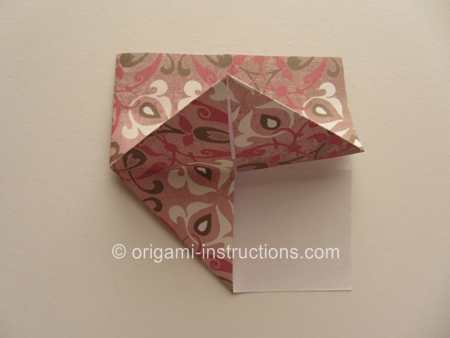
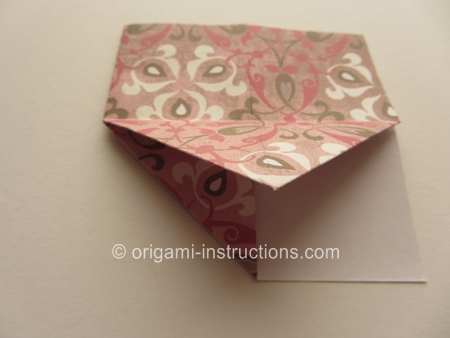
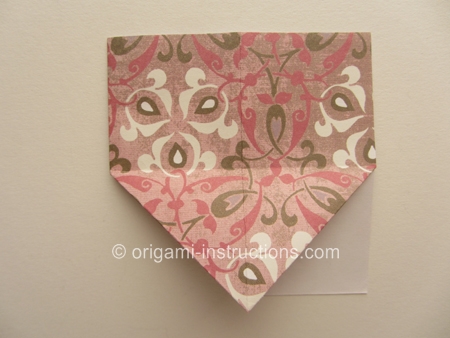
Origami Cherry Blossom Dish Step 8: Make a vertical mountain fold. Note that we're folding the TOP layer of the paper only.
Also note that the top layer should "tuck under" the inside reverse fold made in Step 7.
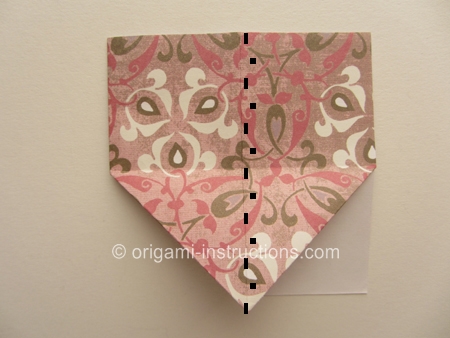
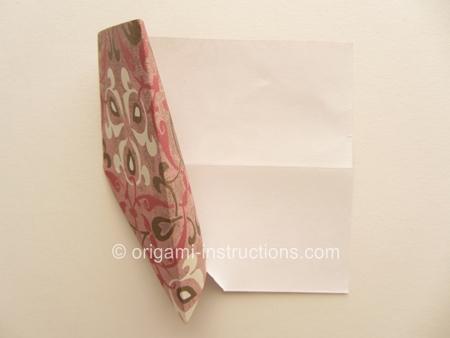
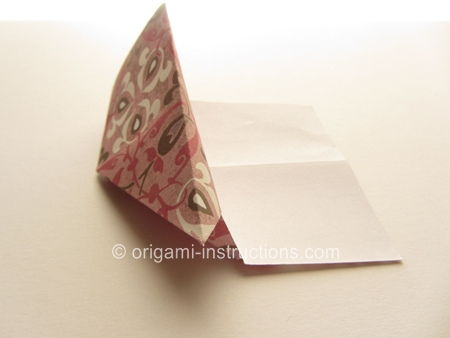
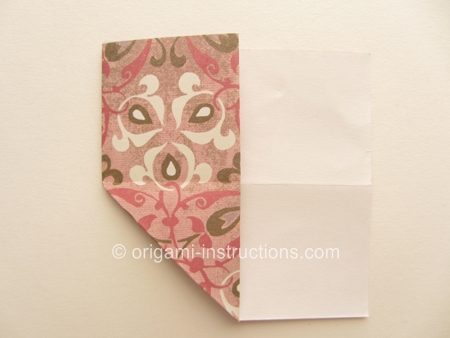
Origami Cherry Blossom Dish Step 9: Make a diagonal fold on the top left corner.
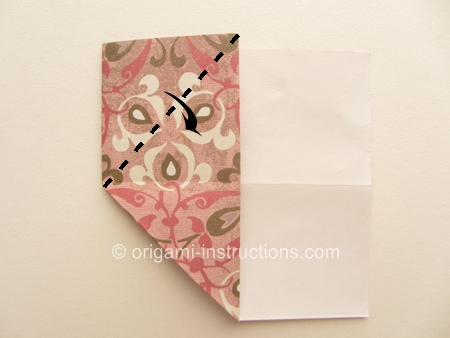
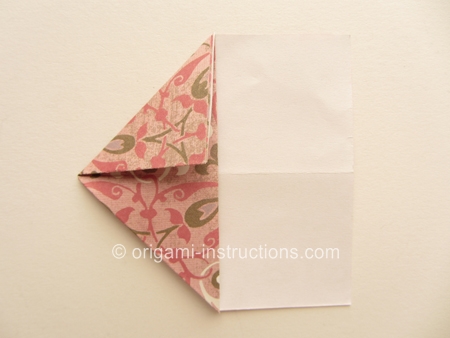
Origami Cherry Blossom Dish Step 10: Fold paper in half by making a horizontal mountain fold.
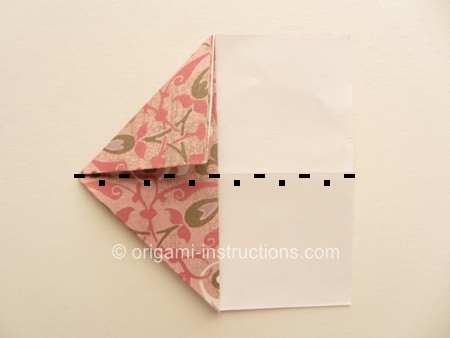
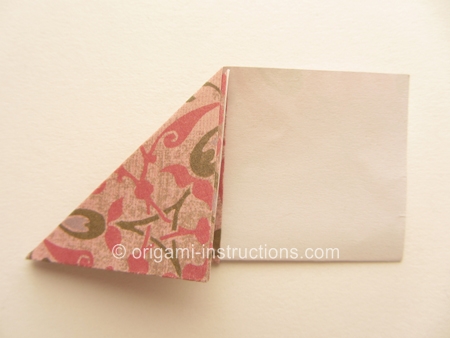
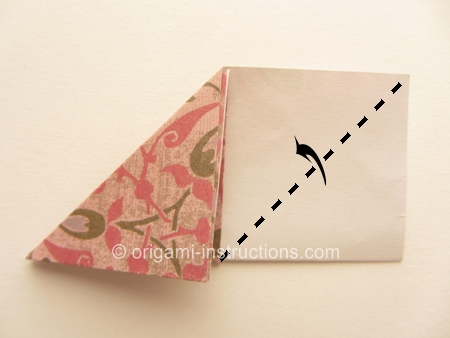
Origami Cherry Blossom Dish Step 11: Make a diagonal fold on the right corner. Crease well and unfold.
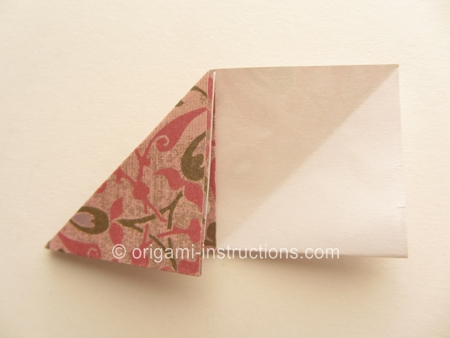
Origami Cherry Blossom Dish Step 12: Fold the bottom right corner to the diagonal line. Crease well and unfold.
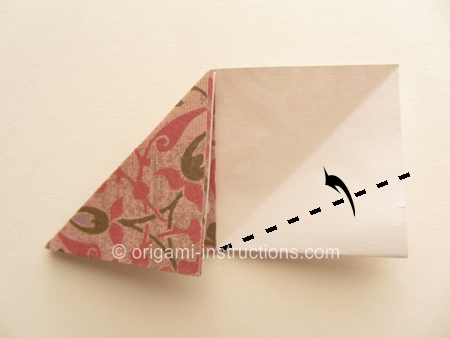
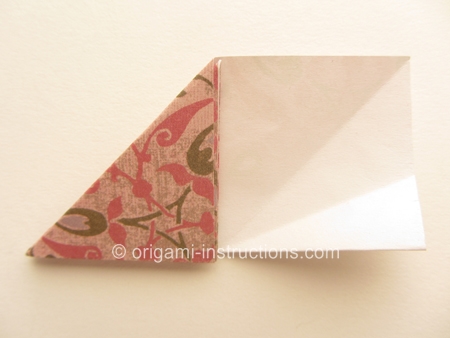
Origami Cherry Blossom Dish Step 13: Fold the bottom right corner to the diagonal crease we just made in Step 12.
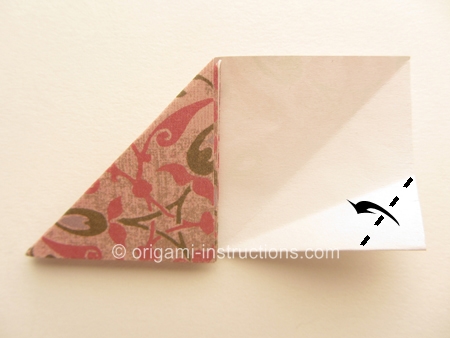
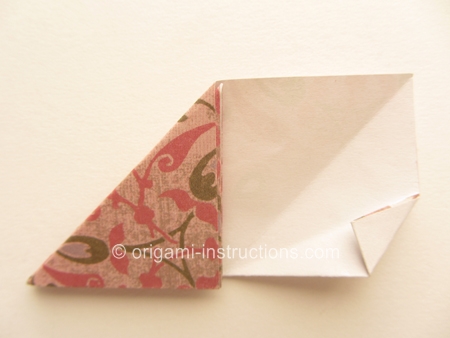
Origami Cherry Blossom Dish Step 14: Fold the bottom right corner over itself.
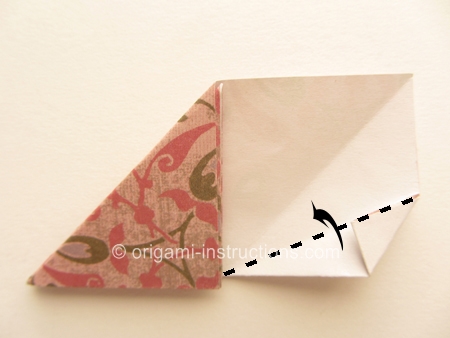
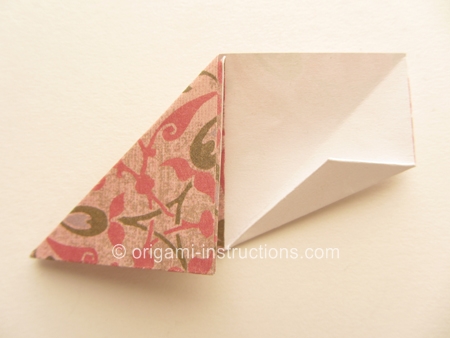
Origami Cherry Blossom Dish Step 15: Now gently bring the top layer down to open up the unit. Careful not to unravel the folds you made in Steps 13 and 14.
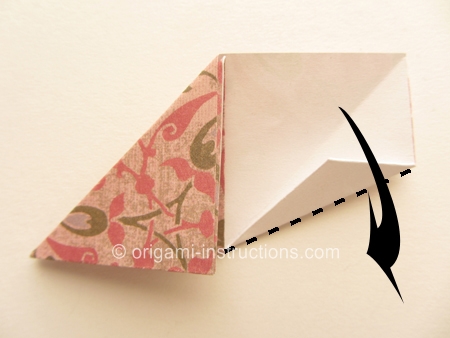
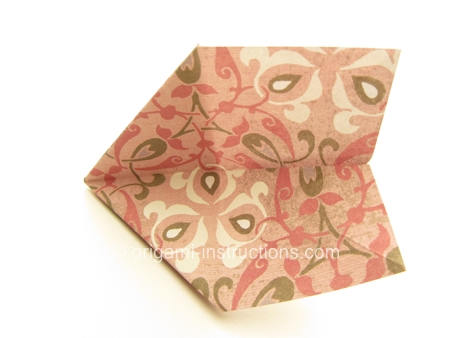
This completes one unit.
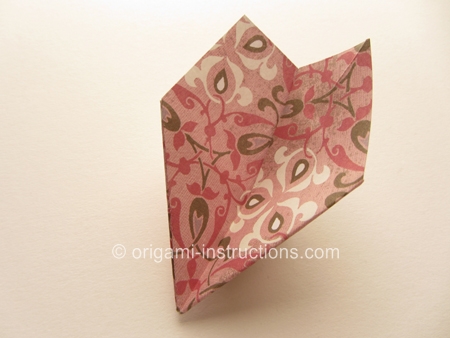
Origami Cherry Blossom Dish Step 16: Repeat Steps 1 to 15 and make a total of 5 units.
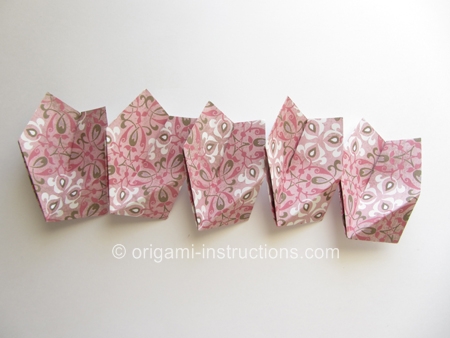
Origami Cherry Blossom Dish Step 17: To assemble the units, first bring 2 units together.
Insert the tip of one unit in the pocket of the other.
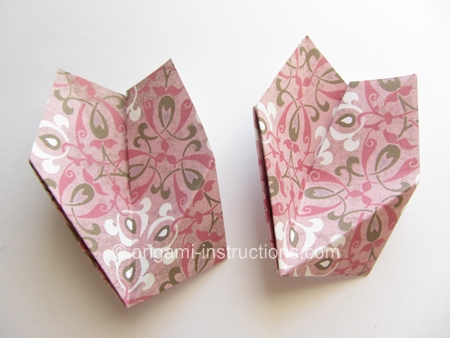
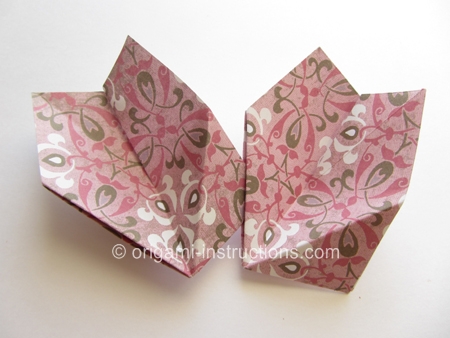
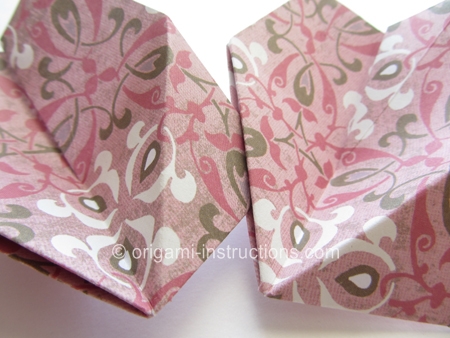
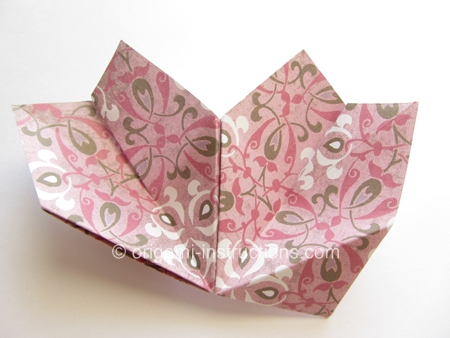
Origami Cherry Blossom Dish Step 18: Repeat Step 17 with the other 3 units to complete the assembly.
Here's the completed origami cherry blossom dish!
Snack time!!
