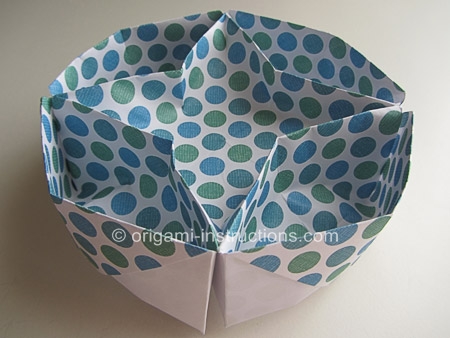
Origami Candy Dish
This origami candy dish is also called origami lazy susan. Once completed, there is a center "star" area surrounded by 4 separate pockets to hold your different types of candy.
Made this origami? Comment and Submit your photo using the comment box at the end of this page!
Origami Candy Dish Step 1: Start with a 6 inch x 6 inch (15cm x 15cm) origami paper, color side up. Fold paper in half on the vertical, horizontal and both diagonal axis. Crease well and unfold.
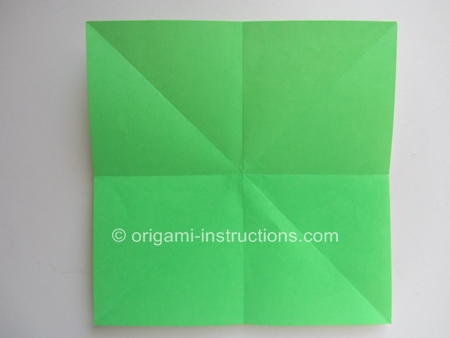
Origami Candy Dish Step 2: Fold all 4 corners to the center.
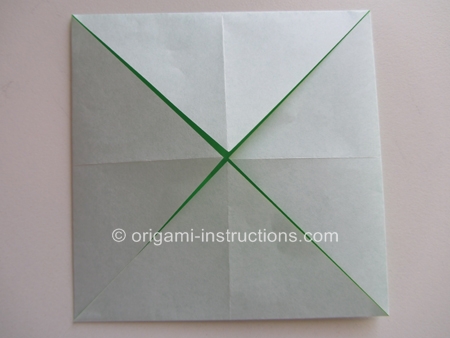
Origami Candy Dish Step 3: Fold the 4 tips from the center to the edge.
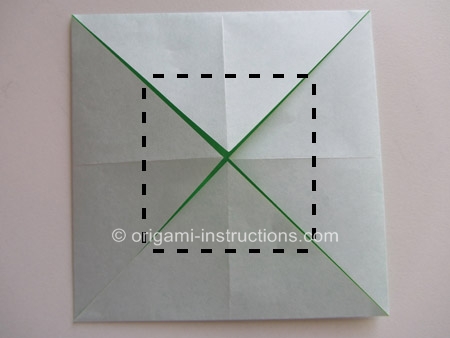
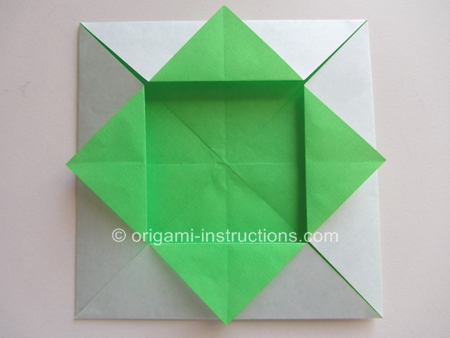
Origami Candy Dish Step 4: Flip paper over. Fold the top and bottom halves to meet in the center. Crease well and unfold.
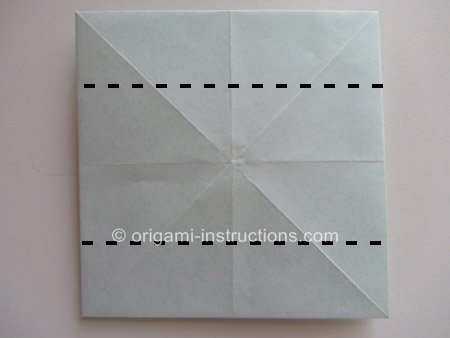
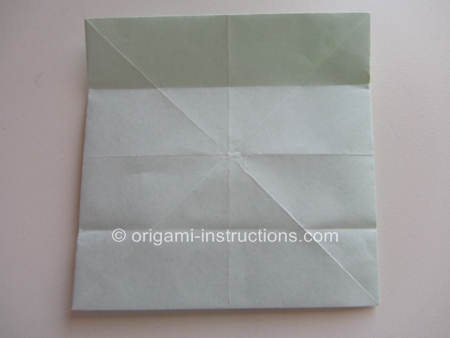
Origami Candy Dish Step 5: Fold both the right and left sides to meet in the center. Crease well and unfold.
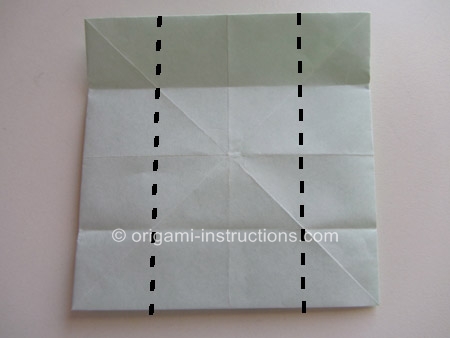
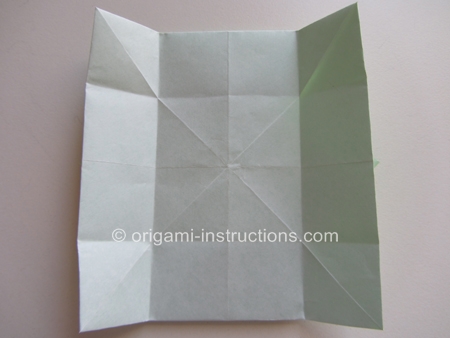
Origami Candy Dish Step 6: Flip paper over. Recrease the valley and mountain folds as shown. This is a good time to re-learn valley and mountain folds if you're not familiar with them.
We recrease the paper in preparation for the next step where we have to collapse the paper.
By creasing well, the paper will be easier to collapse.
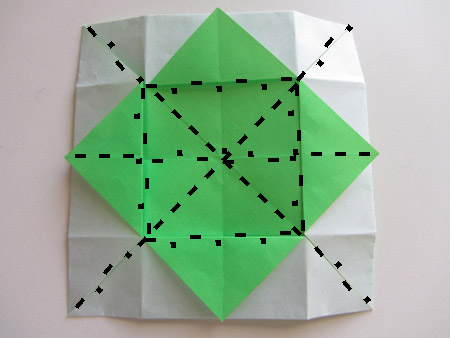
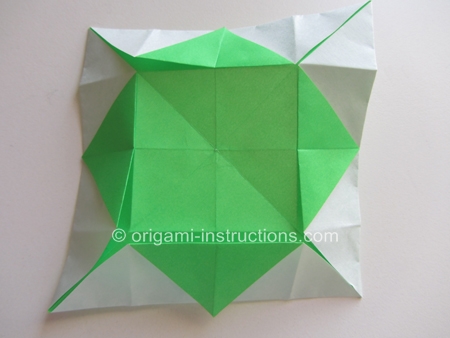
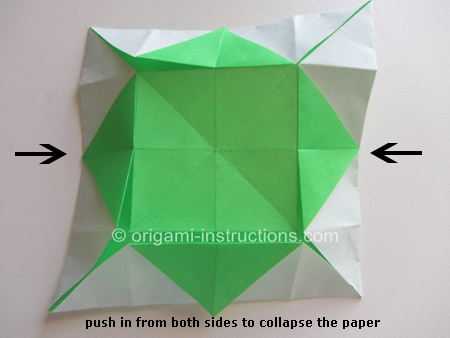
Origami Candy Dish Step 7: Ok, now let's collapse the paper. Push in from both sides. If you've creased well in the previous step, the paper will "co-operate" and should collapse fairly easily. Watch the video also since this step can be a bit tricky.
Origami Candy Dish Collapsing Video
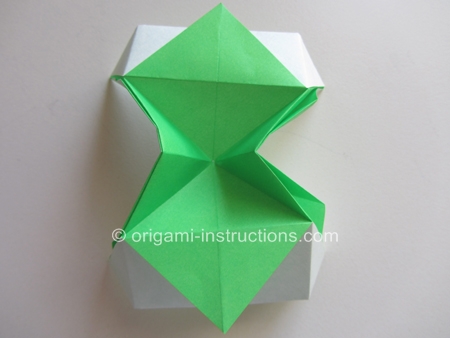
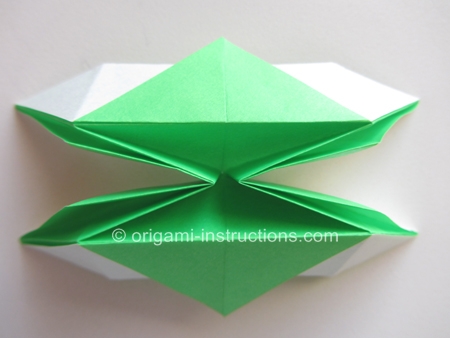
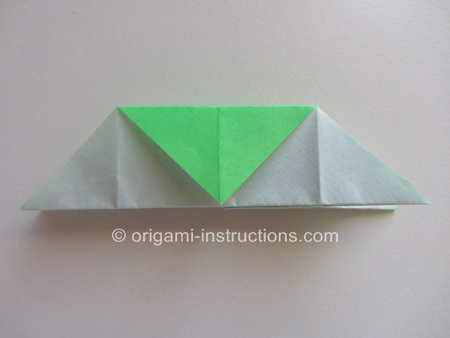
Origami Candy Dish Step 8: Now make 2 mountain folds. Crease well and unfold. Then proceed to make inside reverse folds. Please check that link for a page with more info on inside reverse folds. It's a technique commonly used in origami.
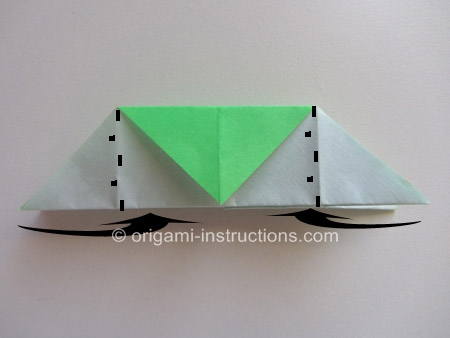
See how by making the inside reverse folds, the right and left tips are now tucked in between the paper?
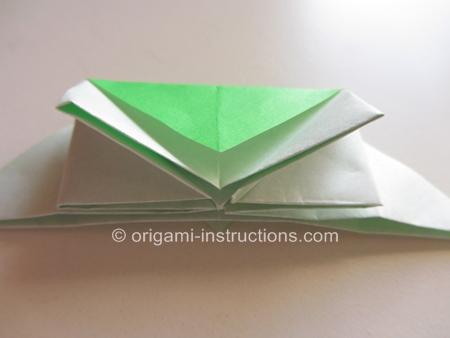
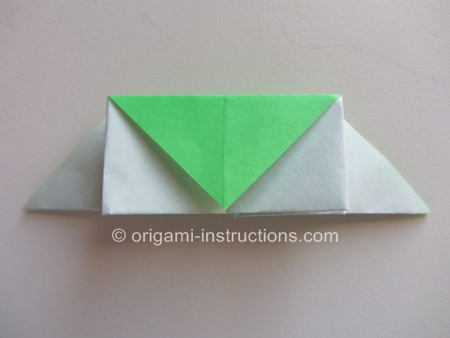
Origami Candy Dish Step 9: Flip paper over. Make the 2 mountain folds. Crease well and unfold. Then repeat the inside reverse folds on this side.
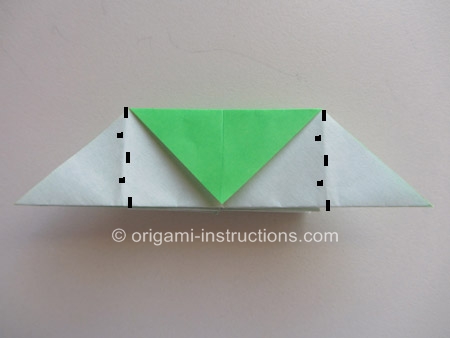
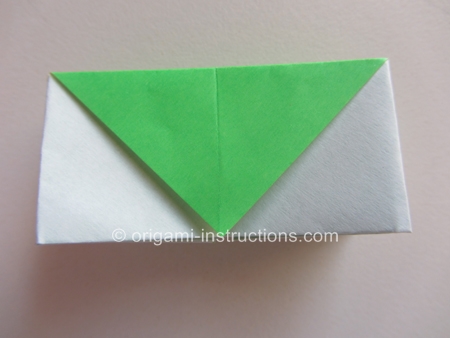
Origami Candy Dish Step 10: Transformation time! Look at the paper from the top. Pry paper open in the center and the 2 side pockets first.
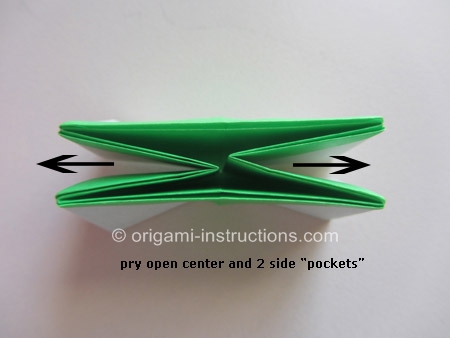
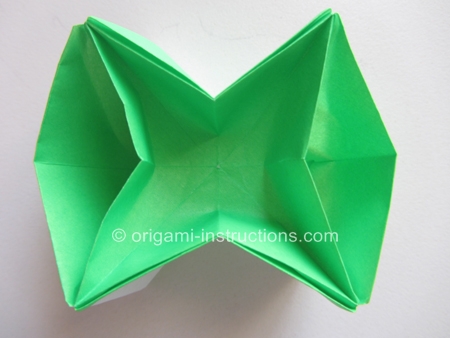
Origami Candy Dish Step 11: Now pry open the top and bottom pockets.
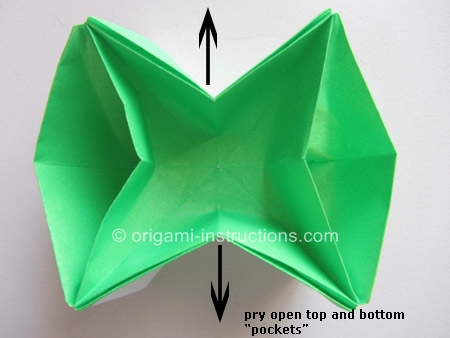
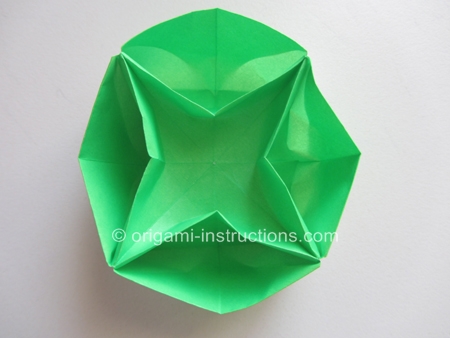
Origami Candy Dish Step 12: Shape all 4 side pockets as well as the center pocket.
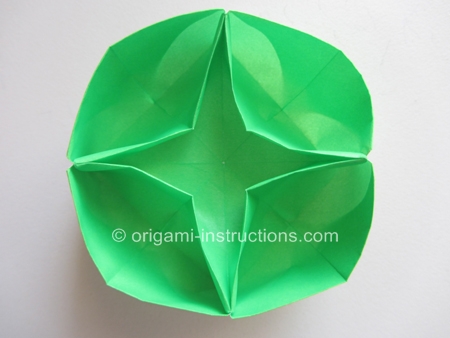
and your origami candy dish is complete!
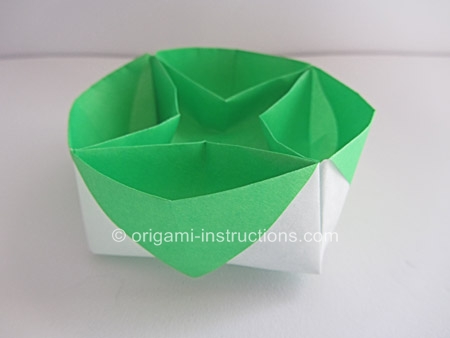
Starting with a 6 inch paper, you'll end up with about a 3 inch diameter candy dish. If you want, you can use thicker and larger paper for this origami.
We tried a 12 inch paper and ended up with a 6 inch diameter candy dish that's really nice!
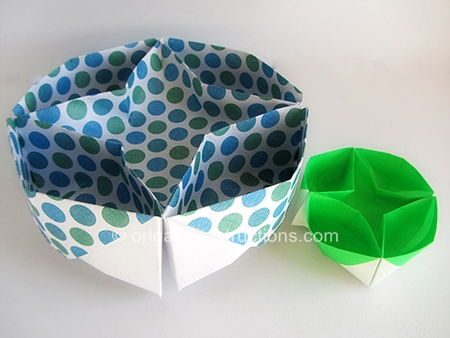
You can fill 5 different types of candy in it! ;)
