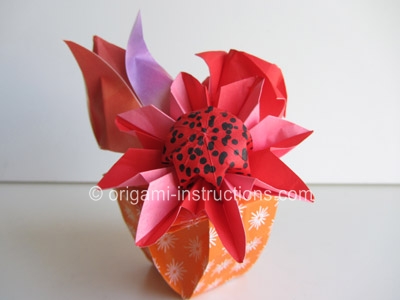
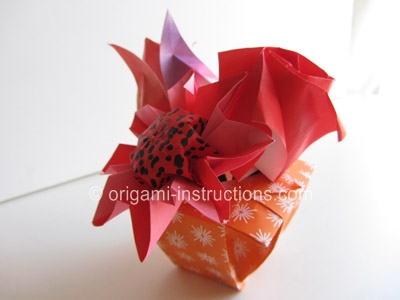
Origami Vase
This is a really nice traditional origami vase. The end result looks much more complicated than it actually is.
Made this origami? Comment and Submit your photo using the comment box at the end of this page!
Origami Vase Step 1: You can start with a 6 inch x 6 inch (15cm x15cm) square origami paper, color side down.
In order to make a larger vase, we are actually using a 21 cm x 21 cm square origami paper.
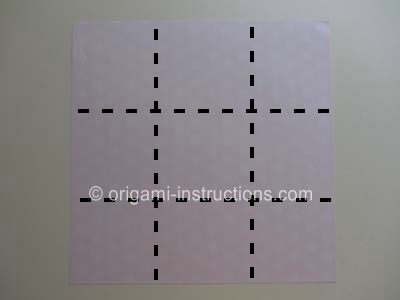
Divide you paper into thirds both horizontally and vertically. Fold, crease well and unfold.
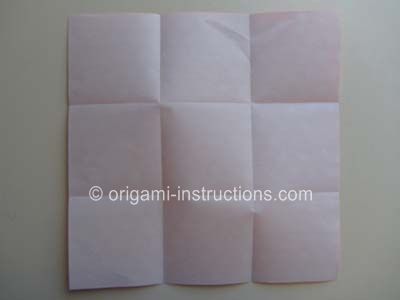
Origami Vase Step 2: Now divide your thirds in half, both horizontally and vertically. Fold, crease well and unfold.
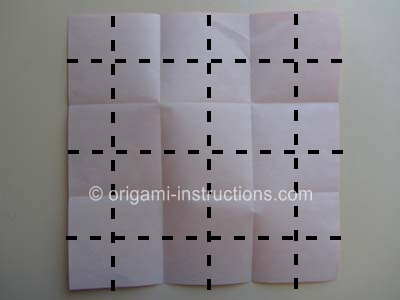
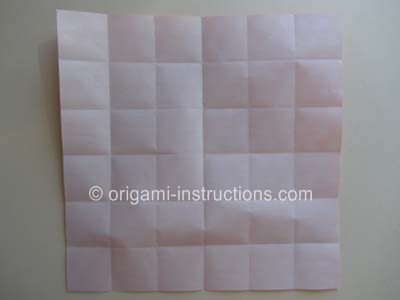
Origami Vase Step 3: Divide your creases in half again, both horizontally and vertically. Fold, crease well and unfold.
You should end up with 12 small "squares" on each row and column.
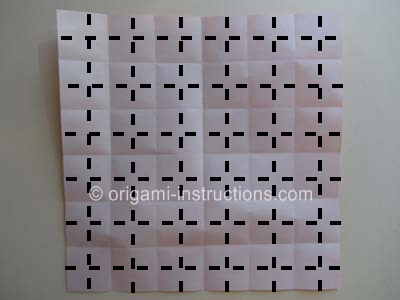
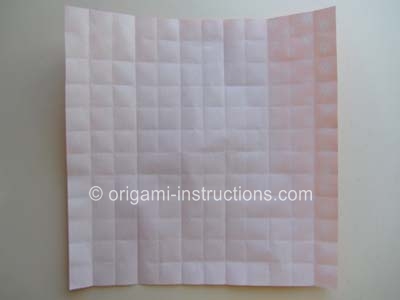
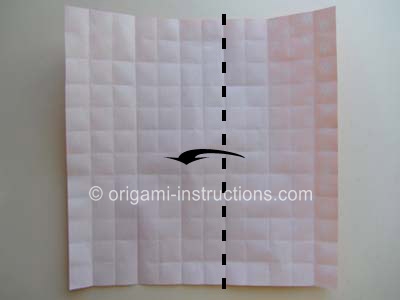
Origami Vase Step 4: Fold paper from the right to left. The crease is at 5 squares from the right.
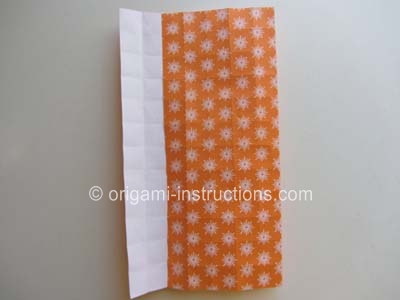
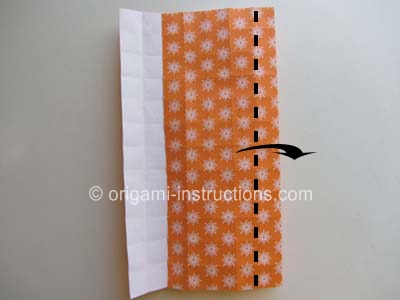
Origami Vase Step 5: Fold paper back to the right. The crease is at 1 square from the right.
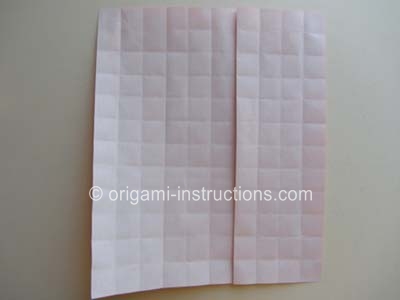
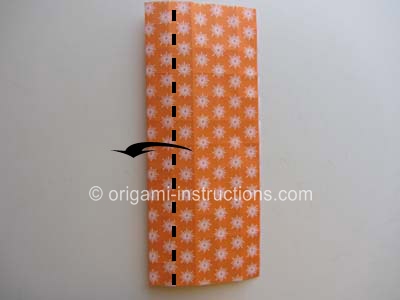
Origami Vase Step 6: Now fold paper from left to right. The crease is at 5 squares from the left.
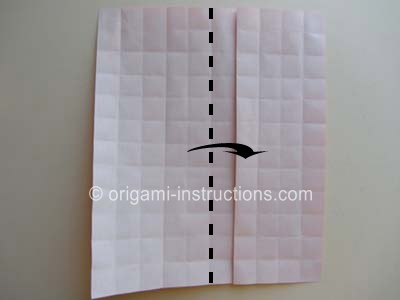
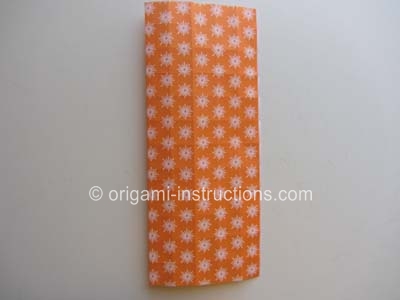
Origami Vase Step 7: Fold paper back from the right to the left. The crease is at 1 square from the left.
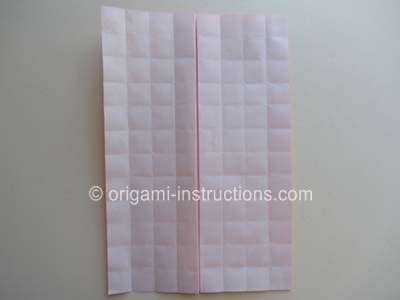
Origami Vase Step 8: Now fold paper from the bottom to the top. The crease is at 5 squares from the bottom.
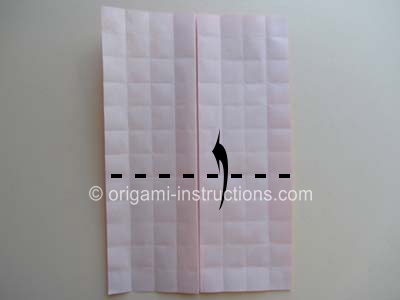
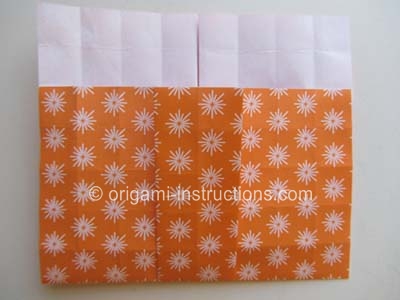
Origami Vase Step 9: Fold paper back from top to the bottom.
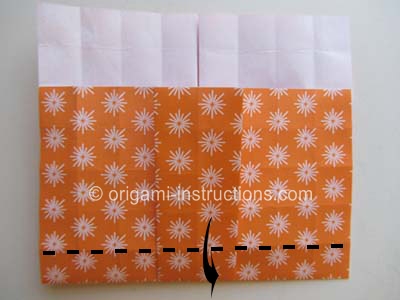
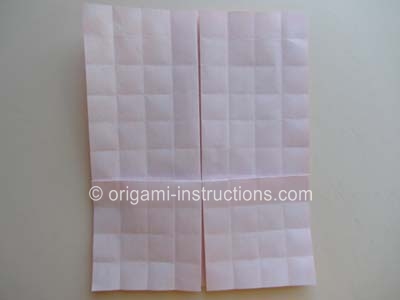
Origami Vase Step 10: Fold paper from the top to the bottom this time.
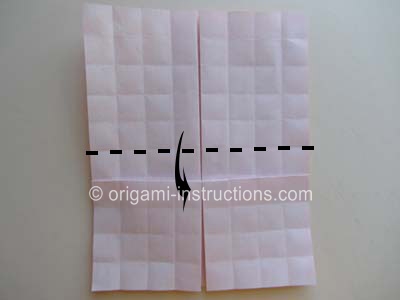
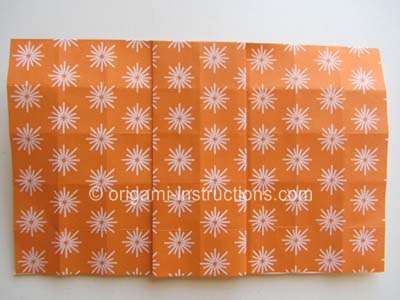
Origami Vase Step 11: Finally, fold it back from the bottom to the top.
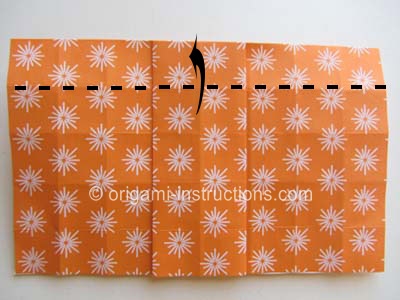
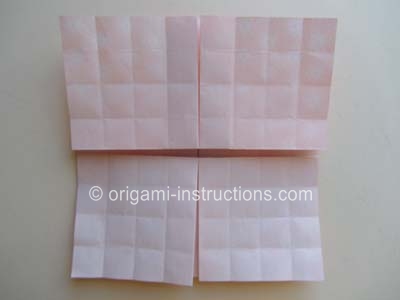
Origami Vase Step 12: Flip paper over.
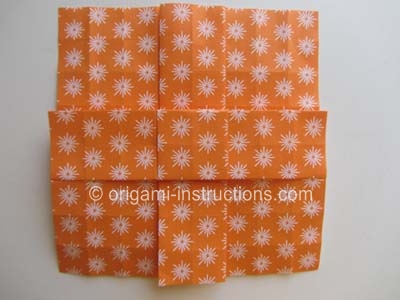
Origami Vase Step 13: Starting from the top, we'll make 2 diagonal mountain folds. Crease well and unfold.
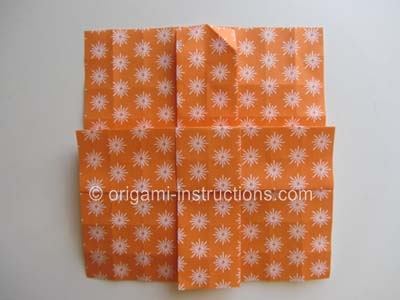
Closer view:
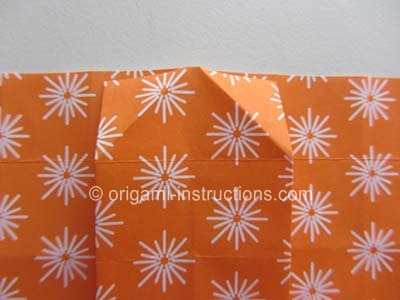
Origami Vase Step 14: Pry paper open and make a squash fold on each side by pressing paper flat .
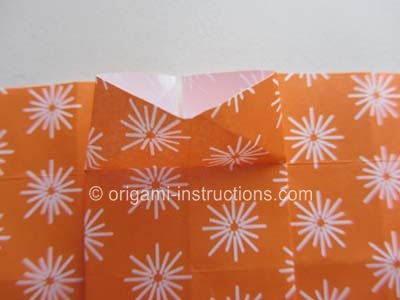
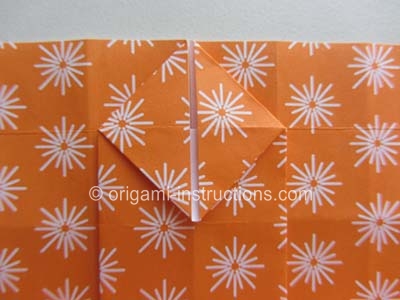
Origami Vase Step 15: Repeat steps 13 and 14 for the other 3 sides.
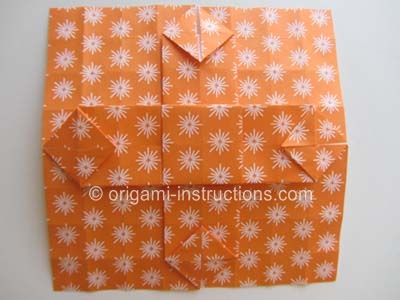
Origami Vase Step 16: Flip paper over.
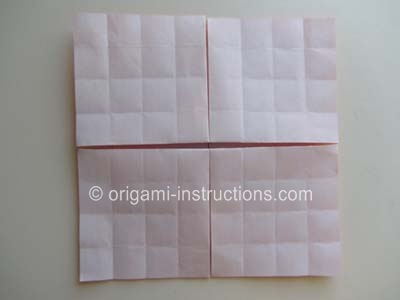
Origami Vase Step 17: Make diagonal folds on each of the 4 sides. Crease well and unfold.
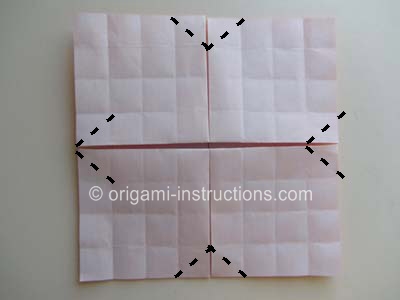
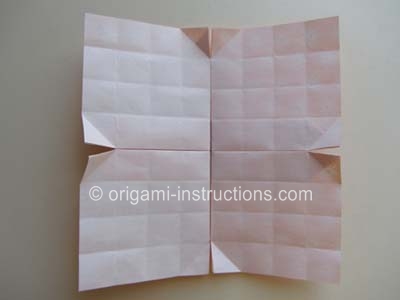
Origami Vase Step 18: Fold right and left sides to the center.
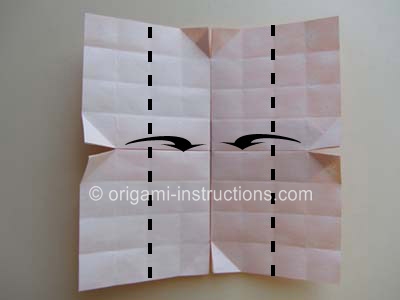
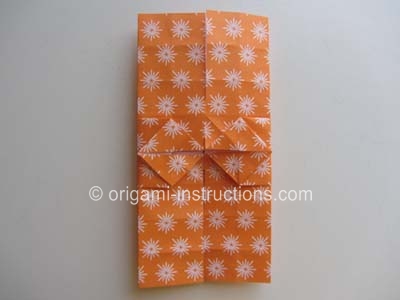
Origami Vase Step 19: Fold the bottom half to the center. Tuck the paper into the "pocket".
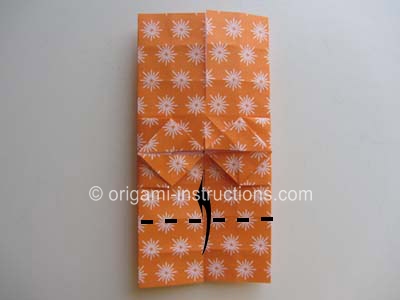
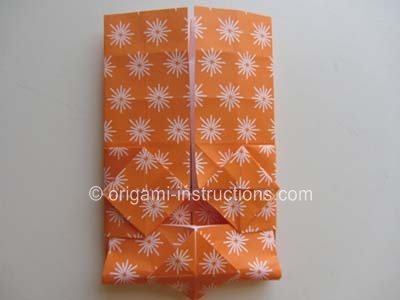
closer view of tucking paper into pocket....
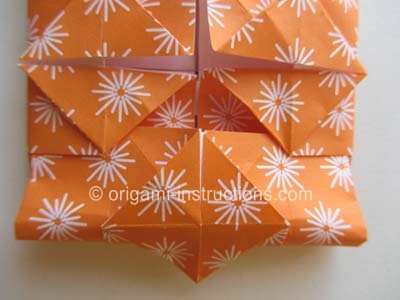
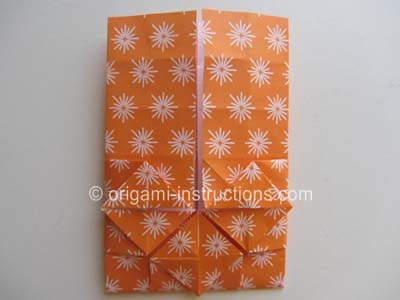
Origami Vase Step 20: Now fold the top half to the center. Once again, tuck paper into the pocket.
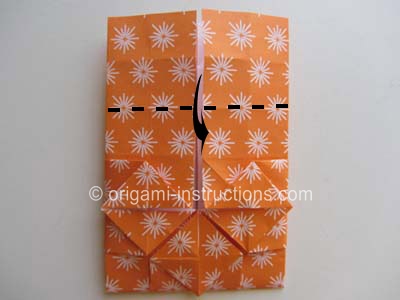
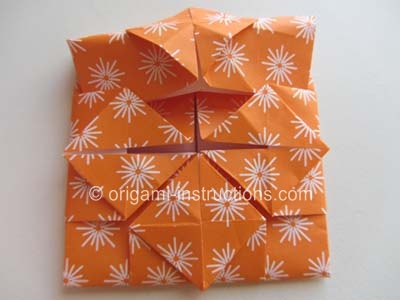
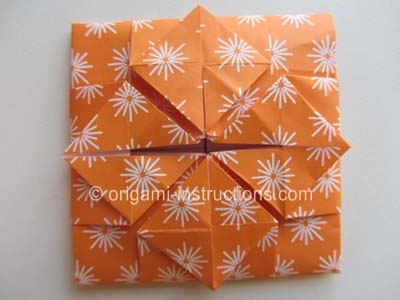
Origami Vase Step 21: Almost done! Make diagonal mountain folds to create an opening for your vase.
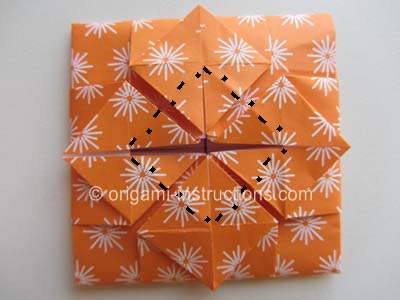
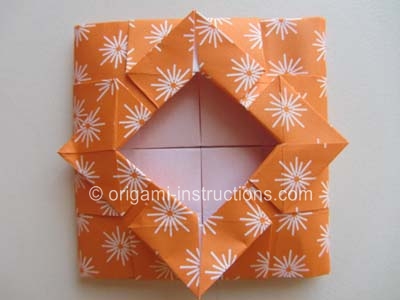
Origami Vase Step 22: Flip paper over.
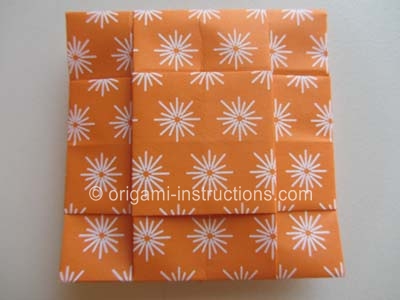
Origami Vase Step 23: Now the transformation begins! Start to gently pry paper out of its fold on all sides.
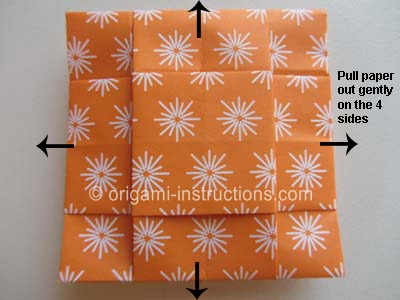
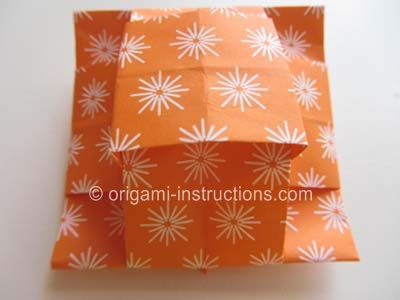
As you pull the paper out, suddenly your "flat" paper becomes a 3D object! This is what we love about origami!!
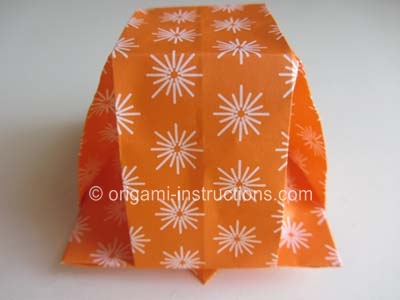
Flip paper over and your origami vase is complete!
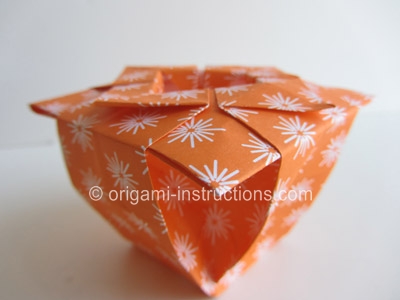
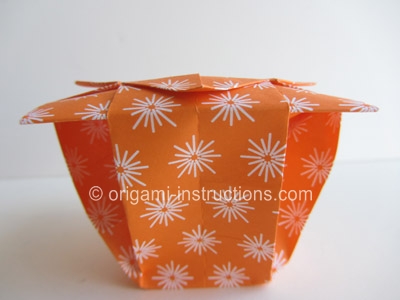
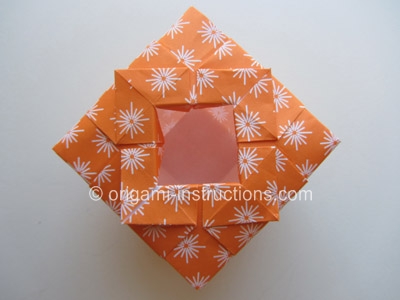
Fill it up with origami flowers!
