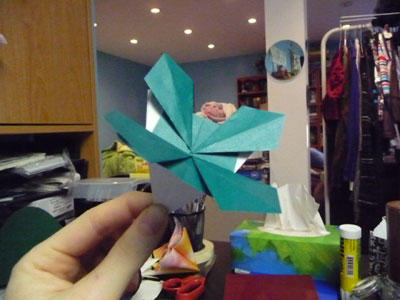
Origami Cornflower
This cornflower is a traditional origami design that is easy to make.
Made this origami? Comment and Submit your photo using the comment box at the end of this page!
Start with an origami square base, made with the colored side inside instead of the usual outside. (In the square base instructions, start with the colored side downwards instead of upwards).
Then valley fold along the line shown to bring point A to the centerline.
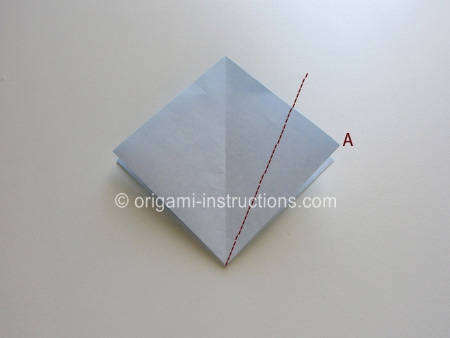
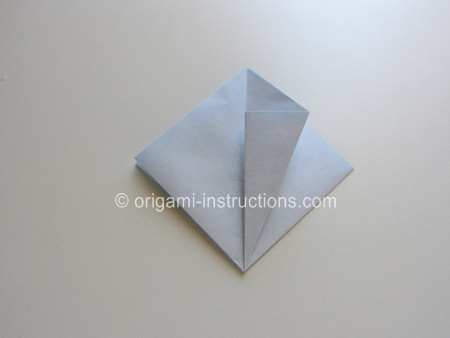
Unfold the last fold, and using the creaseline you just made as a guide, make a squash fold as shown.
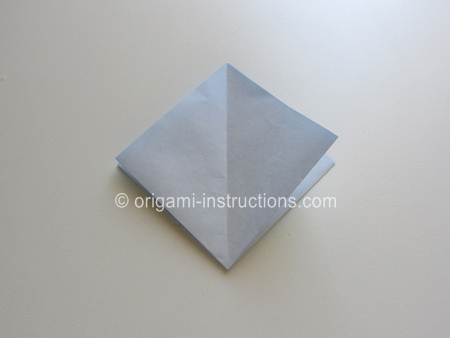
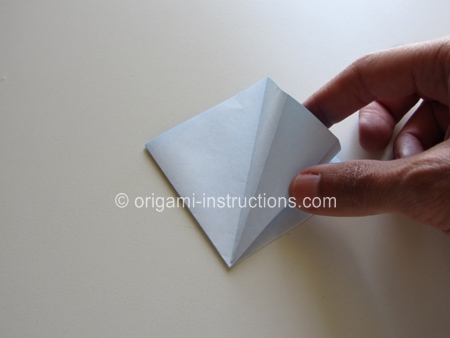
Now fold point B over to the right as shown.
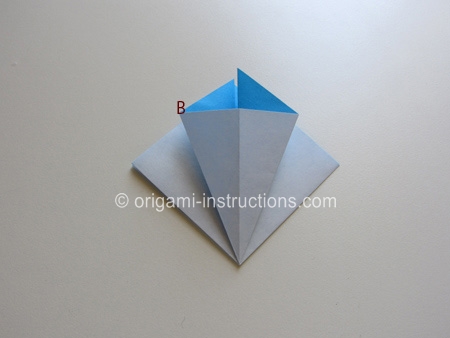
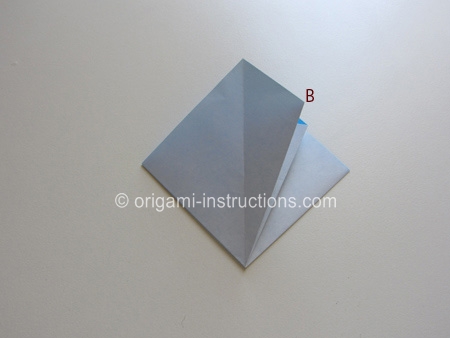
We'll repeat the last five (5) steps on the left side of the piece:
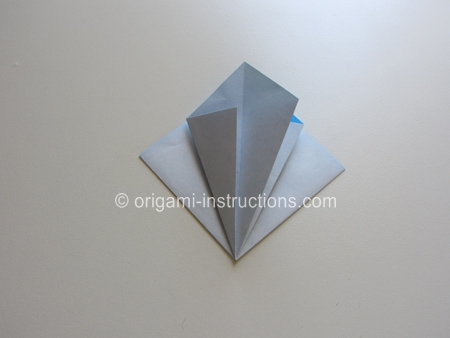
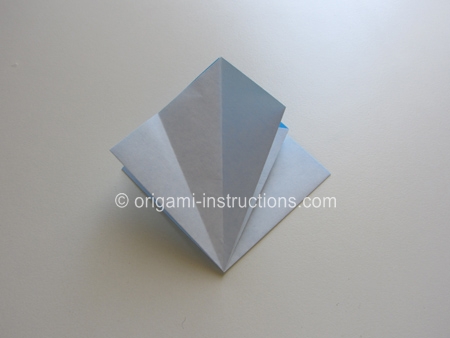
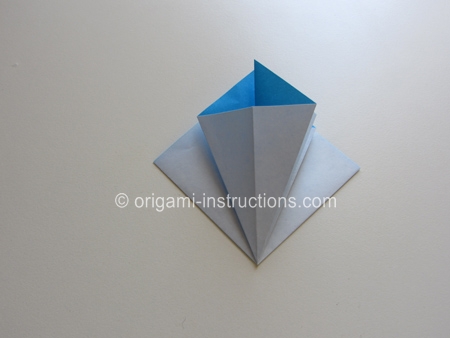
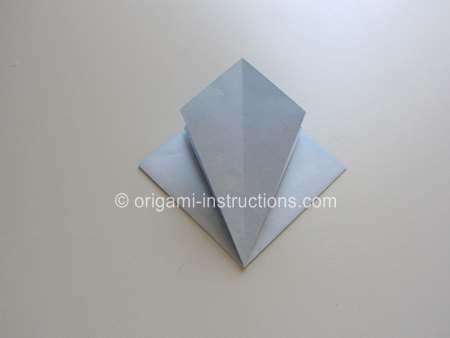
Now flip the piece over...
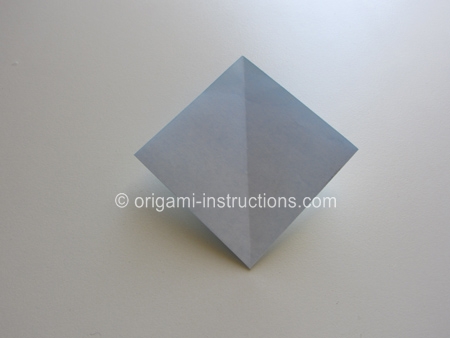
...and repeat these two (2) squash folds, that is, the last ten steps. Your piece should now look like the kite below.
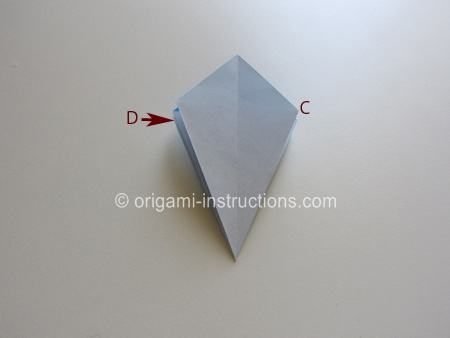
Fold corner C over to the left, and fold the corresponding corner D in back of the piece around the back and to the right.
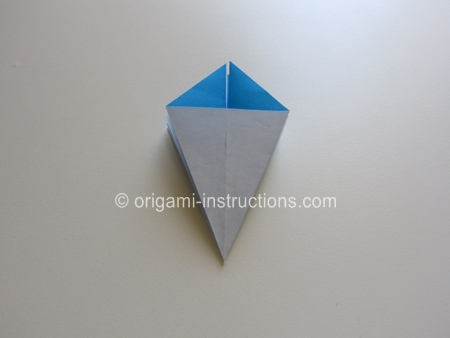
Next, fold the top of the piece down to the bottom, and unfold.
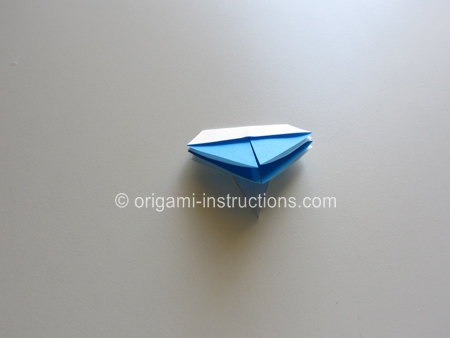
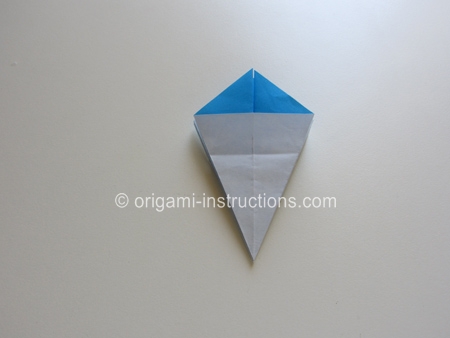
Now looking at the top of the piece, spread the top points open.
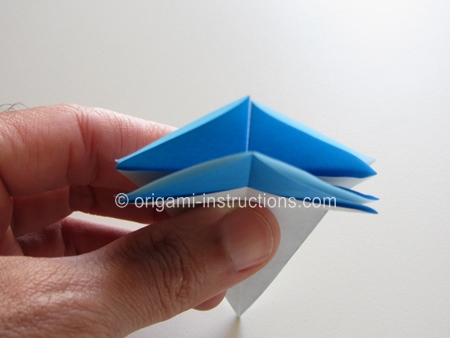
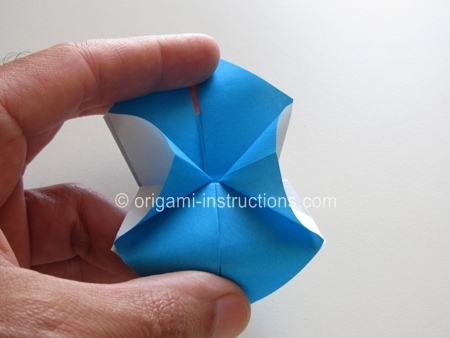
Squash fold the inner flaps as shown.
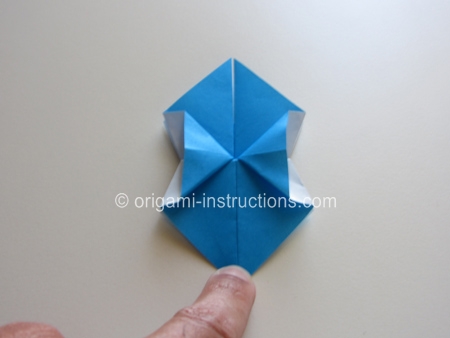
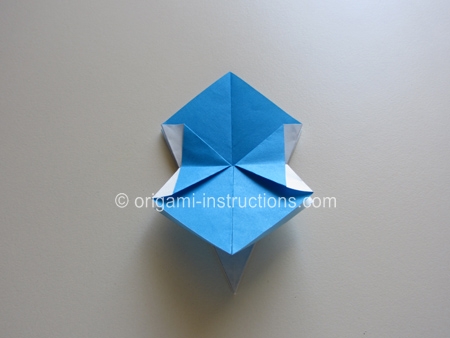
Then we'll squash fold the petals. Here is the first one (upper left) completed. The next three (3) photos show the squash fold on the upper right petal.
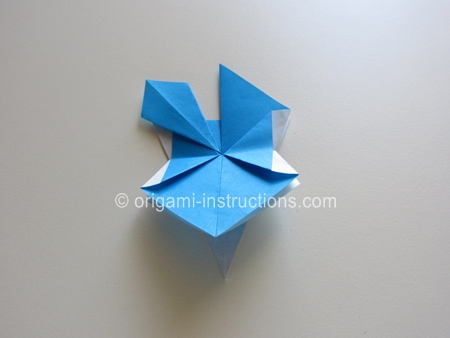
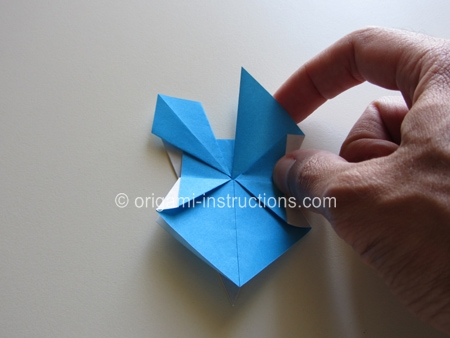
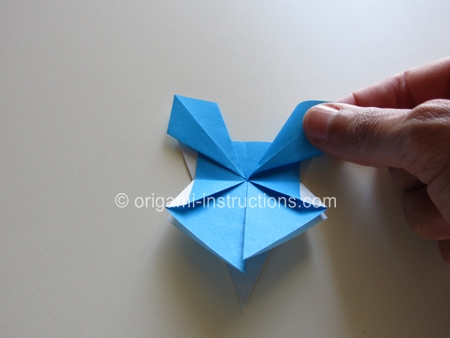
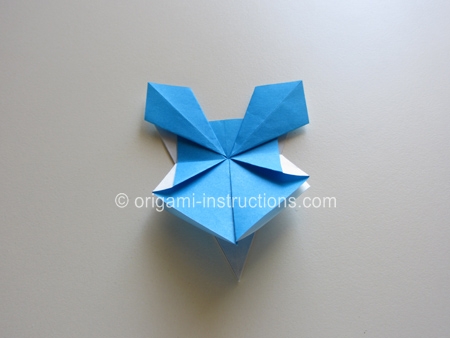
Finish the bottom two (2) petals, the unfold the base so it points straight down.
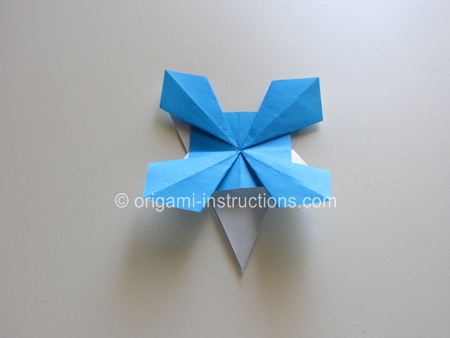
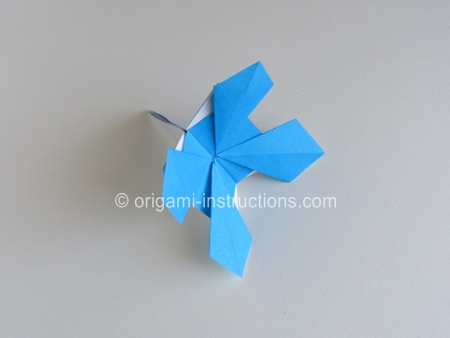
Now your origami cornflower is complete!
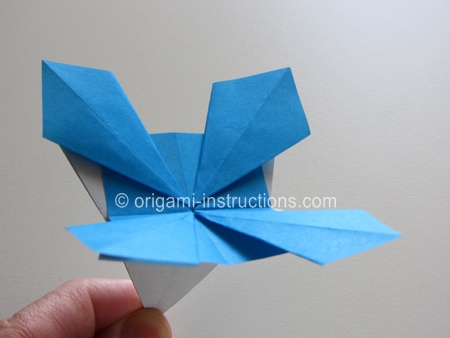
From Robin in Regina " I made a bunch of flowers for my mom for her birthday and she absolutely loved them."
