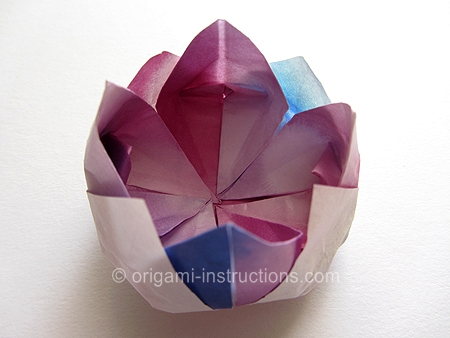
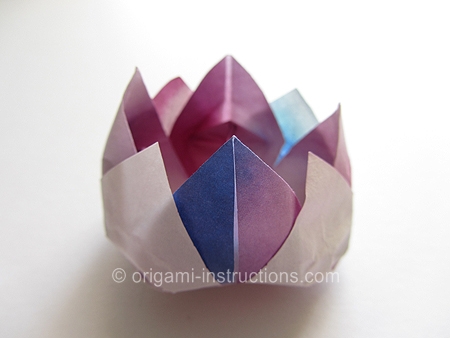
Origami Traditional Lotus
The steps to fold this origami traditional lotus or waterlily are easy. The only challenging part comes at the end. You've to pull out the paper really gently or it will tear.
Made this origami? Comment and Submit your photo using the comment box at the end of this page!
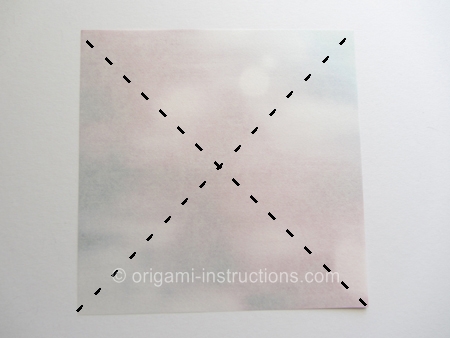
Origami Traditional Lotus Step 1: Start with a nice thin origami paper, preferably one that is "silky" or has a sheen to it. We used the regular 6 inch x 6 inch (15cm x 15cm) square origami paper, color side down.
Fold paper in half on both diagonal axis. Crease well and unfold.
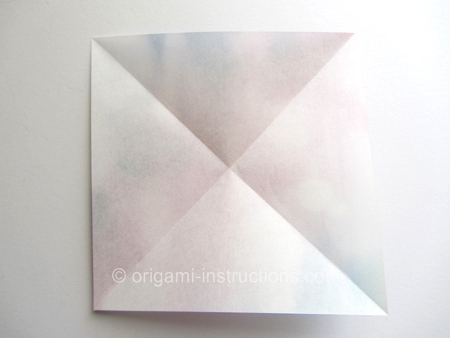
Origami Traditional Lotus Step 2: Fold all 4 corners to the center. As some of you may know, this is called a Blintz Fold. We will make several of these for this origami.

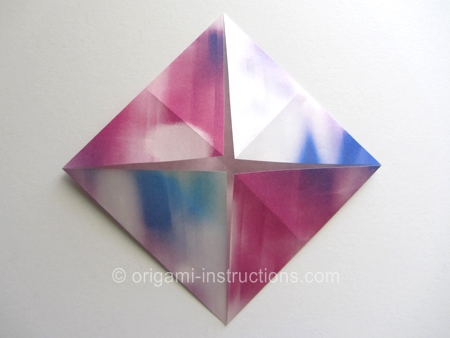
Origami Traditional Lotus Step 3: Make another blintz fold, once again folding all 4 corners to the center.
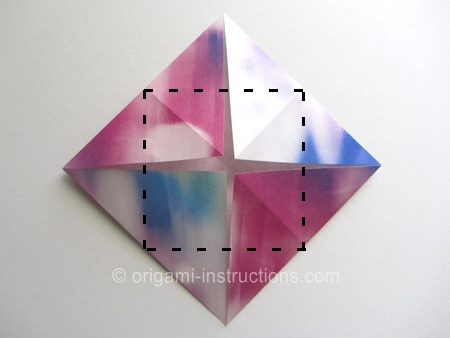
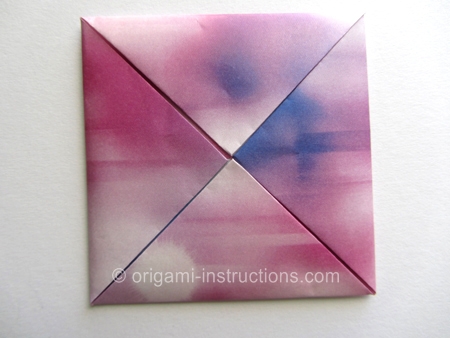
Origami Traditional Lotus Step 4: Flip paper over.
Make yet another blintz fold! But this time, crease well then unfold.
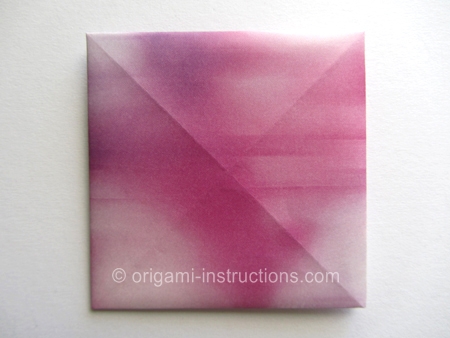
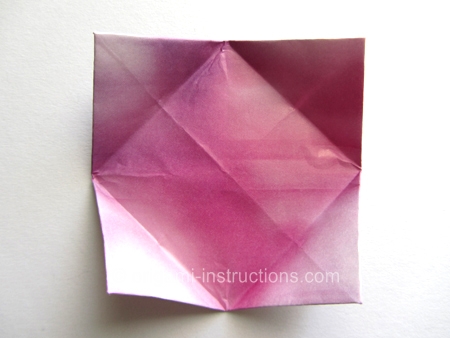
Origami Traditional Lotus Step 5: Flip paper over.
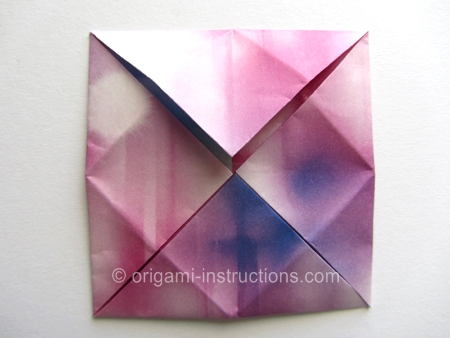
Origami Traditional Lotus Step 6: Now, fold A-B to A-C. Do not crease all the way. Crease only to the center and unfold.
Then fold C-B to C-A. Crease ONLY to the center and unfold.
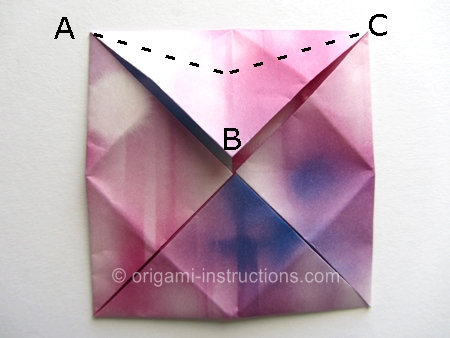
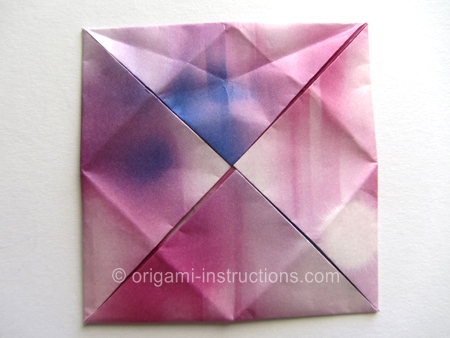
Origami Traditional Lotus Step 7: Repeat Step 6 for the other 3 sides. Your paper should look like this when you've completed all 4 sides.
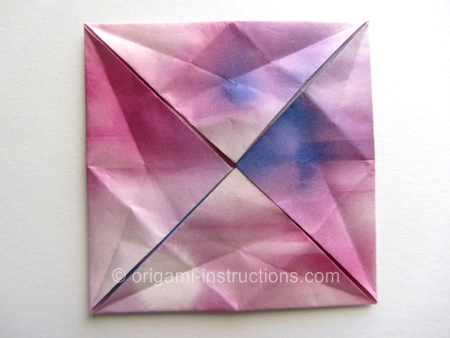
Origami Traditional Lotus Step 8: Make 4 valley folds, one on each side as shown below.
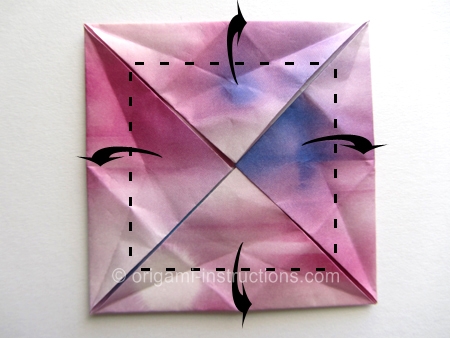
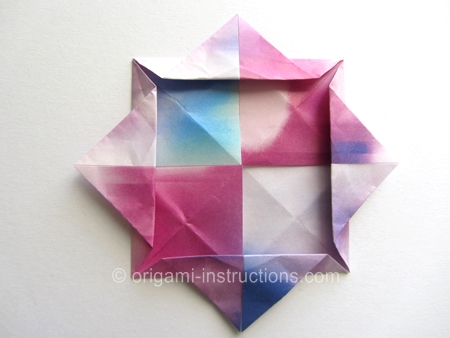
Origami Traditional Lotus Step 9: Flip paper over. Fold all 4 corners to the center.
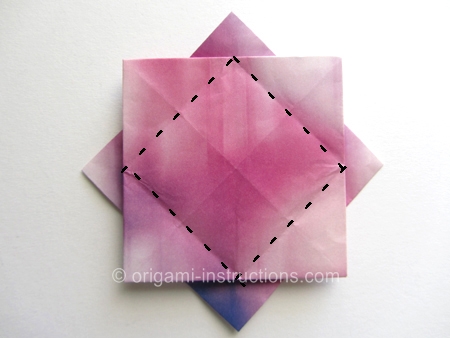
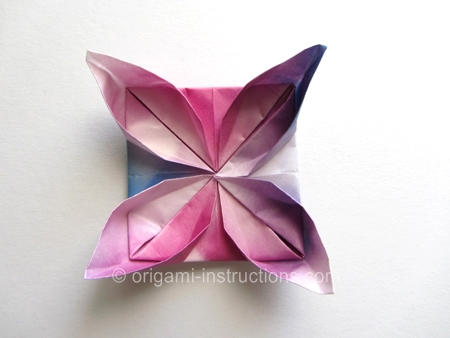
Origami Traditional Lotus Step 10: Fold all 4 tips to the center as well.
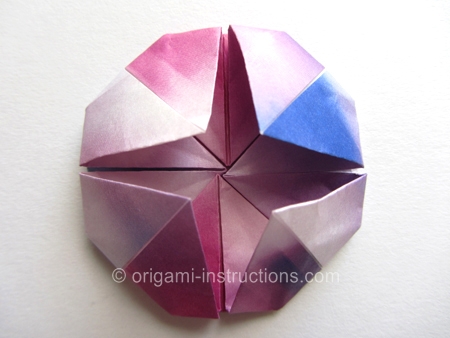
Origami Traditional Lotus Step 11: Flip paper over. Make 4 valley folds as shown below.
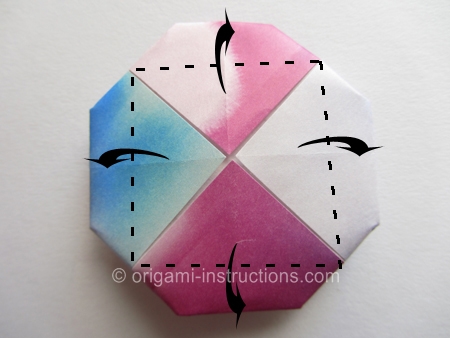
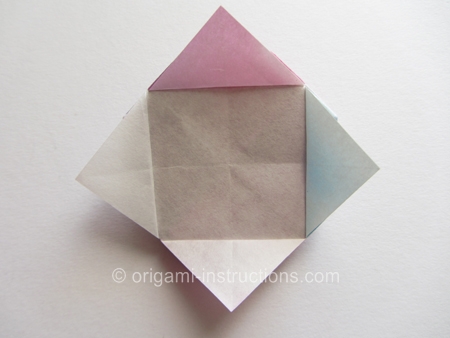
You could stop here at this point if you like. Flip the paper over and you'll see an origami lotus already. OR you could continue on with Step 12 and get a slightly different looking origami lotus at the end.

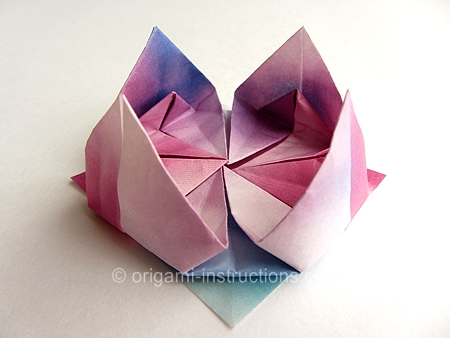
Origami Traditional Lotus Step 12: Watch the video below to see how you can gently pull out additional paper and end up with a more rounded-looking origami traditional lotus.
This step is really dependent on the origami paper. Some seemed to fare better than others. Don't be discourage if your paper tears. Just try a different paper, preferably one that is thin and silky.
Origami Traditional Lotus Video
Here's the completed origami traditional lotus!
