Origami Kawasaki Rose
The Kawasaki Rose was invented by Toshikazu Kawasaki, an origami designer and math teacher in Japan. The Kawasaki rose is actually a family of origami rose designs, all based on a unique curling technique that creates the illusion of overlapping rose petals. It's a challenging origami design, but well worth it to fold. Our step by step photos will guide you through.
Made this origami? Comment and Submit your photo using the comment box at the end of this page!
Also check out our Kawasaki Rose Video, which may help clarify some of the steps.
Start with a square of origami paper, colored side up:
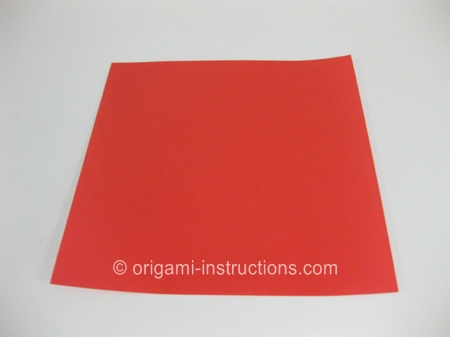
Make a valley fold along the east-west axis as shown:
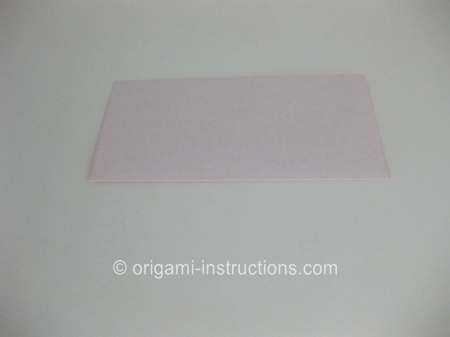
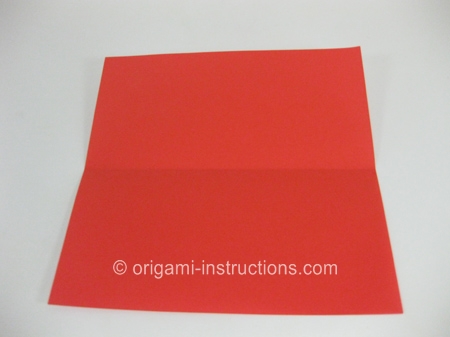
Now make another valley fold along the north-south axis:
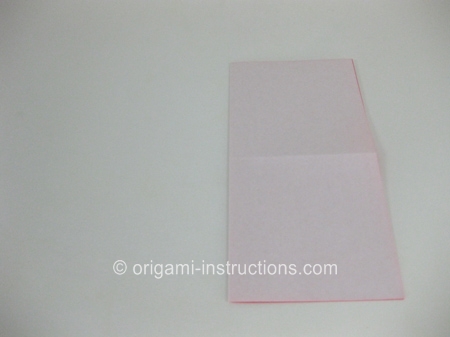
Rotate the paper 90 degrees:
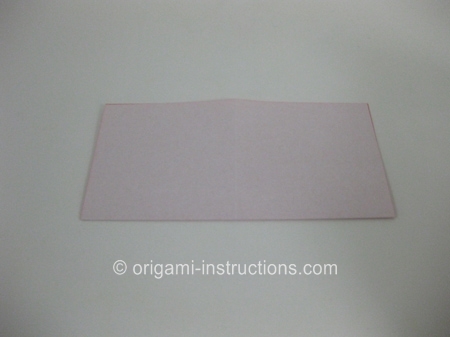
Next fold in half again, and unfold:
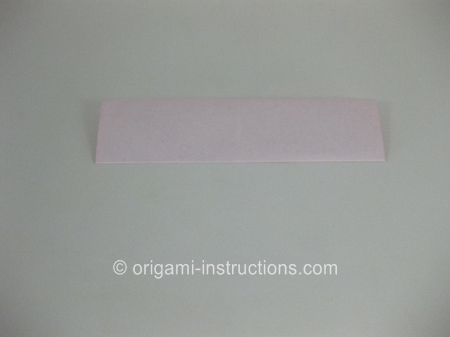
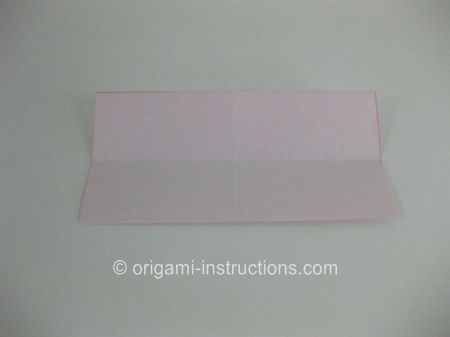
Fold the bottom edge of the paper one-third of the way to the centerline, then unfold the paper:
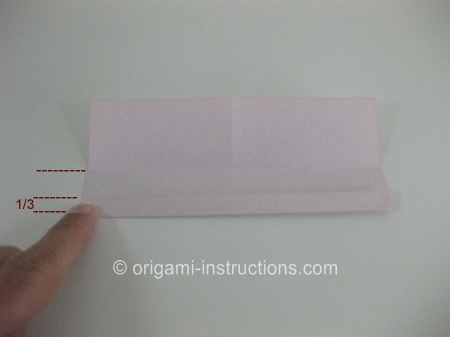
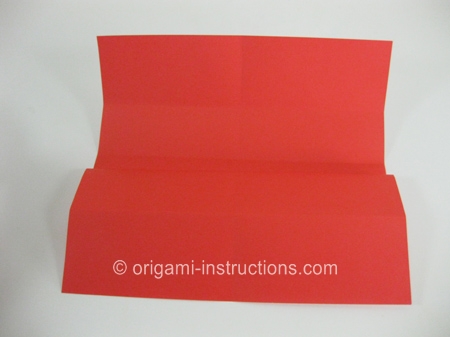
Fold the paper left to right and rotate 90 degrees. Then repeat the last four (4) steps.
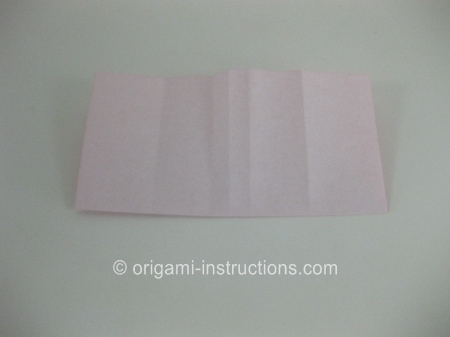
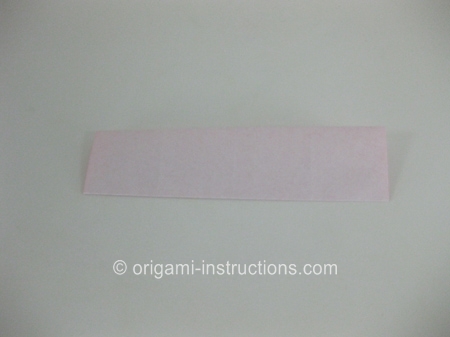
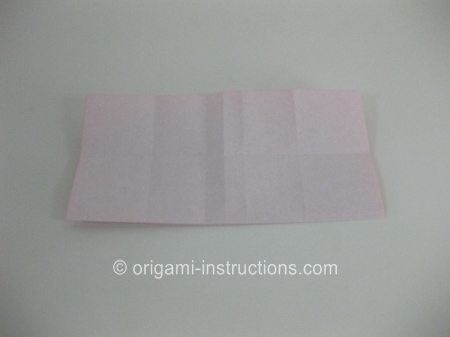
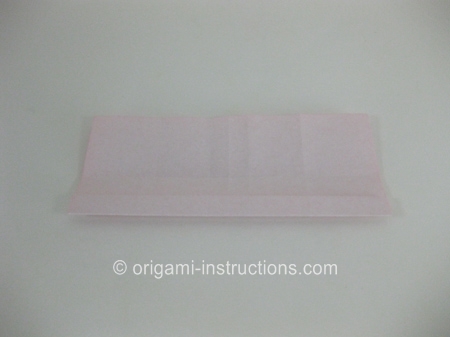
Now your origami paper should look like this, with two (2) pairs of creases near the centerlines, and two (2) pairs of creases further from the centerlines.
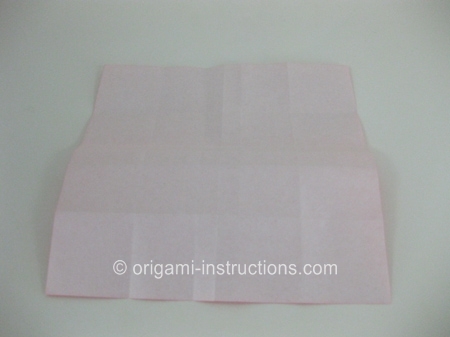
The creases nearest the centerlines need to be re-folded, so that all four (4) are mountain folds (2 of them are already mountain folds). See the next four (4) photos:
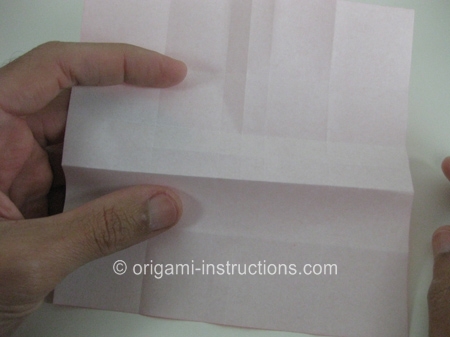
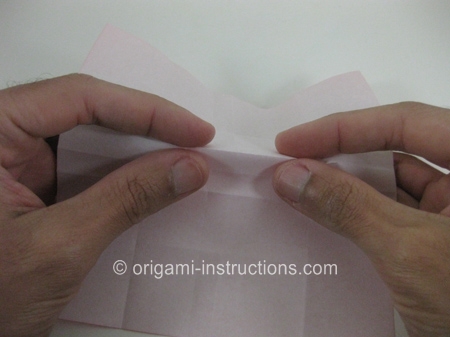
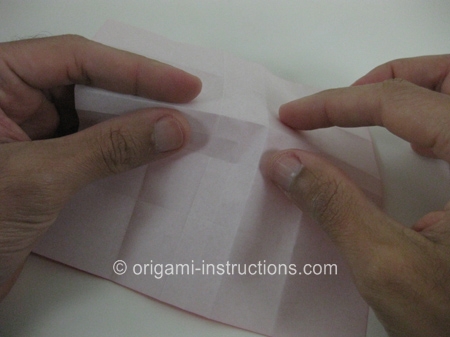
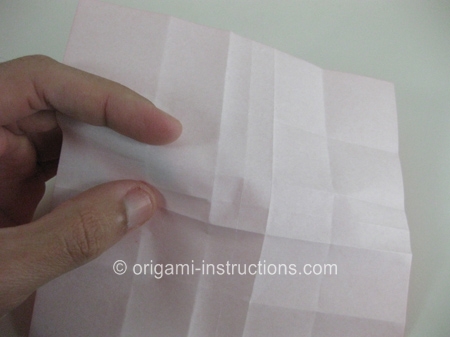
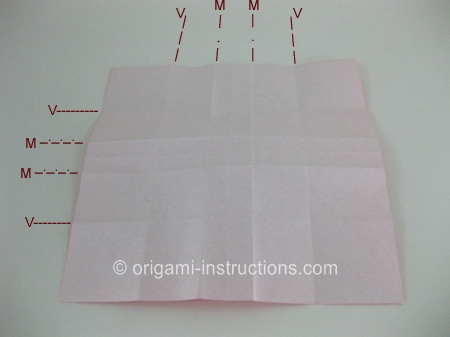
Next, re-fold the four (4) creases furthest from the centerline, to valley folds (2 of them are already valley folds). The mountain (M) and valley (V) fold layout should look like this:
Then, make folds along each diagonal as shown:
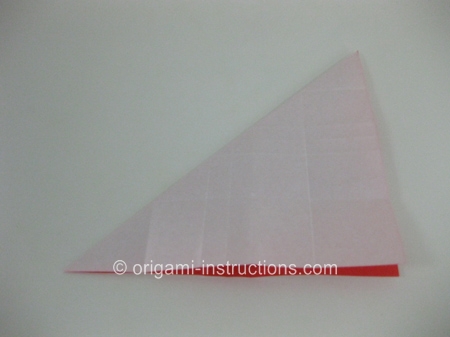
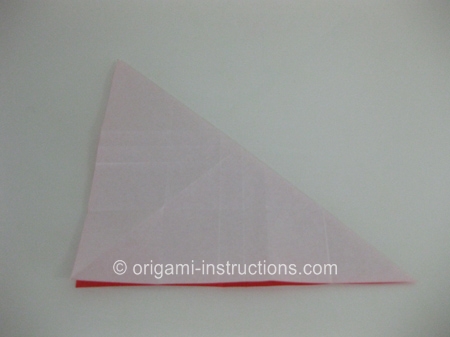
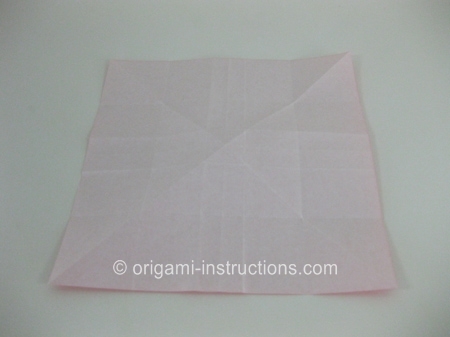
Partially fold the along the centerline creases so that they stick up somewhat from the paper, as shown in the next four (4) photos.
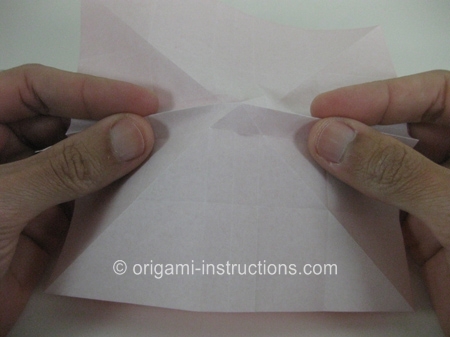
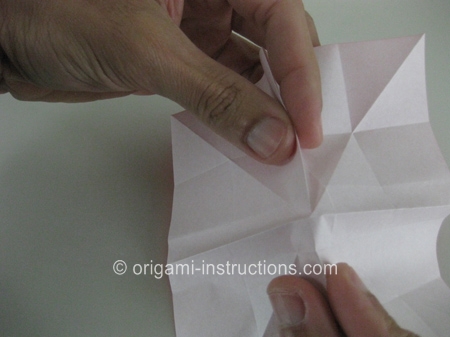
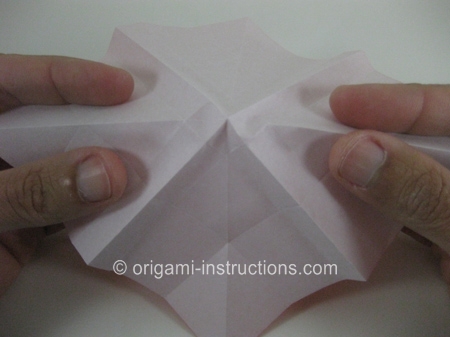
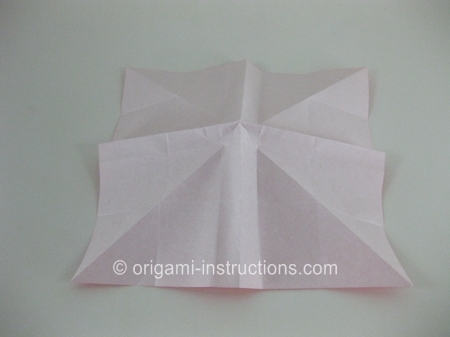
Now use your fingers to move the centerline creases in opposite directions.....
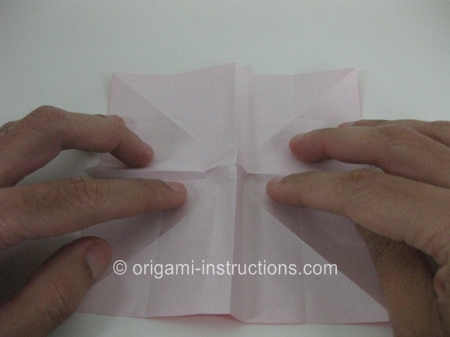
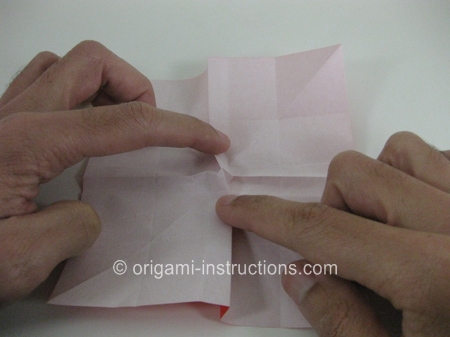
...which will result in a pinwheel shape:
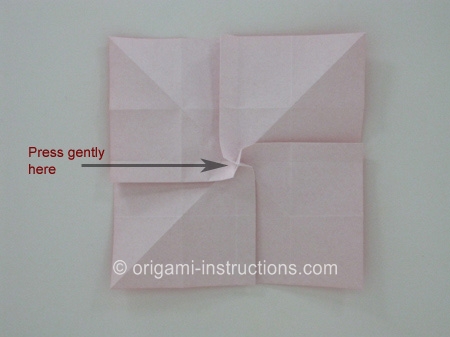
Press down gently with one finger on top of the pinwheel. Work slowly until the point flattens into a diamond in the middle of the paper:
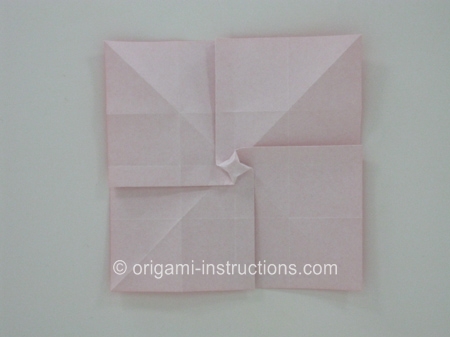
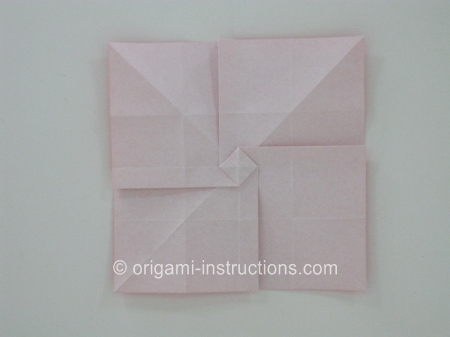
It doesn't look much like a rose yet, but Kawasaki-san knows what he's doing! It's just about to get interesting...check out the second page of the origami Kawasaki rose instructions.


