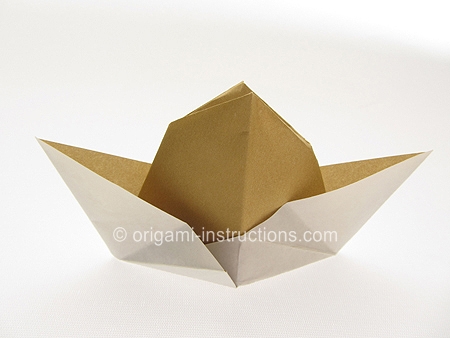
Origami Cowboy Hat
This is a fun and fairly easy to fold origami cowboy (or cowgirl) hat.
Made this origami? Comment and Submit your photo using the comment box at the end of this page!
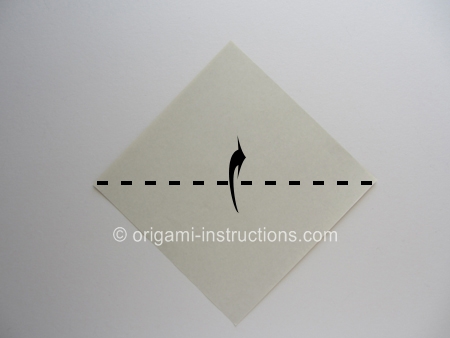
Origami Cowboy Hat Step 1: Start with a 6 inch x 6 inch (15cm x 15cm) square origami paper, color side down.
Fold paper in half on the horizontal diagonal axis. Crease well.
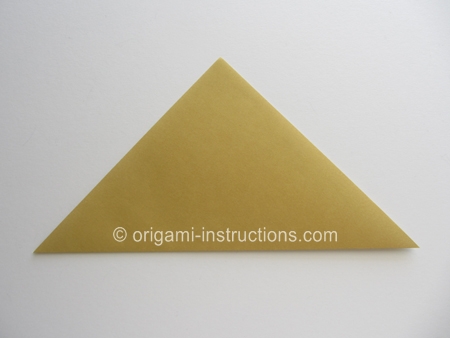
Origami Cowboy Hat Step 2: Fold the top tip down (top layer only) to the bottom edge. Crease well and unfold.
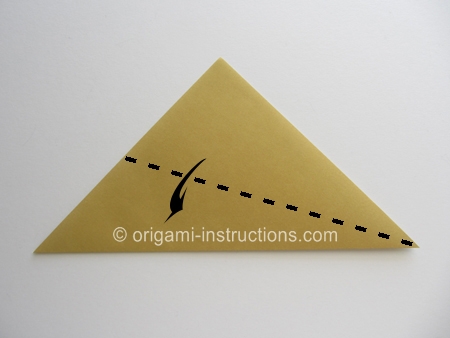
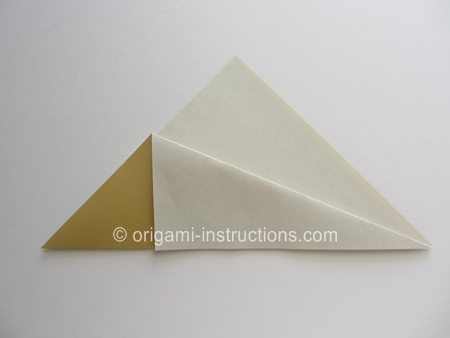
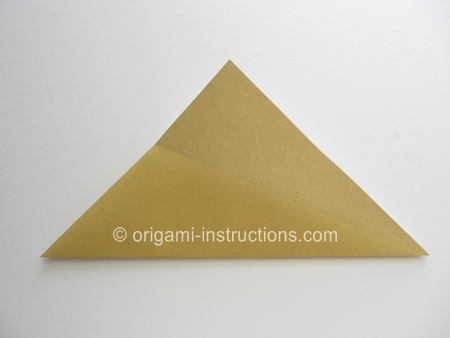
Origami Cowboy Hat Step 3: Now fold point A to B. Crease well.
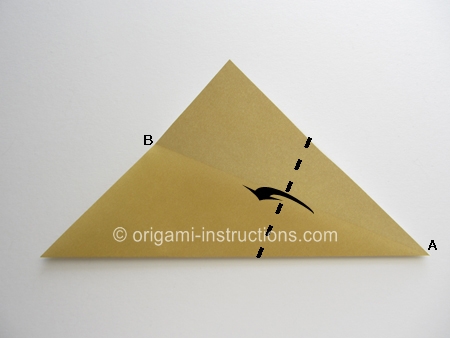
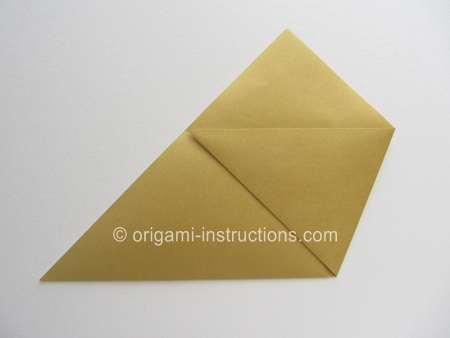
Origami Cowboy Hat Step 4: Fold point C to point D. Crease well.
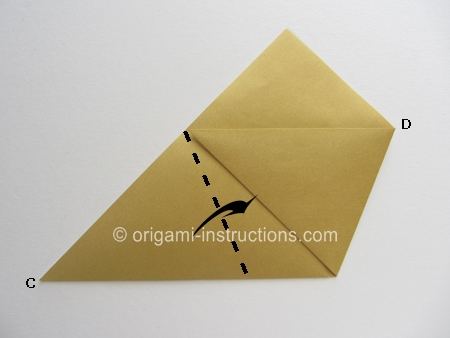
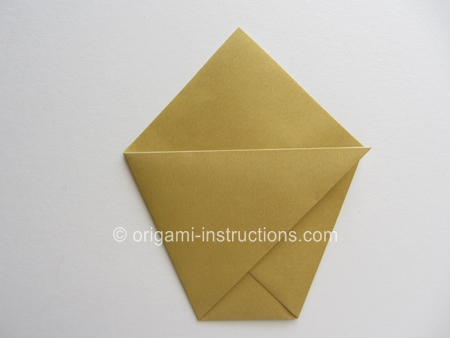
Origami Cowboy Hat Step 5: Fold down the top tip.
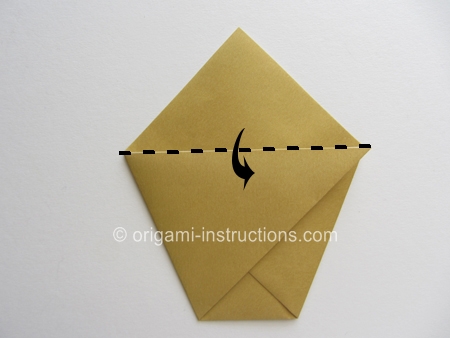
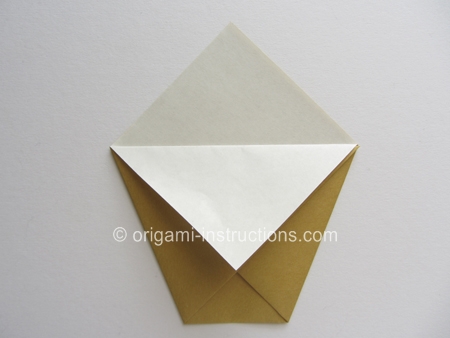
Origami Cowboy Hat Step 6: Flip paper over and fold down the top tip on this side as well.
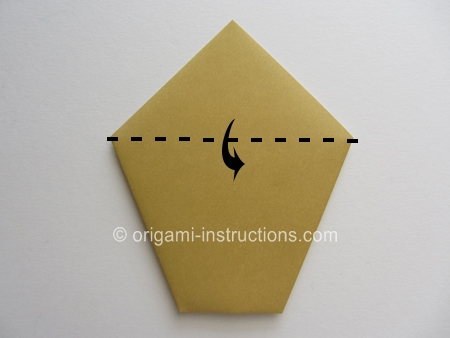
As you can see, we've folded the origami cup!
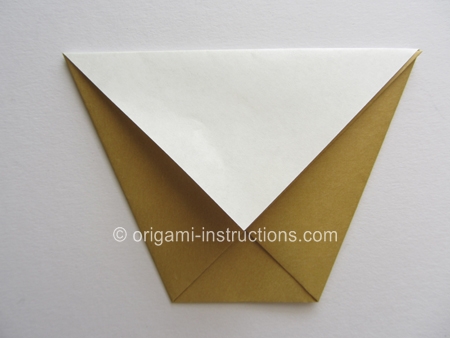
Origami Cowboy Hat Step 7: Rotate paper 180 degrees. Make the diagonal mountain creases.
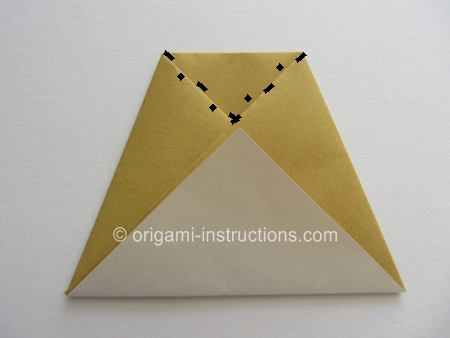
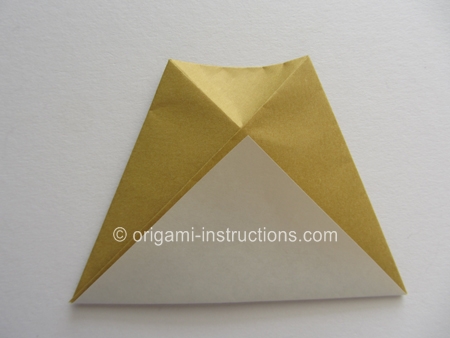
Origami Cowboy Hat Step 8: Fold paper in half by making a mountain fold. Crease and unfold.
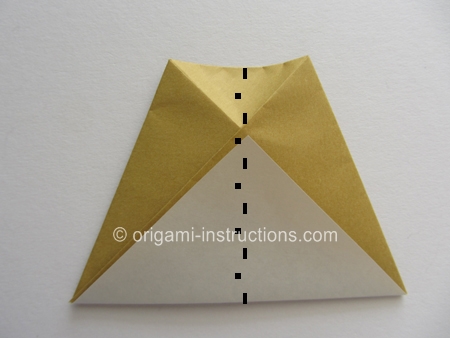
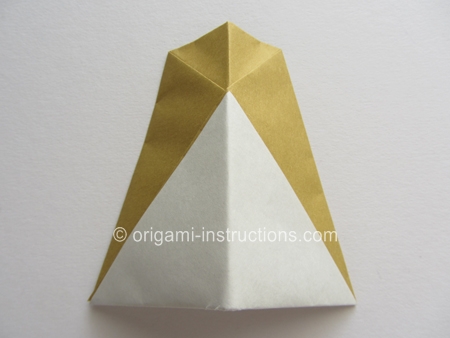
Origami Cowboy Hat Step 9: Now pry paper open at the bottom and press down the top.
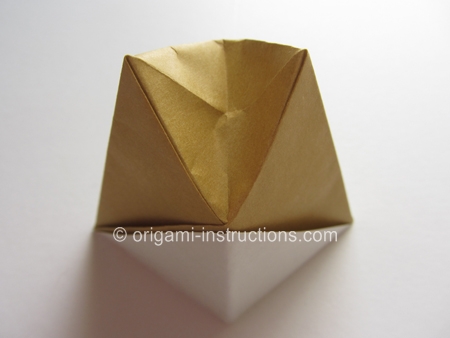
Origami Cowboy Hat Step 10: Press paper flat and turn it to the side.
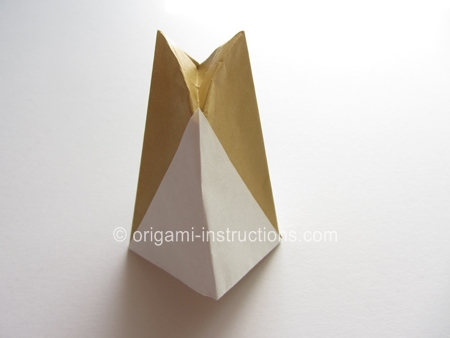
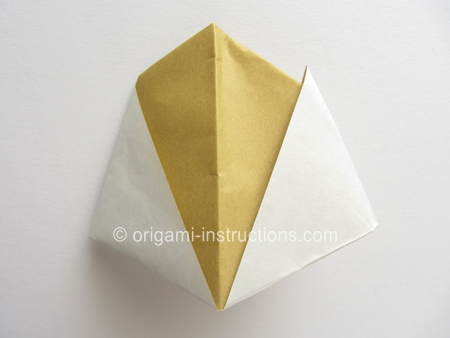
Origami Cowboy Hat Step 11: Make the horizontal valley fold as indicated below.
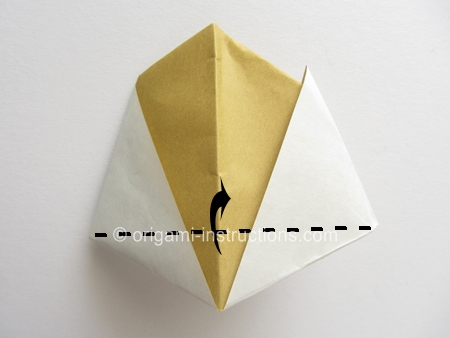
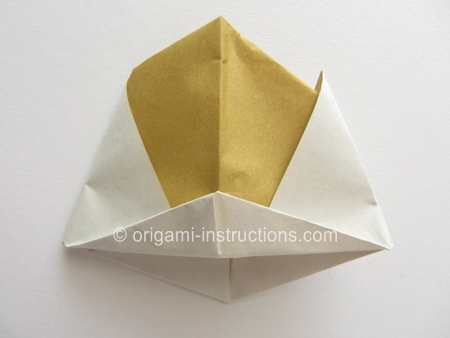
Origami Cowboy Hat Step 12: Flip paper over and make a horizontal valley fold on this side.
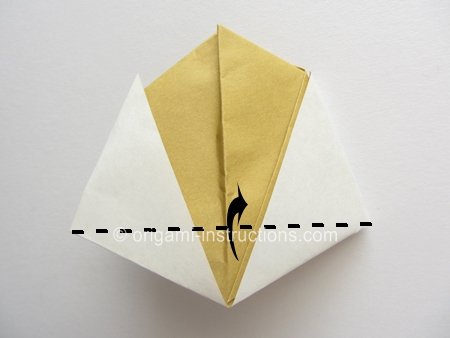
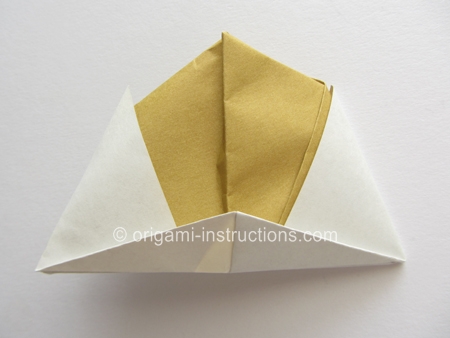
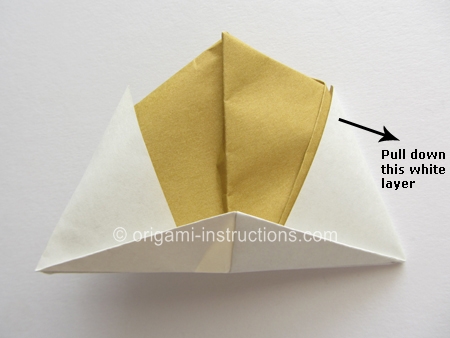
Origami Cowboy Hat Step 13: Gently pull down the white layer on the right side. Press paper flat on the edges.
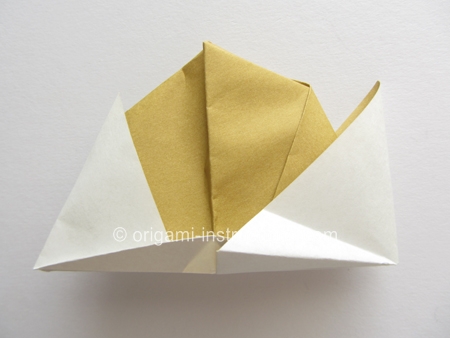
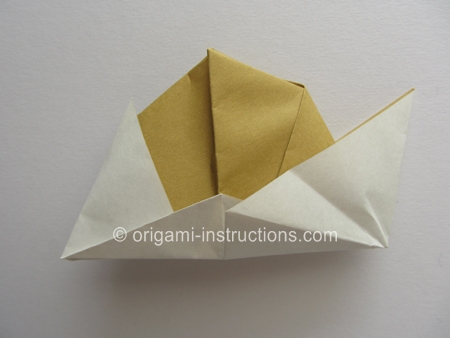
Origami Cowboy Hat Step 14: Repeat Step 13 on the left side.
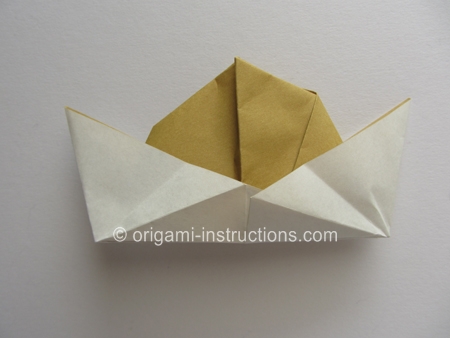
Pry paper open at the bottom and your origami cowboy hat is complete!
