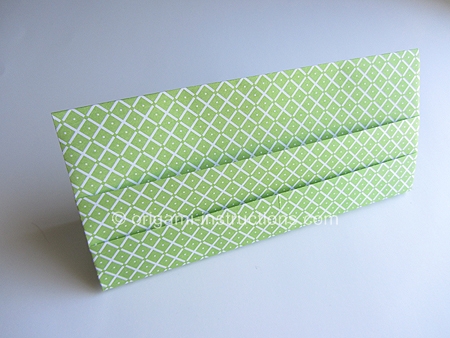
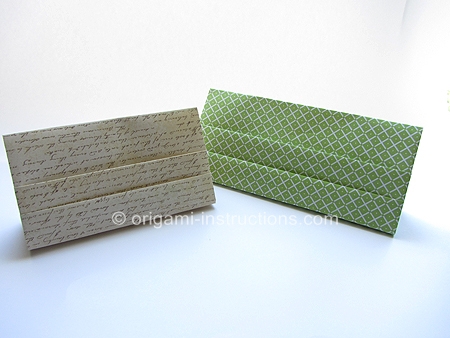
Origami Photo Memo Holder
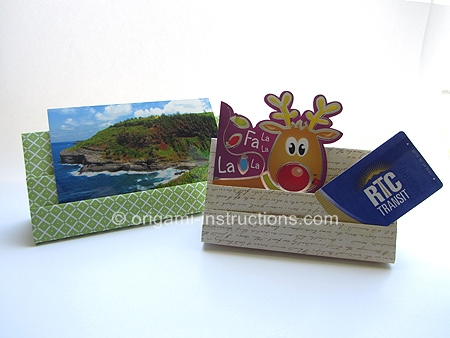
Origami photo memo holder has 2 rows of pockets to hold your treasured items. You can modify it to hold larger items like 4x6 (4R) photos as well.
Made this origami? Comment and Submit your photo using the comment box at the end of this page!
Origami Photo Memo Holder Step 1: Start with a large 12 inch x 12 inch (30cm x 30cm) square paper, color side down. You can use the regular 6 inch origami paper too but the end result will be a rather small (~3 inch wide) memo holder.
Thicker and sturdier paper like cardstock or scrapbook paper works well for this origami.
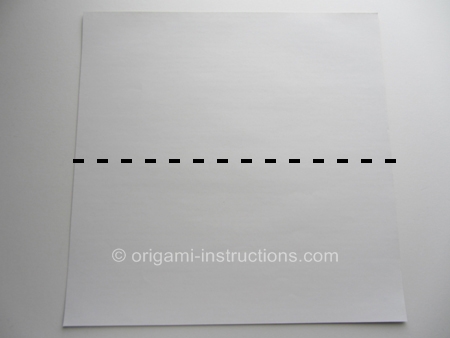
Fold paper in half on the horizontal axis. Crease well and unfold.
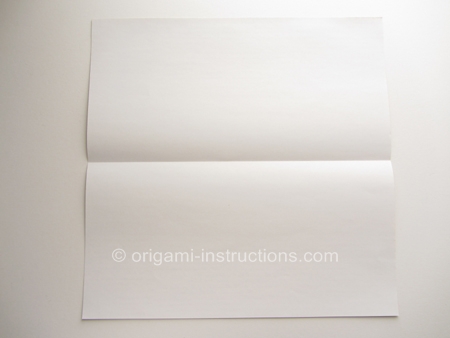
Origami Photo Memo Holder Step 2: Fold paper in half on the vertical axis. Crease the center only to mark the spot. This is to avoid unnecessary creases on our memo holder.
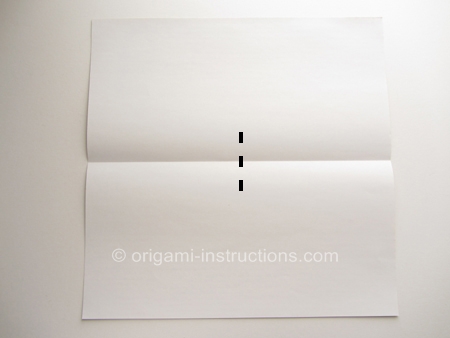
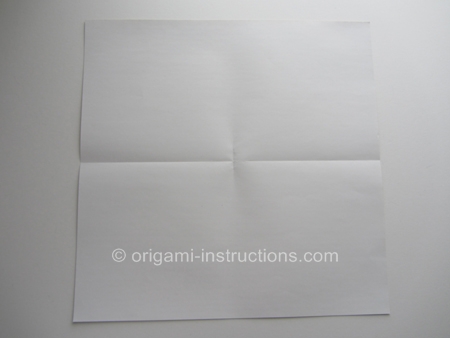
Origami Photo Memo Holder Step 3: Fold both left and right sides to meet in the center. Crease well and unfold.
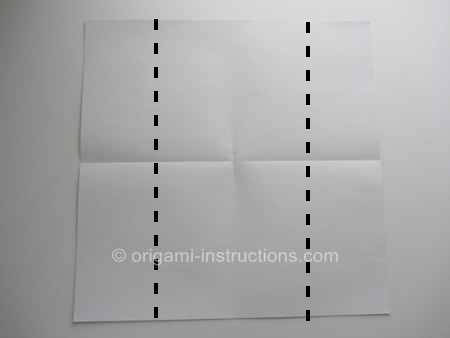
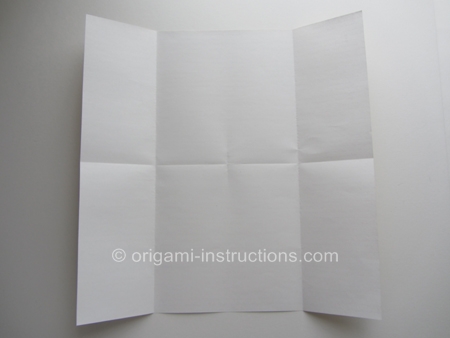
Origami Photo Memo Holder Step 4: Fold the top and bottom halves to meet in the center. Crease well and unfold.
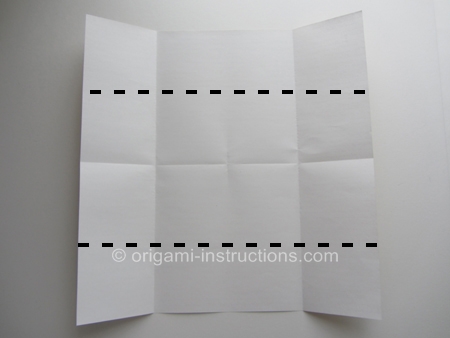
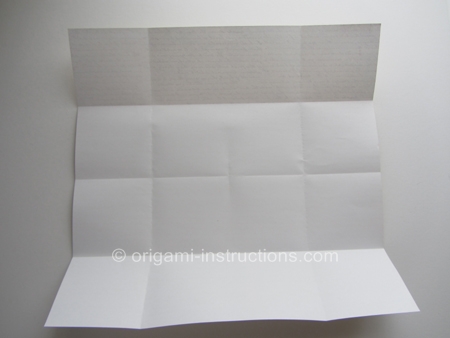
Origami Photo Memo Holder Step 5: Fold the bottom half to the top.
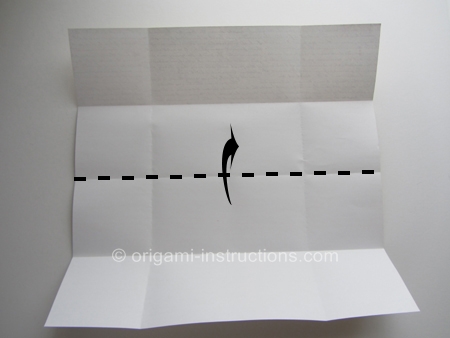
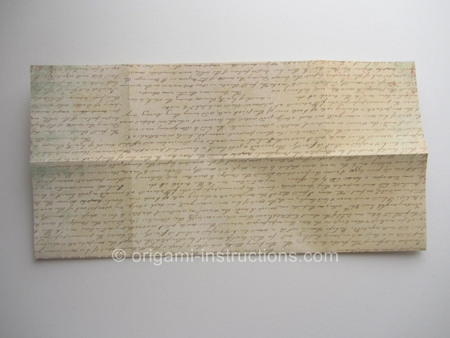
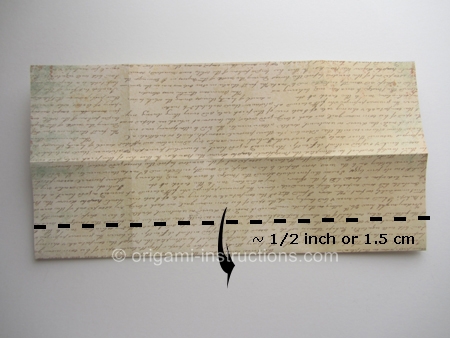
Origami Photo Memo Holder Step 6: Now measure approximately 1/2 inch or 1.5 cm from the bottom edge and fold paper down. This becomes the first row of pocket for your memo holder.
There is some flexibility here.... If you want your memo holder to have deeper pockets, you can increase it to 3/4 inch or 2 cm...
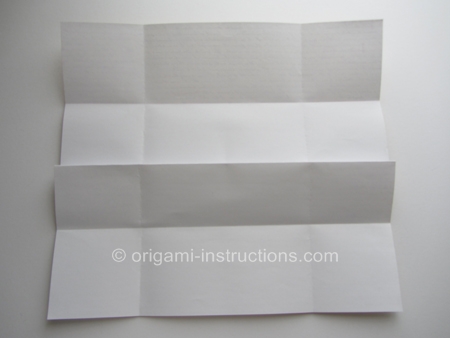
Origami Photo Memo Holder Step 7: Measure 1/2 inch or 1.5 cm from the existing lower crease and fold paper up.
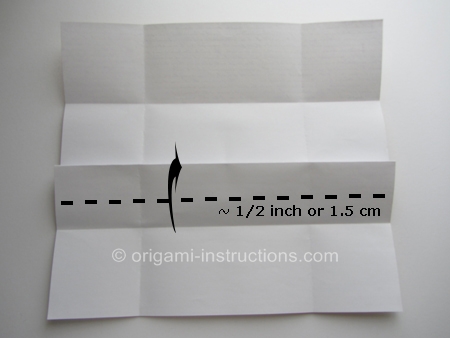
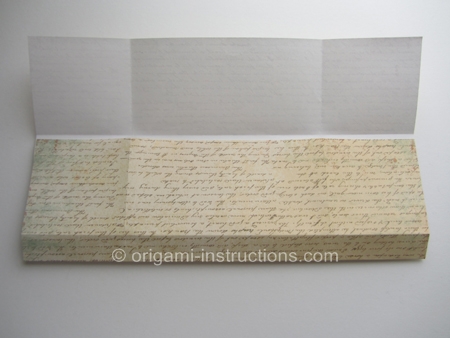
Origami Photo Memo Holder Step 8: Fold paper down at the existing crease.
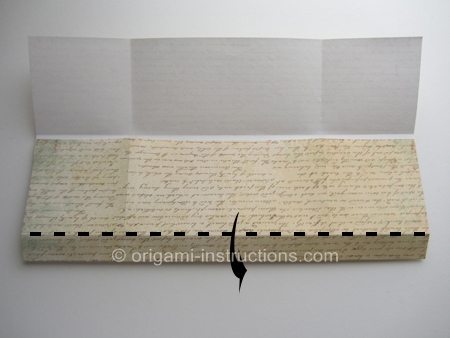
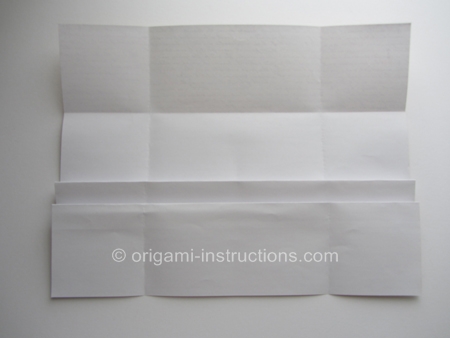
Origami Photo Memo Holder Step 9: Fold both the right and left sides to the center. Crease well.
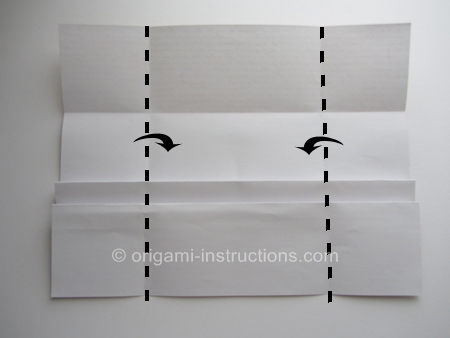
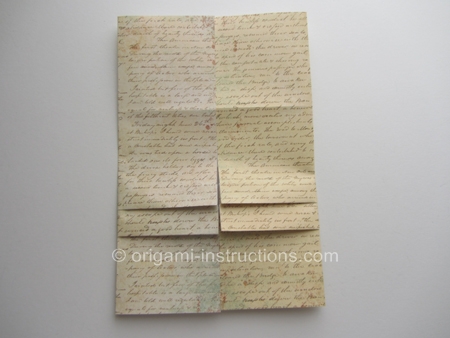
Origami Photo Memo Holder Step 10: Once again, measure approximately 1/2 inch or 1.5 cm from the bottom edge and fold. Crease well and unfold.
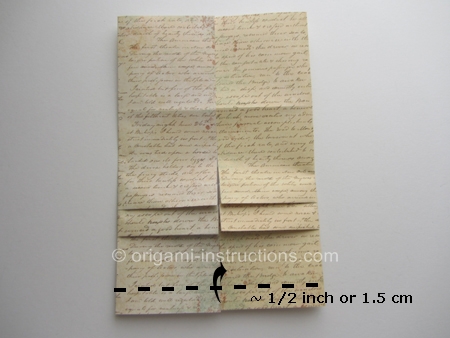
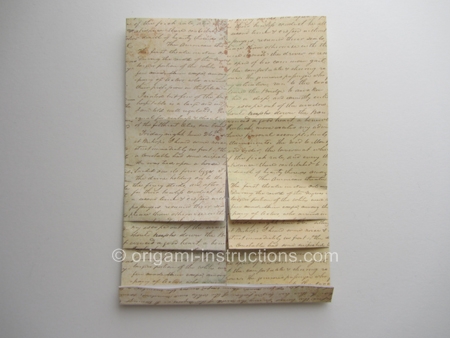
Origami Photo Memo Holder Step 11: Fold the top down and tuck the top into the bottom edge pocket.
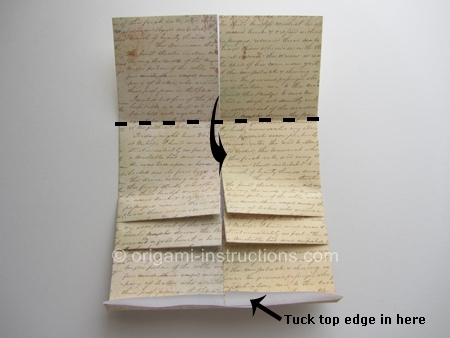
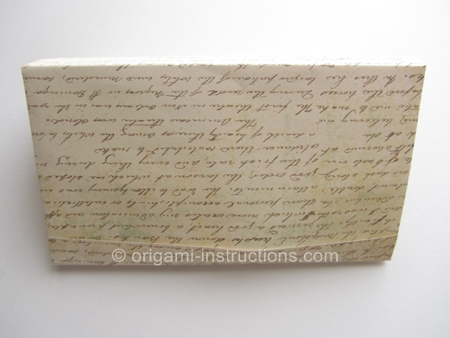
Origami Photo Memo Holder Step 12: Flip paper over. The bottom edge is curved right now. To make it stand properly, just crease the edge.
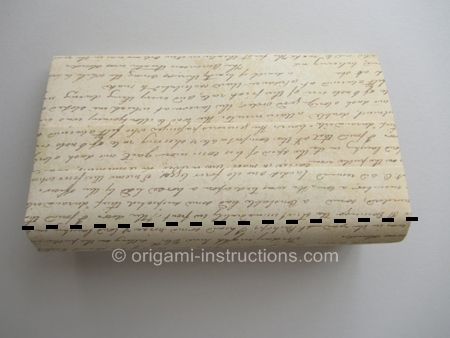
and your origami photo memo holder is complete!
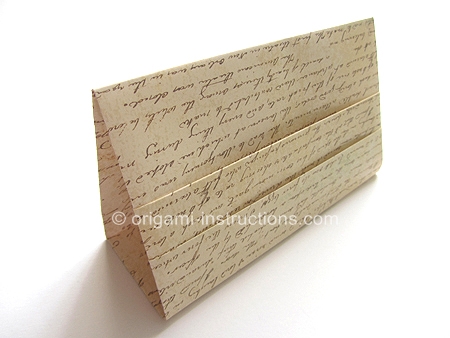
You can modify Steps 3 and 9 to make the photo memo holder larger. Do not fold the left and right sides all the way to the center. Leave maybe 2 to 4 inches (~5-10cm) and you'll end up with a wider holder that can fit a regular 4R photo.
Here's the larger origami photo memo holder...
