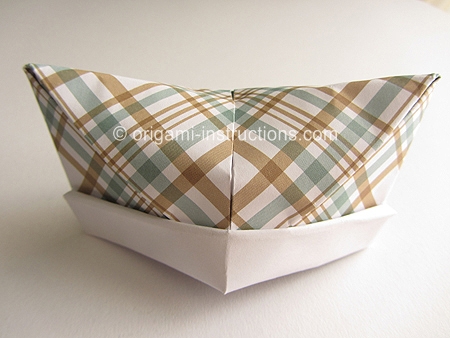
Origami Flat Cap
Here are instructions for folding an origami flat cap. The hat can be stored flat and when you're ready to wear it, just pry open the base and put it on your head! You can wear this flat cap if you make it out of newspaper (or a large sheet of paper).
Made this origami? Comment and Submit your photo using the comment box at the end of this page!
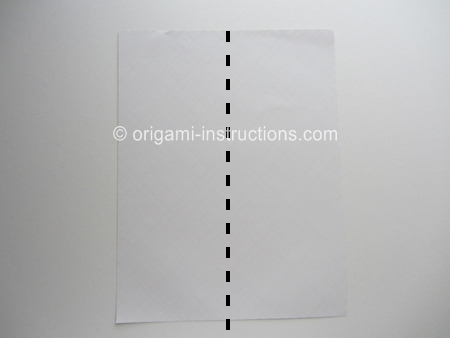
Origami Flat Cap Step 1: Start with a rectangle sheet of newspaper or 8.5 inch x 11 inch (21.5cm x 27.9cm) paper, color side down. Thinner paper is actually better. Art paper or wrapping paper might work too.
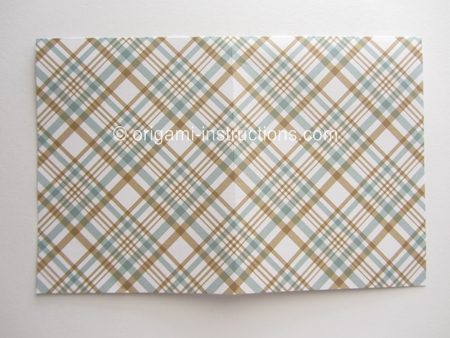
Fold paper in half on the vertical axis. Crease well and unfold.
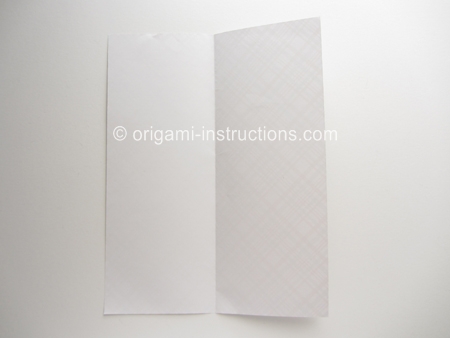
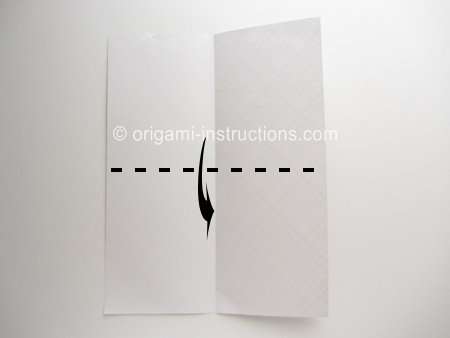
Origami Flat Cap Step 2: Fold paper in half on the horizontal axis, bringing the top half to the bottom.
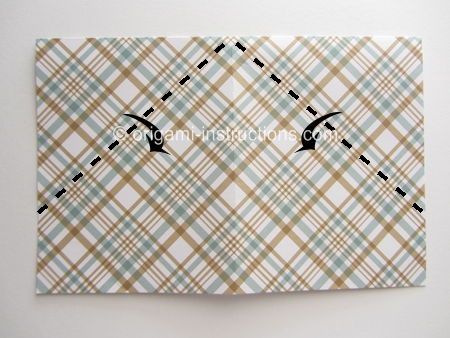
Origami Flat Cap Step 3: Fold both the top right and left corners to the center. Crease well.
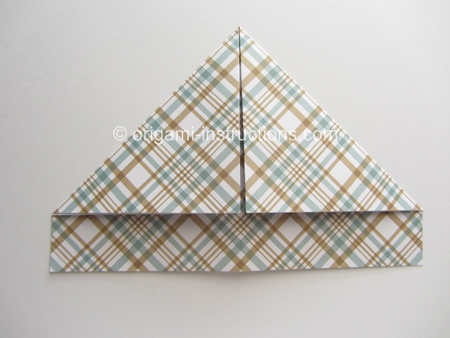
Origami Flat Cap Step 4: Fold the top layer A-B to C-D.
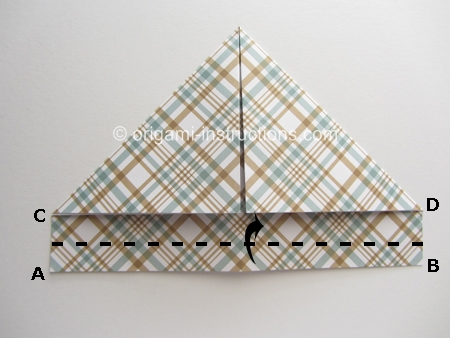
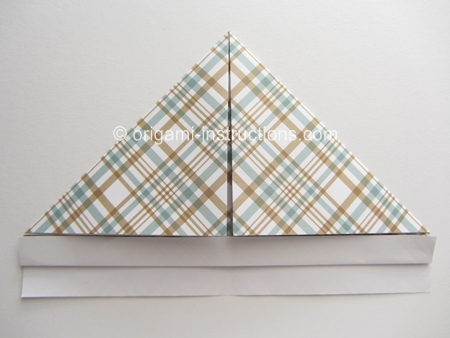
Origami Flat Cap Step 5: Now fold the layer over itself.
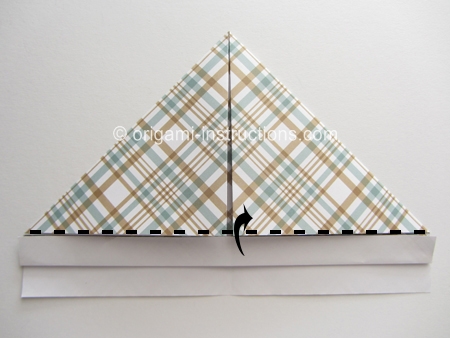
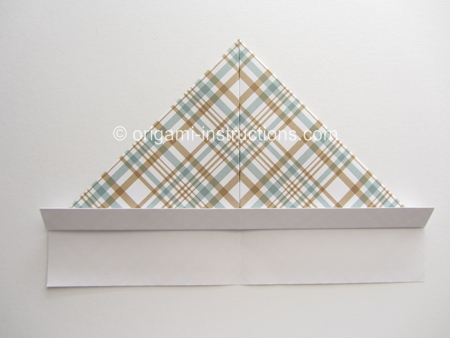
Origami Flat Cap Step 6: Flip paper over. Fold both the right and left sides to the center. If you're using printer paper or cardstock like we were, the paper is a bit thick at this point and becomes increasingly harder to fold.
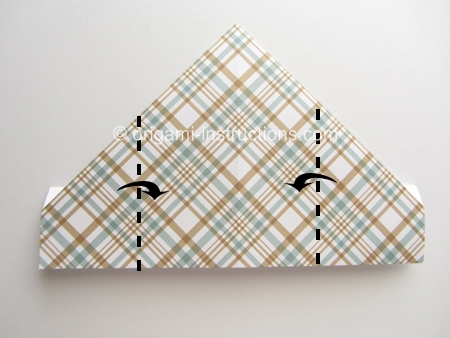
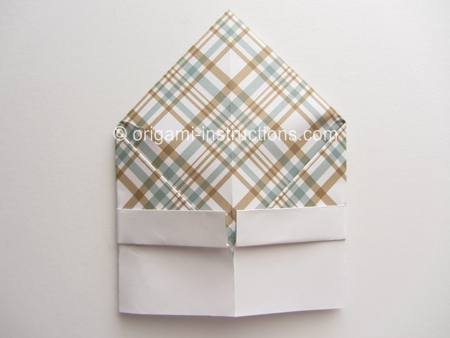
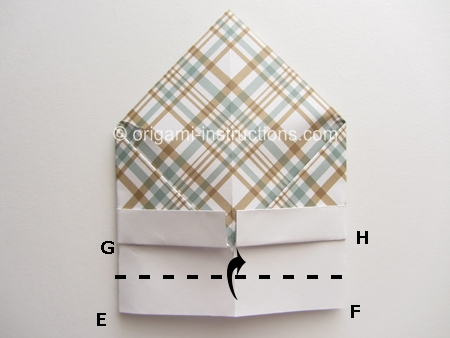
Origami Flat Cap Step 7: Fold E-F to G-H. Crease well and unfold.
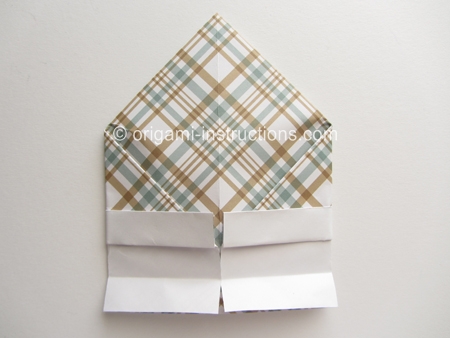
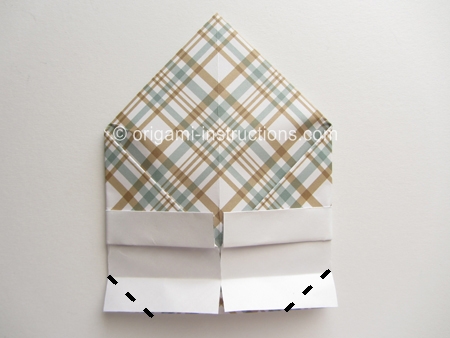
Origami Flat Cap Step 8: Make the 2 diagonal folds on the bottom corners.
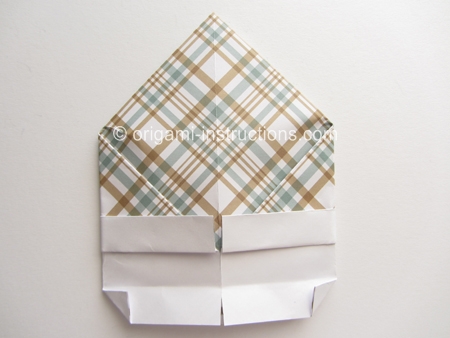
Origami Flat Cap Step 9: Fold up the bottom edge.
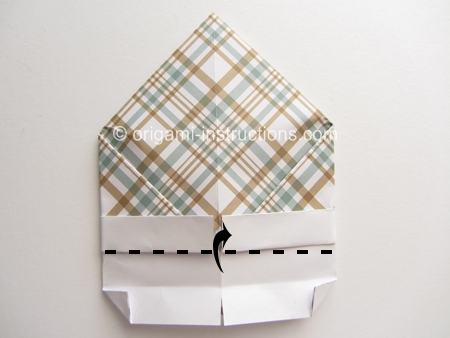
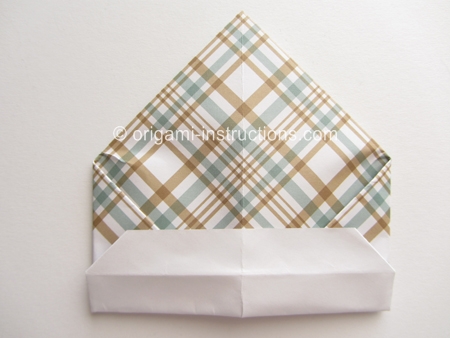
Origami Flat Cap Step 10: Now we're going to make the mountain fold and tuck the paper under. This is a difficult step if your paper is thick. We had difficulty tucking in the paper too. Just try your best and tuck in the paper as much as you can, as best as you can.
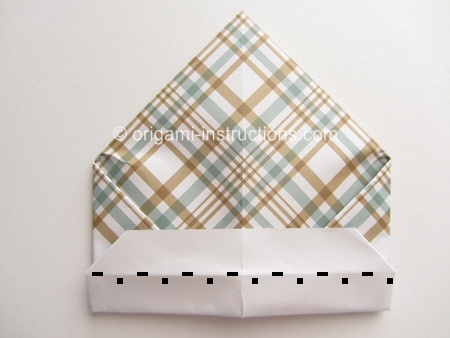
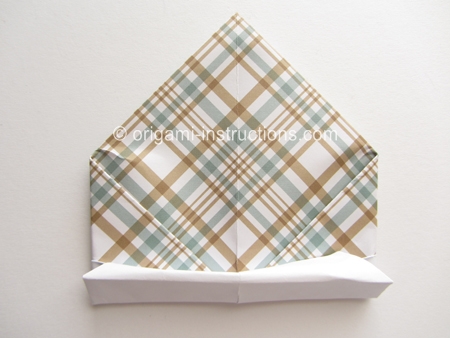
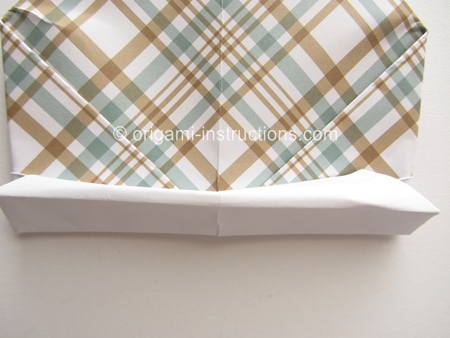
Closer look....
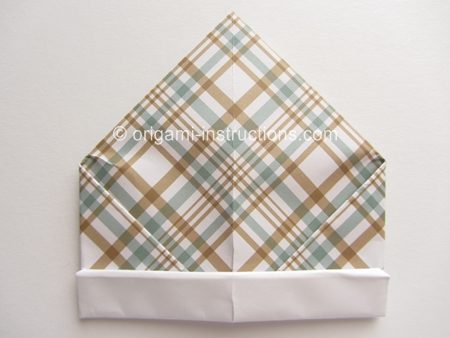
Origami Flat Cap Step 11: Fold down the top tip and tuck it into the bottom edge.
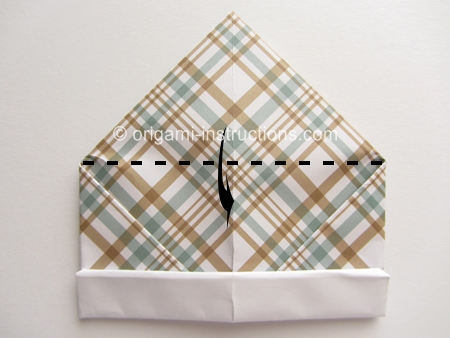
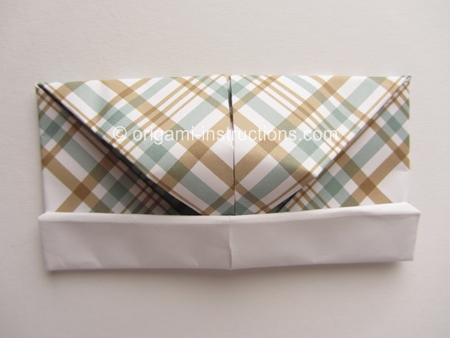
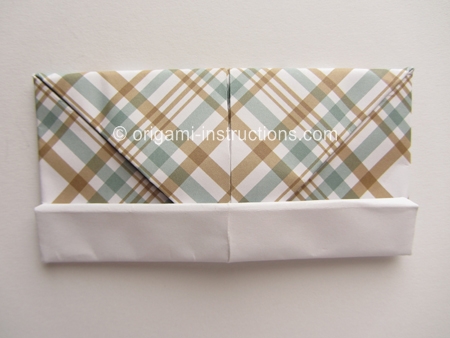
Origami Flat Cap Step 12: Pry open the base and your origami flat cap is complete!
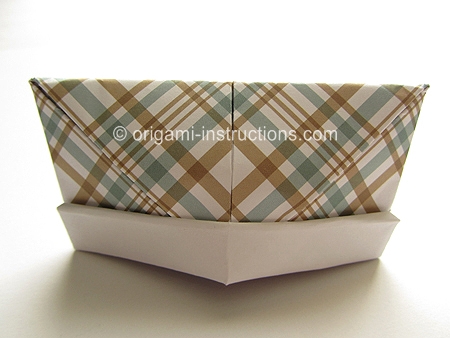
You can press down the center to shape it a little...
