Origami 8-pointed Hollow Ninja Star Part 2
Here's the second part of the assembly process for the origami 8-pointed hollow ninja star!
Made this origami? Comment and Submit your photo using the comment box at the end of this page!
Origami 8-pointed Hollow Ninja Star Step 13: Here are the additional steps that are different from the original ninja star.
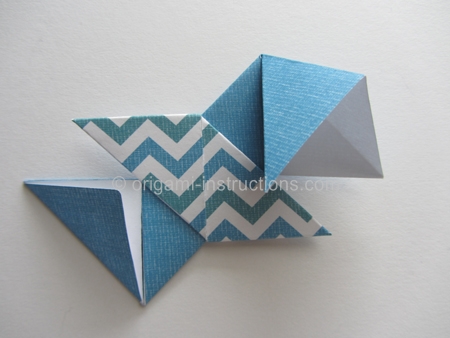
Unfold the triangle portion at the top right corner of the solid color unit.
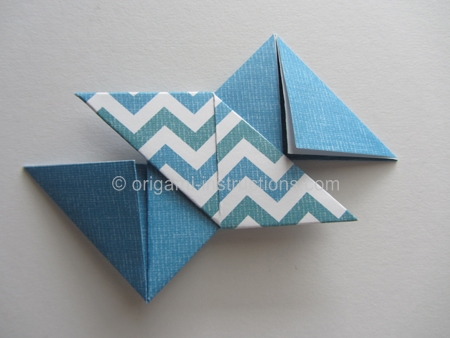
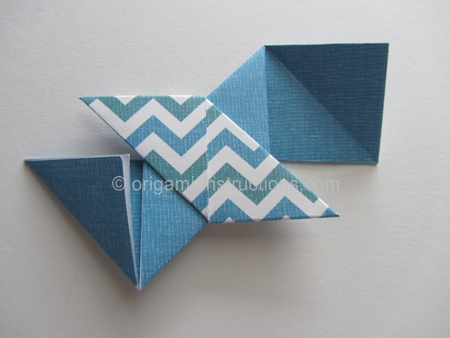
Origami 8-pointed Hollow Ninja Star Step 14: Pry open paper on the top right and make a squash fold by pressing paper flat.
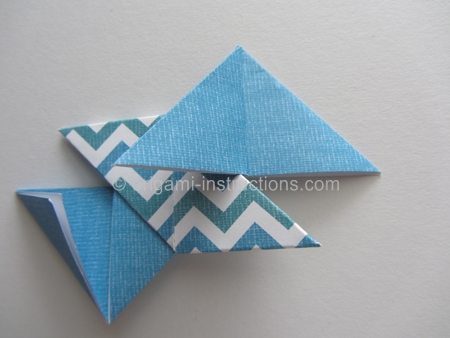
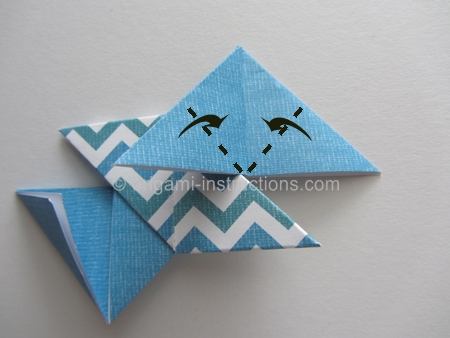
Origami 8-pointed Hollow Ninja Star Step 15: Fold both tips to the center. Crease well and unfold.
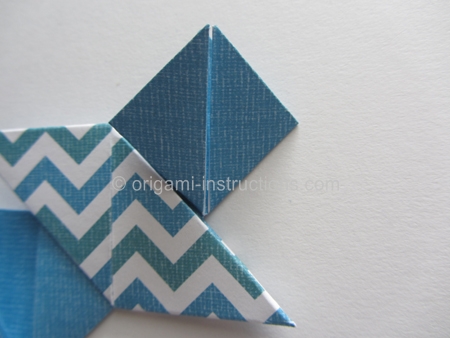
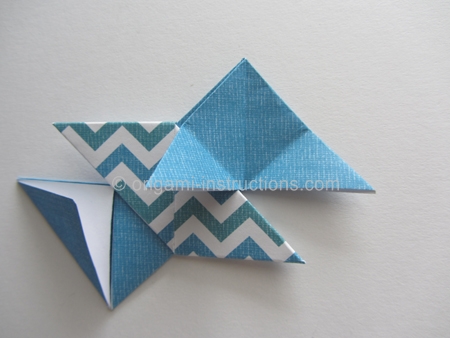
Origami 8-pointed Hollow Ninja Star Step 16: Move the upper layer from the left to right.
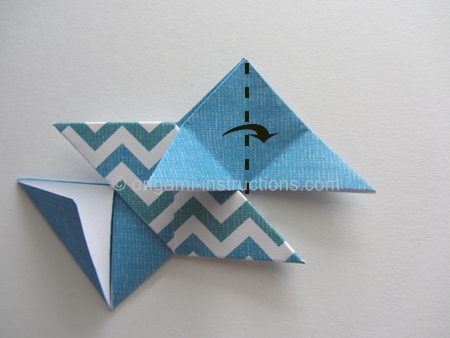
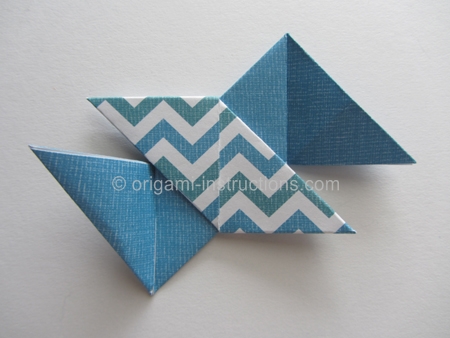
Origami 8-pointed Hollow Ninja Star Step 17: Fold the bottom left tip over to the right and tuck it into the pocket.
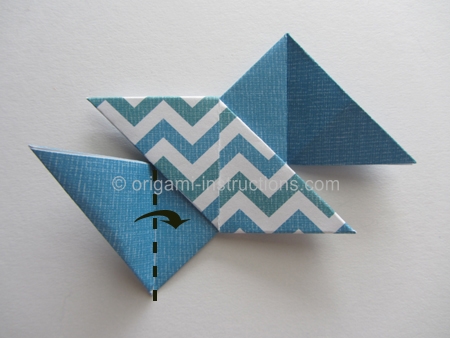
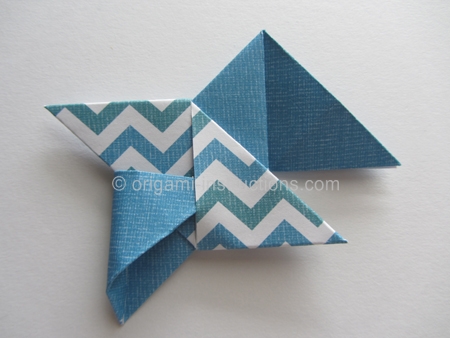
This completes the first part of the assembly process.
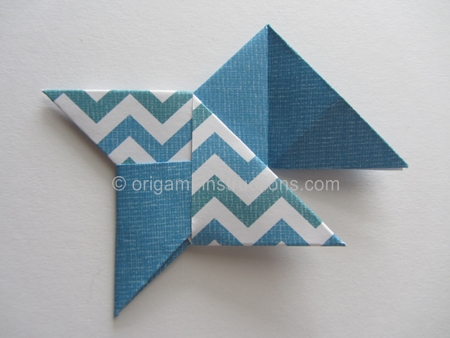
Origami 8-pointed Hollow Ninja Star Step 18: Repeat Steps 1 to 17 and make a total of 4 of these units.
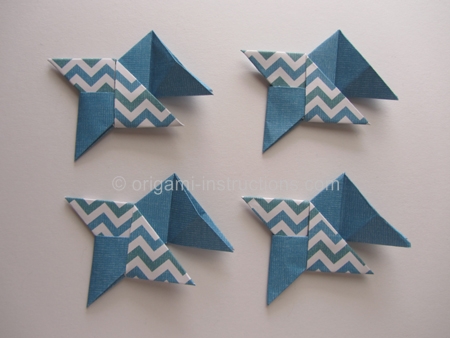
Origami 8-pointed Hollow Ninja Star Step 19: For the next part of the assembly, first orientate your units as shown below.
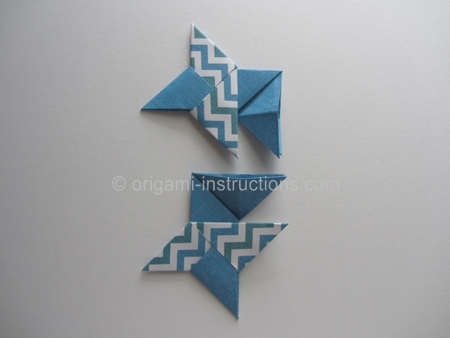
Origami 8-pointed Hollow Ninja Star Step 20: Bring the units together. As you do so, top unit should sit in between the tips of the bottom unit.
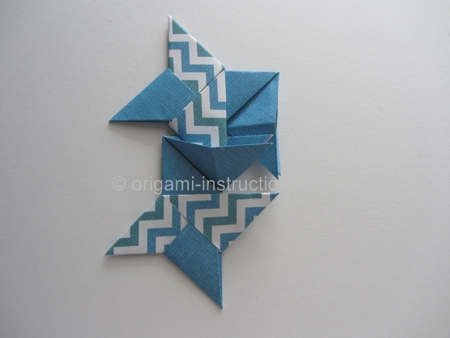
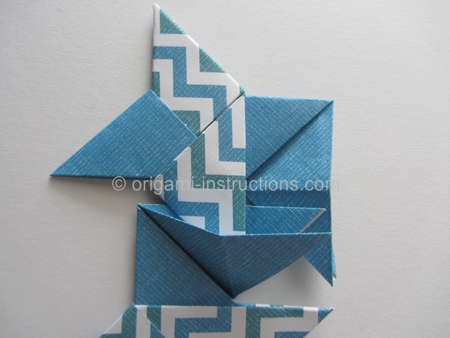
Origami 8-pointed Hollow Ninja Star Step 21: Tuck the solid tips into the patterned pocket.
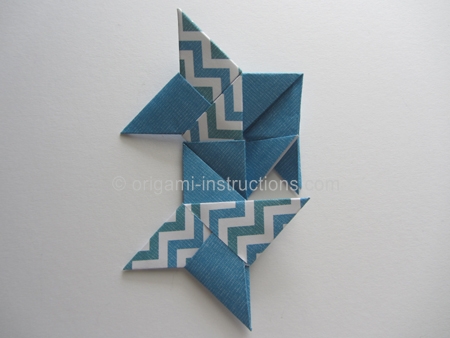
Closer look of the first tip tucked in....
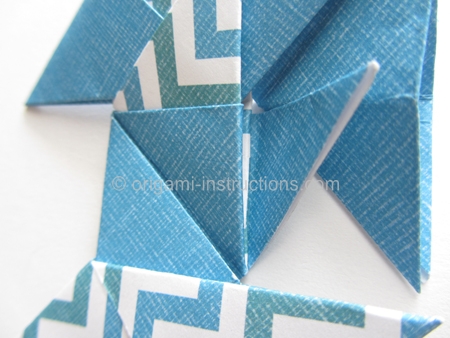
Tuck in the 2nd tip as well...
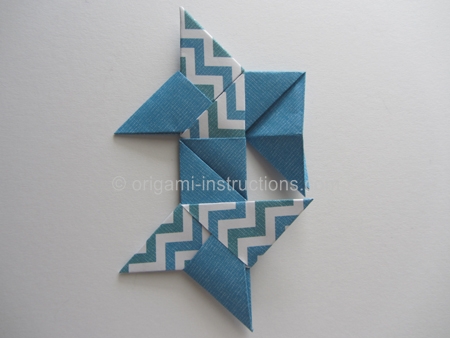
Origami 8-pointed Hollow Ninja Star Step 22: Rotate 90 degrees counter-clockwise.
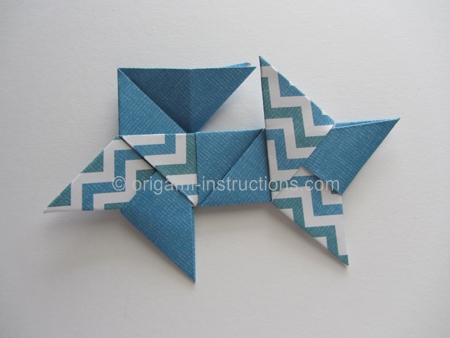
Origami 8-pointed Hollow Ninja Star Step 23: Repeat 19 to 22 and assemble the other 2 units.
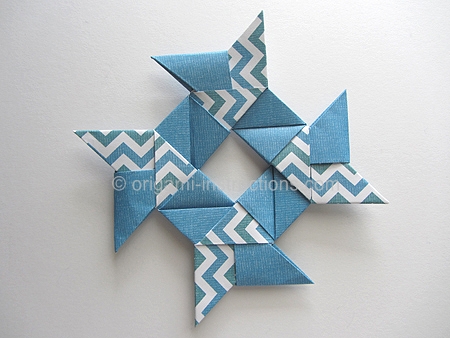
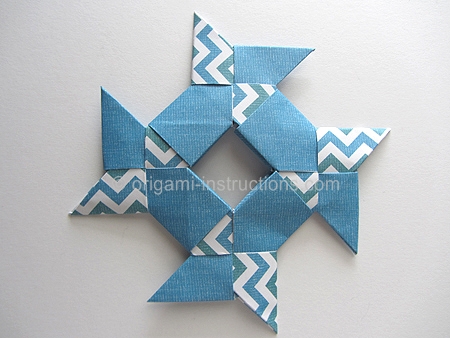
Here's the completely assembled origami 8-pointed hollow ninja star!
