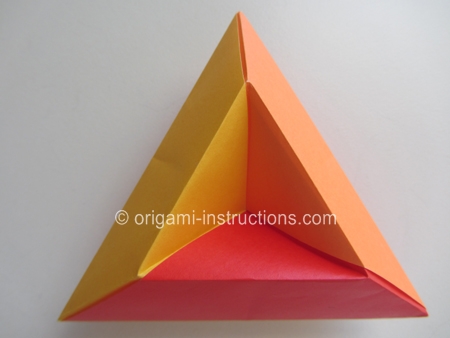
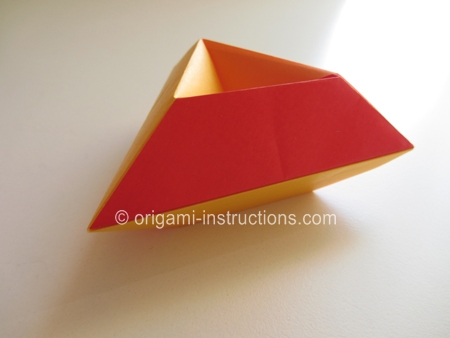
Origami Modular Tricorne
This is a 3 unit origami modular tricorne. A tricorne is a three-corner hat that was popular in the 18th century. While we're not certain if this design by David Mitchell is meant to be a hat, it is an interesting modular origami anyway so do try folding it!
Made this origami? Comment and Submit your photo using the comment box at the end of this page!
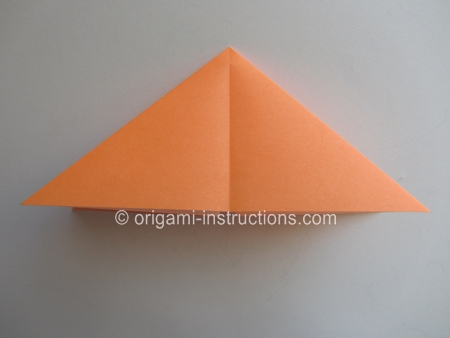
Origami Modular Tricorner Step 1: Start by folding an origami waterbomb or waterballoon base. This is a commonly used base in origami so we've created a separate page for it.
You should have the following to start with.
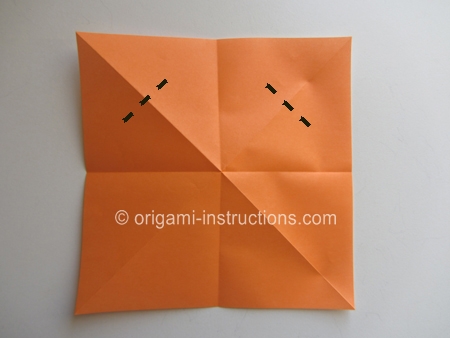
Origami Modular Tricorner Step 2: Unfold the paper. Fold the top right and left corners to meet the center point. Do not crease all the way. Crease the center only to mark the paper.
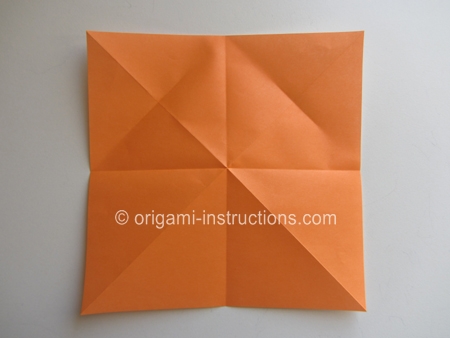
Origami Modular Tricorner Step 3: Flip paper over. Fold paper in half by bringing the top down to meet the bottom.
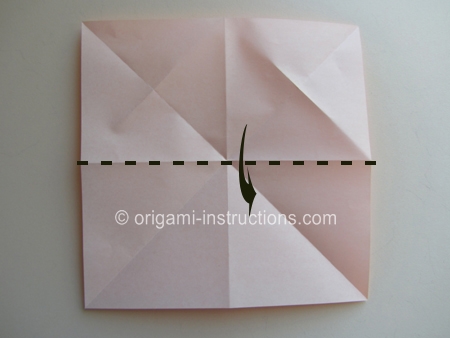
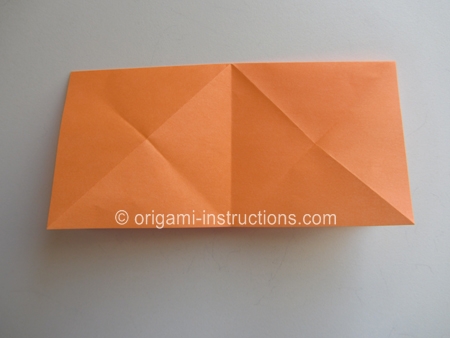
Origami Modular Tricorner Step 4: Fold the top right and left corners to meet the mark you made in Step 2.
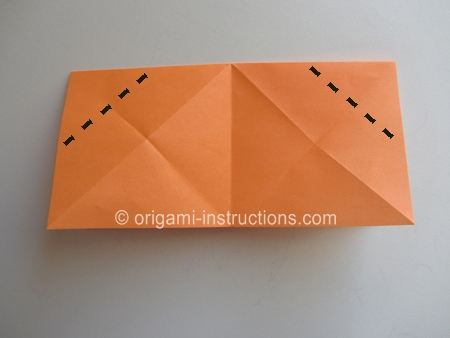
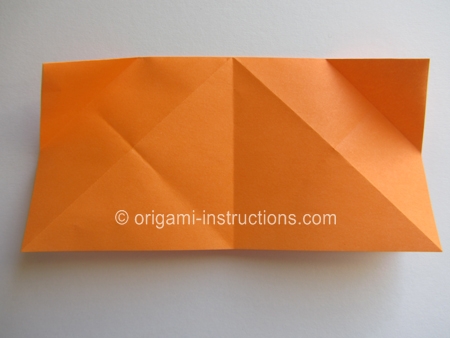
Origami Modular Tricorner Step 5: Now use the creases you've just made and form inside reverse folds on both corners. An inside reverse fold is a commonly used technique in origami so you've probably folded it before. If you haven't check out the link for more information and pictures.
Basically you want to push the tip in so that it is now in between the 2 sides of paper.
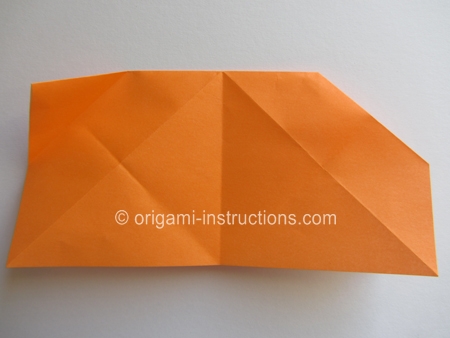
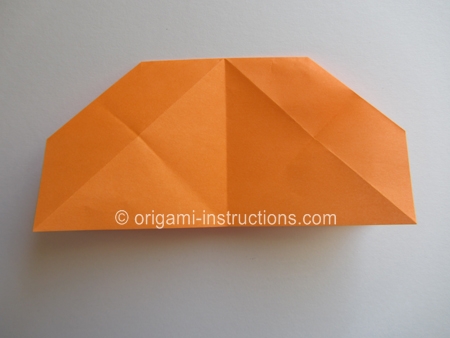
Origami Modular Tricorner Step 6: Recrease the diagonal mountain folds on both sides of the paper, front and back.
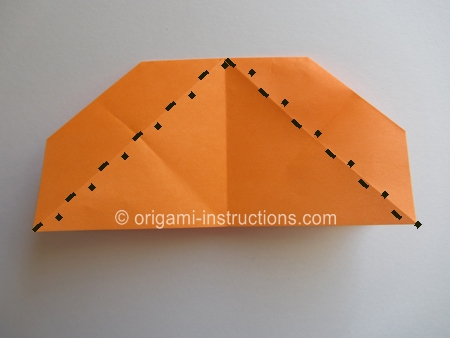
Origami Modular Tricorner Step 7: Now bring the right side over to the center on one side.
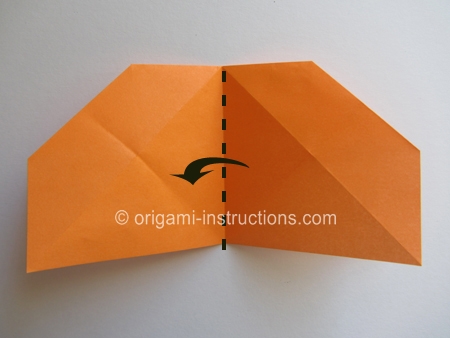
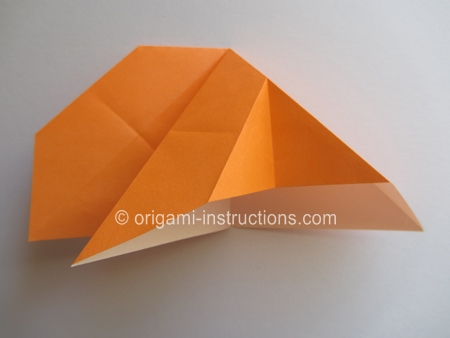
And bring the left over to the center on the other side. Both sides are now symmetric and identical.
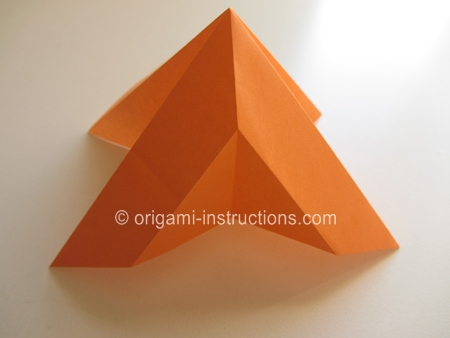
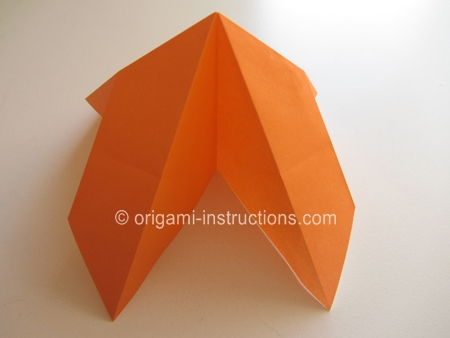
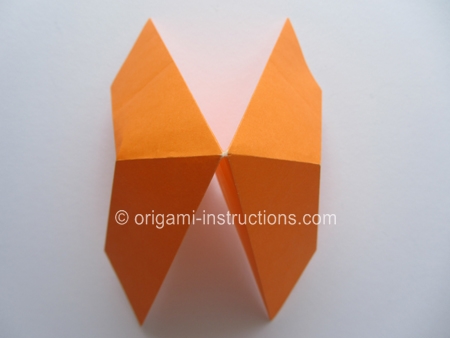
Origami Modular Tricorner Step 8: You've just completed one modular unit. We need 3 units to form the tricorne so make another 2 units.
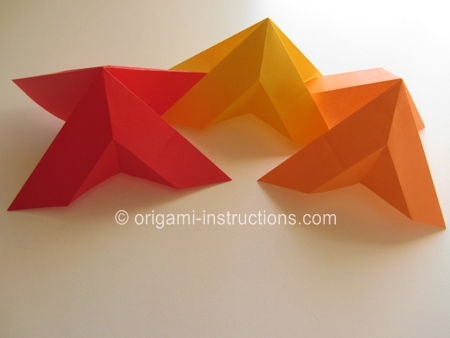
Origami Modular Tricorner Step 9: Let's start to assemble the units. We'll start with 2 units.
If you're familiar with modular origami, then you'll know that often times, they are assembled by tucking a "tip" into a "pocket".
Here each unit has 4 ends that can act as either a "tip" or a "pocket". We want to make sure that each end has a chance to be a "tip" as well as a "pocket".
Slide the ends into each other.....

Make sure you alternate their roles. So here, in the back the red is the "tip" while in the front, it is the "pocket" and vice versa for the yellow.
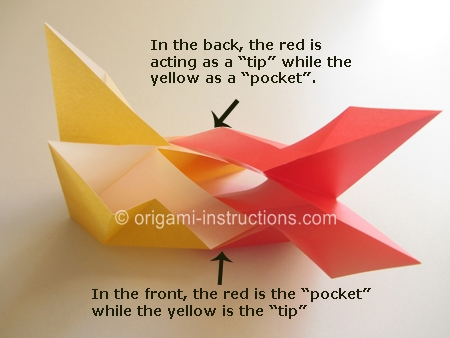
A closer look....
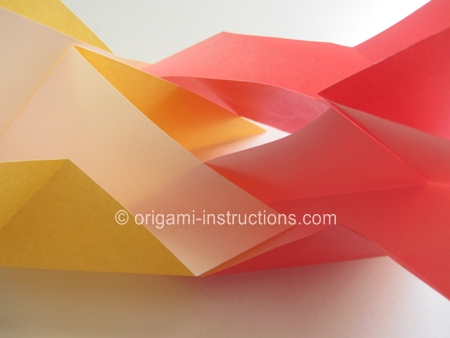
Slide them into one another....
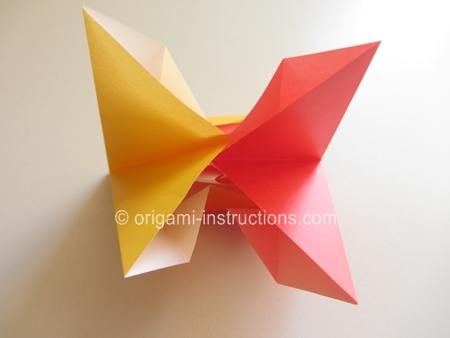
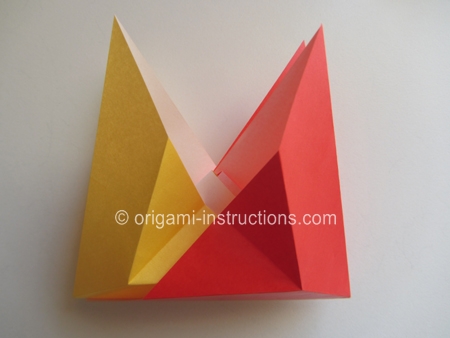
Origami Modular Tricorner Step 10: Now assemble the final unit. Once again, you've to make sure you alternate the roles. There are now 4 ends to take care of. The orange cannot act as "tips" or "pockets" on all 4 ends.
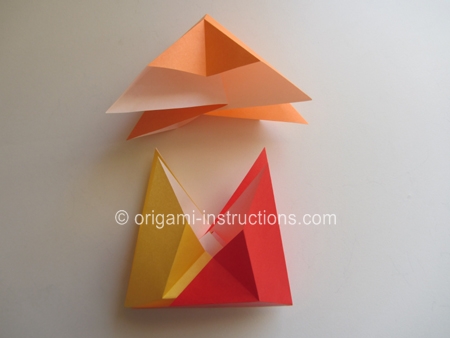
Here the orange is a "tip" on the front left and a "pocket" on the front right. This means that the orange needs to be a "pocket" on the back left and "tip" on the back right.
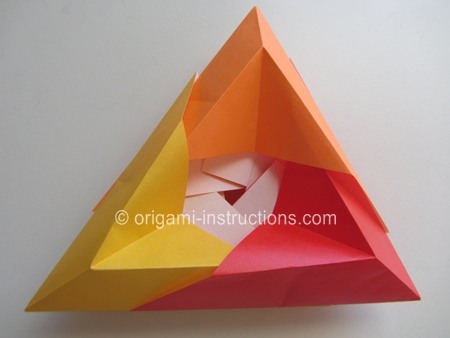
Slide the units in completely. There's a lot of paper in the center and you may have to move the paper in the center to help the units slide into one another completely.
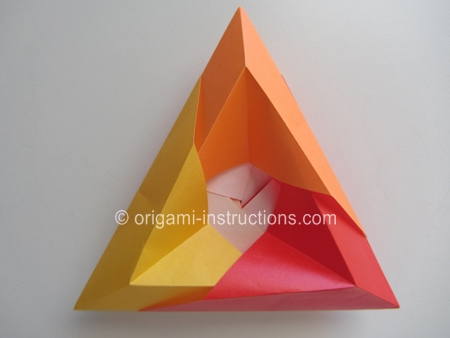
and your origami modular tricorne is complete!
