Origami Modular 8-Pointed Star Part 2
Here we show you how to assemble the units to form the origami modular 8-pointed star. Go to Part 1 for instructions on how to fold the units.
Made this origami? Comment and Submit your photo using the comment box at the end of this page!
Origami Modular 8-Pointed Star Step 8: Let's assemble our star! First pry open the right side of your first unit (purple unit) as shown in the photo below.
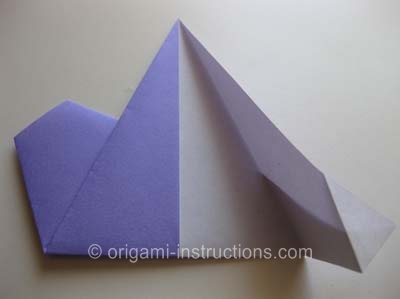
Place the 2nd unit (pink) into the 1st.
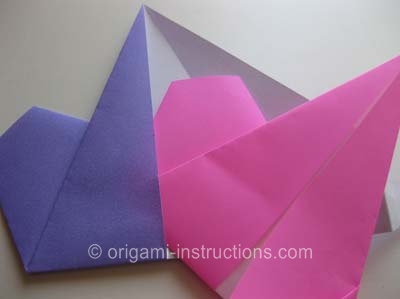
You want the edges to line up with the right diagonal crease of the purple 1st unit. We fold down the pink tip so that you can see what's going on underneath.
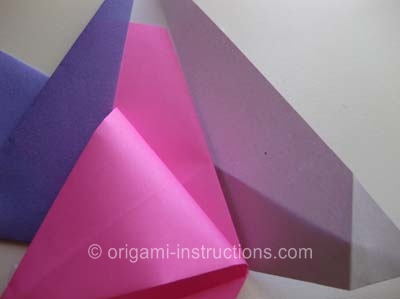
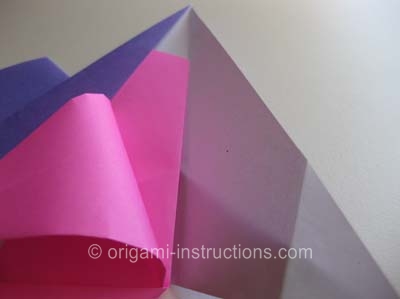
Now we need to close back our purple 1st unit. Bring the right tip over and tuck it in between the pink unit as shown below.
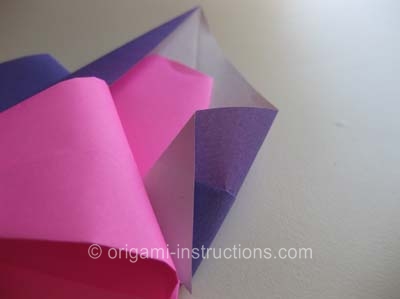
Tuck it in completely so that both units are now completely attached to one another as shown in the photo below.
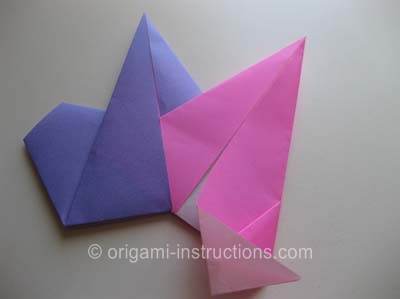
Here's what the back side looks like:
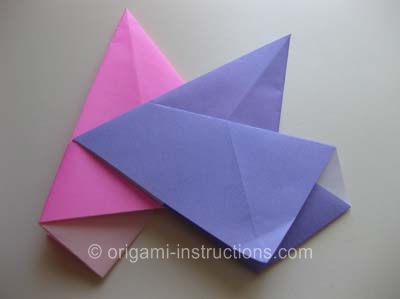
Origami Modular 8-Pointed Star Step 9: Now you repeat Step 8 for all the other units.
Here's the 3rd unit going in....
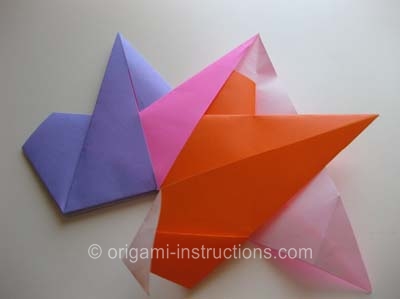
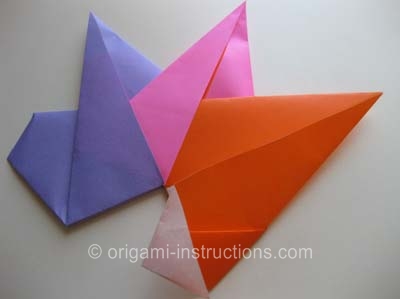
4th unit...
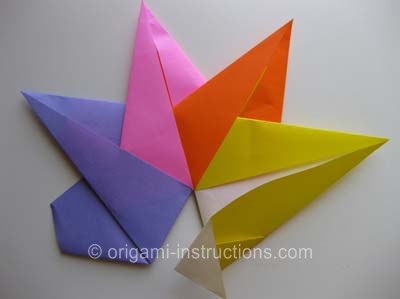
5th unit:
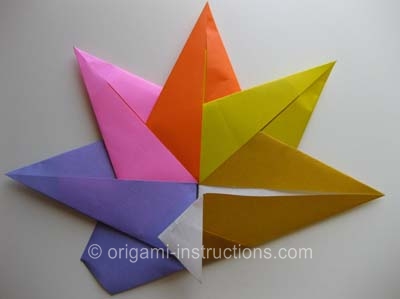
6th unit...starting to get crowded!
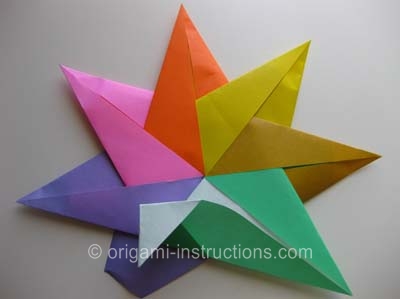
7th unit, even more crowded!!
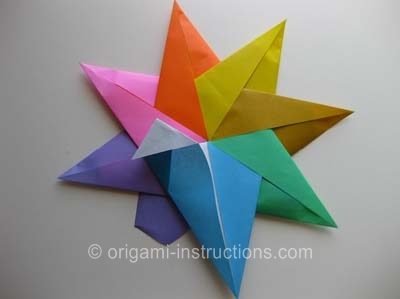
Finally, let's squeeze one final 8th unit in there....
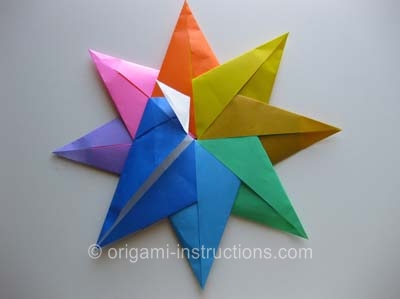
Origami Modular 8-Pointed Star Step 10: Flip the entire modular star over.
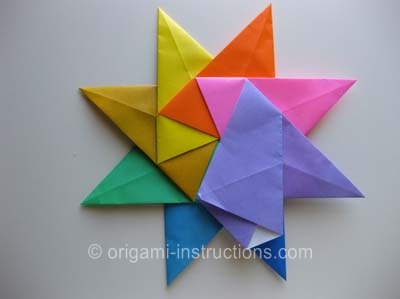
Now lift up the purple 1st unit slightly. You'll see that the 6th unit onwards are hidden underneath.
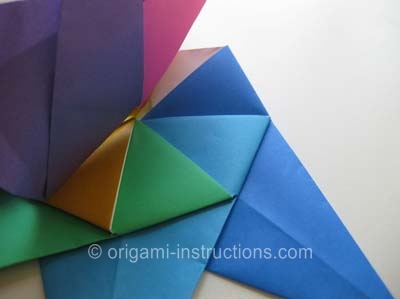
Origami Modular 8-Pointed Star Step 11: We now need to bring the units that are currently sitting underneath over to the front. We're just switching places for them.
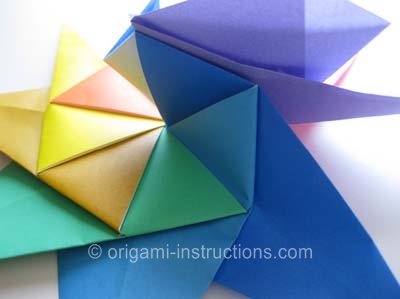

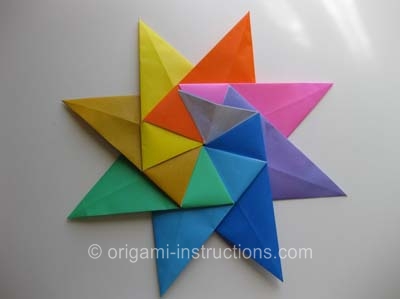
Origami Modular 8-Pointed Star Step 12: Flip your modular star over.
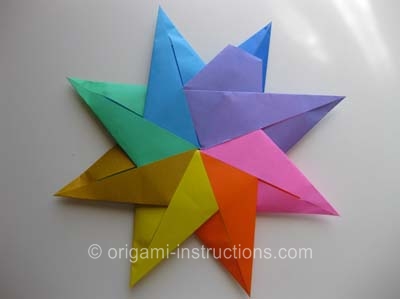
Origami Modular 8-Pointed Star Step 13: To complete our modular origami, we need to attach the 1st unit (purple) into the 8th unit (dark blue). Nothing special, just repeating Step 8.
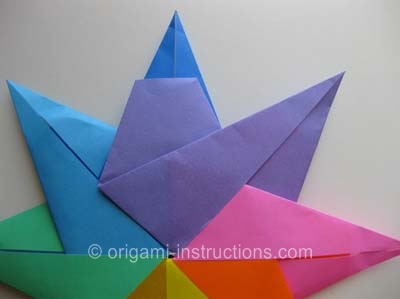
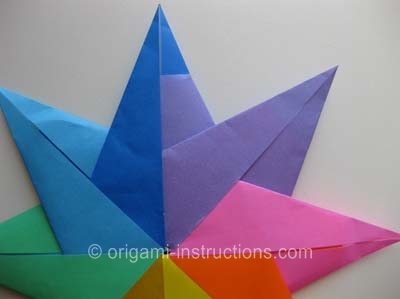
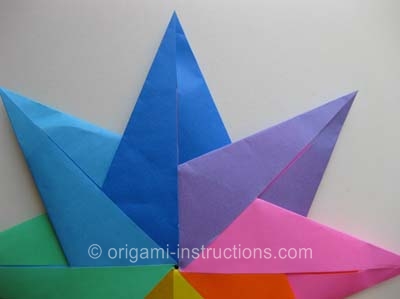
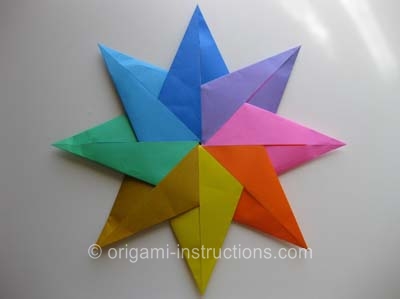
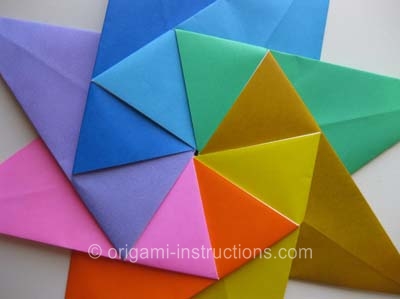
and your origami modular 8-pointed star is complete!
Front side....
Back side....
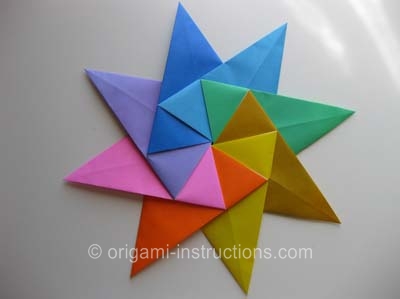
Love it!
Our readers have followed our instructions and folded the origami modular 8-pointed star! Check out their photos!


